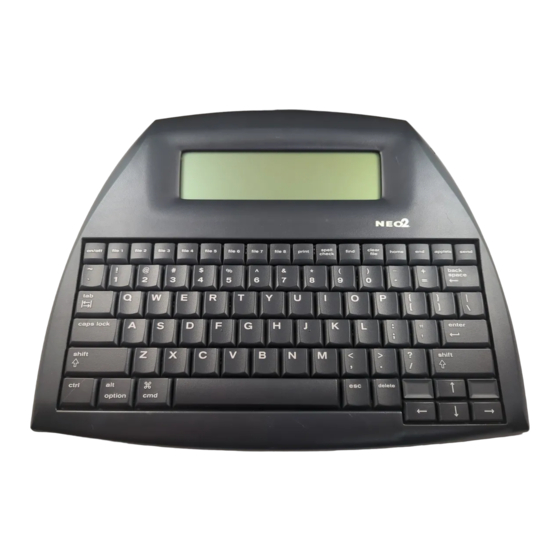
Renaissance Learning NEO 2 Quick Start Manual
Wireless server
Hide thumbs
Also See for NEO 2:
- User manual (275 pages) ,
- Quick manual (47 pages) ,
- Quick manual (43 pages)
Advertisement
QuickStart Guide – Renaissance™ Wireless Server Setup
NEO 2 has many features that rely on a Radio Frequency network. Some of these features include
quizzing with Accelerated Reader™, opening and saving files in Google Docs and NEO Share™,
responding using the 2Know!™ Toolbar or AccelTest™, and printing wirelessly. Complete the
following tasks to set up your Renaissance wireless network.
I n s t a l l S o f t w a r e a n d H a r d w a r e
1. Install NEO Manager™ from www.renlearn.com/neo/downloads. This will automatically
install the Renaissance Wireless Server Utility software.
2. Connect the Renaissance Receiver™ to the computer using the USB cable included.
The Renaissance Receiver
must be connected to a
computer to perform any
wireless tasks.
To the computer
USB port
C o n f i g u r e t h e R e n a i s s a n c e W i r e l e s s S e r v e r U t i l i t y
1. Launch the Renaissance Wireless Server Utility
from the Start menu (Windows) or the
Applications folder (Mac).
2. When prompted for an Administrator PIN, enter
1234 and press OK.
3. If you are not prompted for an Administrator
PIN, the server may not be running. To power
on the server, click the Start button, and then enter
the PIN.
© 2010 Renaissance Learning, Inc. All rights reserved.
PO Box 8036, Wisconsin Rapids, WI 54495
Phone: (800) 338-4204| Fax: (715) 424-4242
To the Renaissance
Receiver
Page 1 of 2
R39761.100325
Advertisement
Table of Contents

Summary of Contents for Renaissance Learning NEO 2
- Page 1 QuickStart Guide – Renaissance™ Wireless Server Setup NEO 2 has many features that rely on a Radio Frequency network. Some of these features include quizzing with Accelerated Reader™, opening and saving files in Google Docs and NEO Share™, responding using the 2Know!™ Toolbar or AccelTest™, and printing wirelessly. Complete the following tasks to set up your Renaissance wireless network.
- Page 2 Renaissance Place Settings. 7. Enter your Renaissance Place address and click Verify. 8. When verified, click © 2010 Renaissance Learning, Inc. All rights reserved. PO Box 8036, Wisconsin Rapids, WI 54495 Page 2 of 2 Phone: (800) 338-4204| Fax: (715) 424-4242 R39761.100325...


Need help?
Do you have a question about the NEO 2 and is the answer not in the manual?
Questions and answers