Advertisement
Quick Links
NEED HELP?
DO NOT RETURN TO STORE. PLEASE VISIT US AT:
www.polygroupstore.com OR 1-888-919-0070
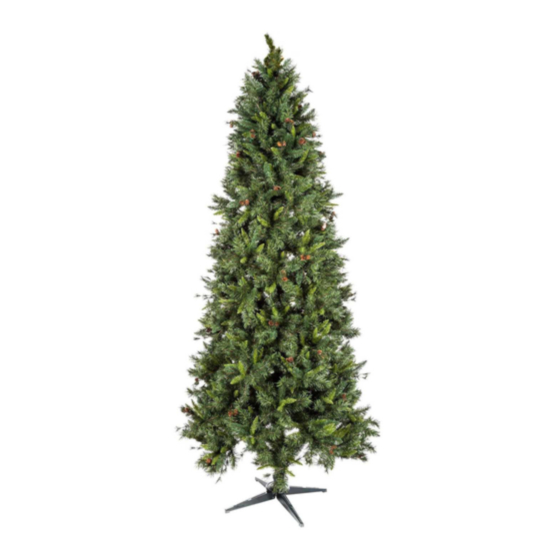
TREE ASSEMBLY INSTRUCTIONS
Congratulations on purchasing your new tree from
This tree comes with Quick Set® technology which takes less than 10 minutes to set up and light up! Carefully follow the instructions
below on how to assemble your new tree quickly and at ease:
1. Choose an appropriate location near a wall outlet.
2. Assemble the tree stand (Fig. A) and place on a level surface.
Fig. A - Tree Stand Assembly
Fig. B – Tree and Light Assembly
3. Each tree section is numbered with a sticker. Please identify all sections before assembling.
4. Assemble the tree from the bottom to the top. Remove protective cap, and insert the pole of Section 1 into the assembled stand .
Insert the pole of Section 2 into Section 1. Insert the pole of the tree top into Section 2. Ensure that all poles are firmly secure. Be
sure that all wires are free of branch hinges.
5. Remove the protective cap of upper sections before inserting lower sections. Follow the direction of the arrow marked on the
adapter to insert.
6. Insert green label plug into the wall outlet (Fig. B). Your entire tree should now be lit.
MODEL #: TG76M6010C09
Polygroup®!
Click
Tree Top
Section 2
Section 1
2020 TREE LETTER "B"
Pull apart tree stand legs until they
snap and form an 'X' shape.
To close the stand, press the metal
button and fold the legs together.
Do not tamper
Internal parts
Follow the direction
of the arrow marked
on the adapter
to insert
Insert Green
Label Plug Into
Wall Outlet
1
SKU # 5064472 & 911727
*Electrical Rating For The Tree
(For Indoor Use Only)
2.38A 120V 60Hz
Advertisement

Related Manuals for Polygroup TG76M6010C09


Summary of Contents for Polygroup TG76M6010C09
- Page 1 5. Remove the protective cap of upper sections before inserting lower sections. Follow the direction of the arrow marked on the adapter to insert. 6. Insert green label plug into the wall outlet (Fig. B). Your entire tree should now be lit. MODEL #: TG76M6010C09 2020 TREE LETTER "B"...
- Page 2 7. Shape the tree from the bottom to the top. Start with the branches farthest from the pole – fan out in a star shape (Fig. C), and continue until the entire tree is shaped. Fig. C Side view Top view 8.