
Related Manuals for Contractors Wardrobe uDivide


Summary of Contents for Contractors Wardrobe uDivide
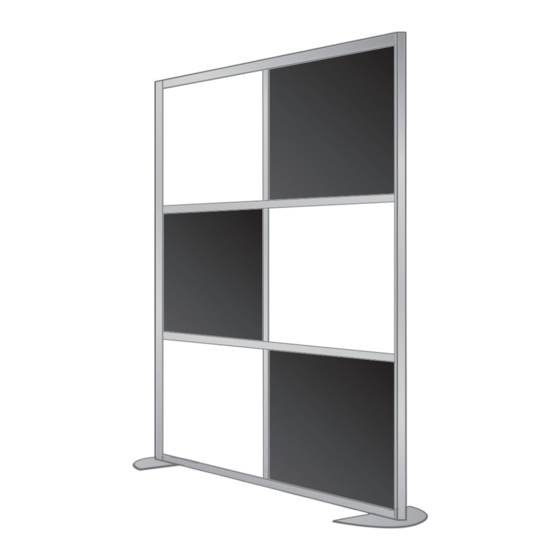
- Page 1 Parts and Assembly Instructions Sample of uDivide™ configuration shown above. ™ Assembly Video QR Link Partition & Divider System...
- Page 2 ® Aluminum Post Cap A5950SC dry erase markers. Test all other markers #8 1-1/2” FH SMS Screw S82075 before using them. Wrench - 5mm Hex Key W8011 **Insert quantity varies on the size and configuration of your uDivide™ Page 2...
- Page 3 Assembling Horizontal Bars, Vertical Bars and Panel Inserts Connect the Base Plate to the Square Stem using the two screws provided. Countersunk holes should be facing down to the oor. Slip Square Post into Round Post slot making sure the slot in the Round Post is facing as shown in Fig #1.
- Page 4 Vertical Bar with Glide Strips as shown in Fig #4. Fig #3 Fig #4 The Hex Key is used to tighten the framework together as you assemble your uDivide™. Make sure the Glide Strip is rmly in place to help cushion your Insert Panels. Page 4...
- Page 5 Final Assembly Repeat these steps for assembling all Horizontal and Vertical Bars; remember to tighten all Hex Screws. Install Post Caps by removing backing of the two-way tape provided. Post Caps Note: We recommend Expo Low Odor dry erase markers. ®...
- Page 6 Contractors Wardrobe ® Designers & Manufacturers ® ™ ® Contractors Wardrobe 26121 Avenue Hall, Valencia, CA 91355 Phone: 661.257.1177 Fax: 661.257.4907 www.CwDoor.com ®...
Need help?
Do you have a question about the uDivide and is the answer not in the manual?
Questions and answers