
Related Manuals for GeekChef GBI-F30A


Summary of Contents for GeekChef GBI-F30A
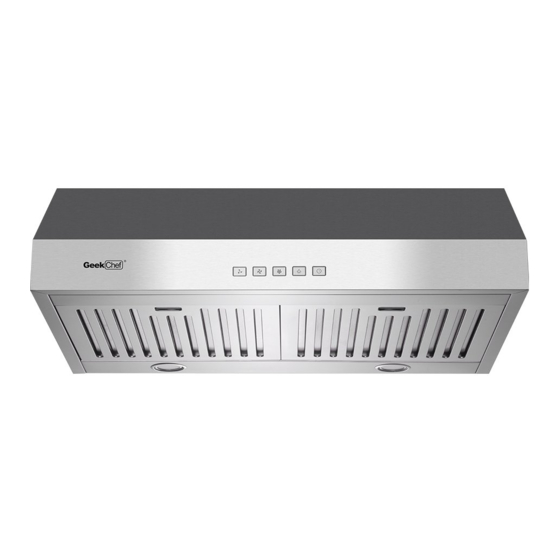
- Page 1 Range Hood User Manual Model: GBI-F30A Customer Service: 1-844-801-8880 IMPORTANT: DO NOT use this range hood until you have read this entire manual. Please keep it for future reference.
-
Page 2: Table Of Contents
1. Warning & Caution………………………………………Page 3-4 2. Prepare the hood………………………………………..Page 5-6 3. Install the hood…………………………………………..Page 7-8 4. Maintance………………………………………………...Page 9 5. How to use……………………………………………..Page 10 6. Parts list………………...………………………………….Page 11 7. Troubleshooting…………………….……….…………….Page 12... -
Page 3: Warning & Caution
WARNING To reduce the risk of fire, electric shock, or injury to persons, observe the following: Use this unit only in the manner intended by the manufacturer. If you have questions, contact the manufacturer at the address or telephone number listed in the warranty. Before servicing or cleaning unit, switch power off at service panel and lock service panel to prevent power from being switched on accidentally. - Page 4 WARNING To reduce the risk of injury to persons in the event of a range top grease fire, observe the following: Smother flames with a close-fitting lid, cookie sheet, or metal tray, then turn off the burner. Be careful to prevent burns. If the flames do not go out immediately, evacuate and call the fire department.
-
Page 5: Prepare The Hood
PREPARE THE HOOD Unpack hood and check contents. You should receive: 1 - Hood 1 - Installation Instructions 1 - Warranty Card 1 - Parts Bag containing 1 - Vent 4 - Mounting Screws (4 x 40mm) (need 2pcs for method one installation, 4pcs for method two) 4- Washer (need 2pcs for method one installation, 4pcs for method two) 4 - Mounting Screws (4 x 8mm) 4 - Drywall Anchors... - Page 6 Note: This range hood must be properly grounded. The unit should be installed by a qualified electrician in accordance with all applicable national and local electrical codes. The minimum hood distance above cook top must not be less than 24’’. A maximum of 33” above cook top is highly recommended for best capture of cooking impurities.
-
Page 7: Install The Hood
INSTALL THE HOOD Note: at least two people will be required to mount the hood. Method One: (PIC-A) 2pcs 4 x 40mm or 2pcs The cooker hoods should be placed at a ST4 x30mm for upper holes distance of 24” – 33” from the cooking surface for best suction effect. - Page 8 Method Two: (PIC C) 1. Mark or drill a small hole on the mounting position according to the space and dimension mentioned on PIC C. 2. Add the one way valve to the outlet of the hood; install the hood under cabinet, then use the mounting screw (4x40mm) and the circle ring in the spare parts bag to fix the hood on the cabinet.
-
Page 9: Maintance
MAINTENANCE Proper maintenance of the Range Hood will assure proper performance of the unit. Filters The filters must be cleaned approximately once every 30 hours of operation. (when the central segment on the display goes on or starts blinking). Use a warm detergent solution. Grease filters are dishwasher safe. -
Page 10: How To Use
TOUCH CONTROLS After you have connected the appliance to the mains supply the backlight will turn on. It will turn off after 5s without any operation and the hood will enter stand-by mode. Press one of the speed buttons to turn the appliance on. -
Page 11: Parts List
PARTS LIST Part name Flexible tube Metal VENT Power cord Vent cover Housing Bracket of control Box of control Controller assembly Box of Transformer Transformer Cover of Transformer Base of electric box PCB board Capacitor Cover of electric box Blower assembly (include motor) Bracket of charcoal filter Rear board... -
Page 12: Troubleshooting
TROUBLESHOOTING Problem Cause Solution The leaf blocked Get rid of the blocking The capacitor damaged Replace capacitor Light on, but motor does not work The motor jammed bearing damaged Replace motor The internal with of motor off or a bad Replace motor smell from the motor Beside the above mentioned, check the following:... - Page 13 Customer Service: 1-844-801-8880 E-mail: info@home-easy.net www. geekappliances.com...
Need help?
Do you have a question about the GBI-F30A and is the answer not in the manual?
Questions and answers