
Related Manuals for vitro MD STAINER


Summary of Contents for vitro MD STAINER
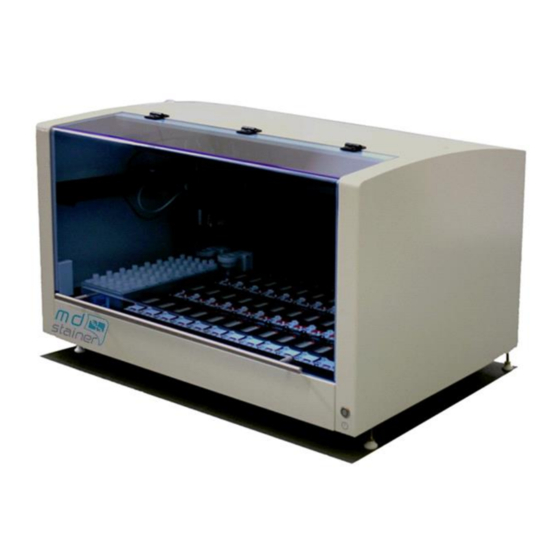
- Page 1 QUICK GUIDE TO TECHNICAL INSTRUCTIONS FOR USE AND CLEANING OF MD STAINER FOR FLUORESCENCE IN SITU HYBRIDIZATION (FISH)
- Page 2 IMPORTANT This is a quick guide for the use of MD Stainer and procedure for the fluorescence in situ hybridization technique (FISH), which include the most relevant information for the use, maintenance and cleaning of the instrument, as well as instructions for the preparation of tissue sections. For more detailed information, you can consult the User Manual.
- Page 3 Wash Buffer (Ready to use)). Both forms are described individually in each step of the process of the equipment’s use. Once the MD STAINER and the computer are on, we must access the following icon to run the software which allows controlling the platform: Note: it is always recommended to turn on the instrument first and the computer afterwards.
- Page 4 PREPARE LABELS In order to prepare the labels, click on “Prepare Labels” and select the option create. fields available will be filled in, which display the information of each sample. Then, assign the techniques and click on “Save”. Once all the labels have been created for the necessary techniques, print them and place them in the corresponding preparations.
-
Page 5: Scan Reagents
“Assign protocols” again to assign the hybridization protocol you wish to use according to the type of probe. The standard protocol for the probes supplied by Vitro SA is named FISH HIBRIDACIÓN by default. SCAN REAGENTS Once the techniques to perform have been scanned and assigned manually, the user must Scan Reagents. - Page 6 During this process, MD-Stainer can identify and inform about the following possible issues during programming by means of different colors: White - Not used. There is no techniques that need this reagent. Yellow - Insufficient. Insufficient number of tests. Pink - Missing reagent. The system did not detect this reagent in the rack. Red –...
- Page 7 Note : For hybridization cycles only, you must not use the option of delay Start to avoid that the probe remains on the tissue without the appropriate temperatures for the hybridization process, since, if the hybridization process does not start right away, the preparation will remain at room temperature up to the start time.
-
Page 8: Other Options Available
OTHER OPTIONS AVAILABLE (Not necessary in the routine use of the equipment) Load / Unload Slides This function is used to open and close the incubation modules and thus allows the load or unload of slides at the beginning and end of the staining process. Nonetheless, once the system is started, all the modules remain open automatically so that the user can introduce the slides without having to select this option. -
Page 9: Cleaning And Preventive Maintenance
CLEANING AND PREVENTIVE MAINTENANCE MANDATORY CLEANING PROTOCOL It is necessary to clean the MD-Stainer on a recommended timely basis to maintain the reliability, shelf life of the system and the staining quality. 1. CLEANING OF THE MODULES AND HOT PLATES (DAILY) The modules must be cleaned every day to remove any reagent remains and avoid any accumulation in the instrument. - Page 10 For clients with a lower work volume, the replacement of all the chamber can be extended as long as no anomalies are detected. 5. CLEANING OF THE UPPER SURFACE OF THE WASHING STATIONS AND THE PROBES Z1/Z2 (WEEKLY) Salt and reagent remains can also accumulate on the upper surface of the washing stations and the probes Z1/Z2 with the prolonged use of the instrument.
- Page 11 Click on “OK” to start the tube cleaning. Each probe, Z1 and Z2 aspirates 5 ml of cleaning solution from their corresponding vials placed in their respective position of the reagent rack. Then, the system will show a 20-minute countdown. After 20 minutes, the instrument will initialize the system automatically and will purge the waste of the cleaning solutions.
Need help?
Do you have a question about the MD STAINER and is the answer not in the manual?
Questions and answers