Advertisement
Quick Links
Advertisement

Related Manuals for HIKVISION DS-22CE12DFT-PIRXOF


Summary of Contents for HIKVISION DS-22CE12DFT-PIRXOF
- Page 1 User Manual...
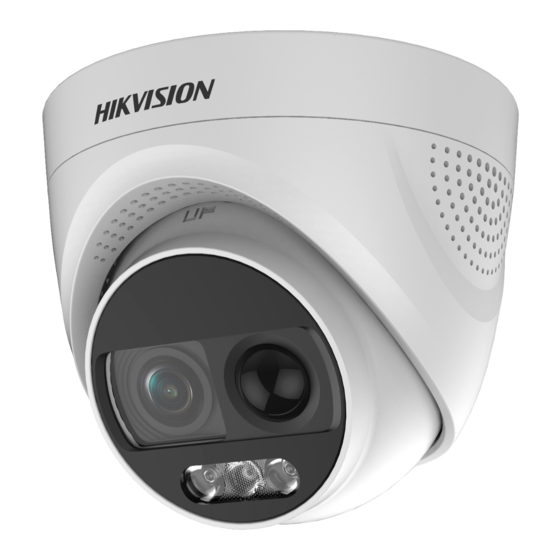
- Page 4 1.1 Product Features 1.2 Overview 1.2.1 Overview of Type I Camera Figure 1-1 Note: 1.2.2 Overview of Type II Camera Figure 1-2 Note:...
- Page 5 2.1 Installation of Type I Camera 2.1.1 Ceiling/Wall Mounting without Junction Box Figure 2-1 Note: Drill the cable hole, when adopting the ceiling outlet to route the cable. Figure 2-2...
- Page 6 Note: The supplied screw package contains self-tapping screws, and expansion bolts. For cement wall/ceiling, expansion bolts are required to fix the camera. For wooden wall/ceiling, self-tapping screws are required. Figure 2-3 - 2.1.2 Ceiling/Wall Mounting with Junction Box 1. Paste the drill template on the 2.
- Page 7 Figure 2-6 Secure the Junction Box on the Wall/Ceiling 6. Route the cables through the bottom cable hole, or the side cable hole of the junction box. 7. Combine the junction box cover with its body. Figure 2-7 Combine the Junction Box Cover back to its Body 8.
- Page 8 Figure 2-10 Note: Drill the cable hole, when adopting the ceiling outlet to route the cable. Figure 2-11 Note: The supplied screw package contains self-tapping screws, and expansion bolts. 6. Install the camera back to the mounting base and secure it. Figure 2-12 Install the Camera Back Pan Position [0°...
- Page 9 Ceiling/Wall Mounting with Junction Box 2.2.2 Figure 2-14 Figure 2-15 Figure 2-16 6. Route the cables through the bottom cable hole, or the side cable hole of the junction box.
- Page 10 Figure 2-17...
- Page 11 Figure 3-1 VIDEO FORMAT EXPOSURE MODE EXPOSURE SLOW SHUTTER ANTI-BANDING BACK EXIT SAVE & EXIT IMAGE MODE WHITE BALANCE BRIGHTNESS CONTRAST VIDEO SHARPNESS SETTINGS SATURATION 3 DNR MIRROR BACK EXIT MAIN MENU SAVE & EXIT LIGHT SMART THRESHOLD LIGHT LEVEL MODE BACK EXIT...
-
Page 12: Video Format
3.1 VIDEO FORMAT You can set the video format to 2MP@25fps or 2MP@30fps 3.2 EXPOSURE EXPOSURE MODE AGC (Auto Gain Control) SLOW SHUTTER ANTI-BANDING 3.3 VIDEO SETTINGS... - Page 13 Figure 3-3 IMAGE MODE WHITE BALANCE WHITE BALANCE MODE MANUAL R-GAIN B-GAIN BACK EXIT SAVE&EXIT Figure 3-4 BRIGHTNESS CONTRAST SHARPNESS SATURATION 3 DNR (3D DNR)
- Page 14 MIRROR 3.4 SMART LIGHT Figure 3-5 3.5 FUNCTIONS 3.5.1 PIR LEVEL 3.5.2 PIR DET MODE 3.5.3 ALARM TIME 3.5.4 VOLUME 3.5.5 MOTION DET 3.5.6 PRIVACY...
-
Page 15: Factory Default
3.5.7 DPC 3.6 FACTORY DEFAULT 3.7 EXIT 3.8 SAVE & EXIT...
Need help?
Do you have a question about the DS-22CE12DFT-PIRXOF and is the answer not in the manual?
Questions and answers