Table of Contents
Advertisement
Quick Links
Your DMX drum is now equipped to send and receive MIDI information. When turned on the machine will function
normally, sending out and receiving MIDI note & velocity information on the channels set in memory. The factory
channel settings are: receive channel 10, omni off, transmit channel 10, and clock stop/start messages enabled
for both receive and transmit. (Clock and start/ stop information is on a sort of global MIDI channel).
YOU CAN RETURN TO THE FACTORY MIDI SETTINGS BY SWITCHING THE MACHINE ON WHILST HOLDING
THE RED BUTTON PRESSED (hold for a couple of seconds then release).
If enabled, the DMX will normally send MIDI clock and stop/start information derived from its own internal clock -
you can however set the MIDI to read information coming from the Tape sync / External clock inputs instead [clock
mode #2]. The DMX will normally use its own internal clock for timing, unless it receives a MIDI start command -
(assuming that MIDI clock is enabled). On receipt of the MIDI start, it will then use MIDI clock information instead of
its own internal clock. It will continue to do this until a MIDI stop command is received. If it has received a MIDI
start but no MIDI clock is forthcoming, the DMX will appear to be "locked up".
There are several commands for controlling MIDI clock:-
Clock mode 0 = enable MIDI clock for input & disable Tape sync read
Clock mode 1 = disable MIDI clock for input & disable Tape sync read
Clock mode 2 = disable MIDI clock for input & enable Tape sync read
Clock mode 3 = enable MIDI clock for output
Clock mode 4 = disable MIDI clock for output
In addition to the above, MIDI continue messages can be treated as a MIDI start command, or ignored.
Two modes are available by pushing the red push button. Before you do press the red button however, make
sure the DMX drum is not playing, otherwise the results may be unpredictable.
1) SET-UP MODE - Setting MIDI channels and assignments (start-stop etc). (panel or remote).
Give the red push button a short press (half a second) - then release. Follow this with a note or sequence of
notes (on the remote keyboard) as detailed on page 3. After selecting a channel you will be automatically
returned to playing mode but after making assignments you will need to press the ENTER key (Top C) to return to
playing mode. (N.B. set-ups are stored in non volatile memory).
2) MAPPING MODE - assigning MIDI notes to sounds
Press the red button hold for about six seconds - then release. Follow this (on the remote keyboard) with a
program change number, then any MIDI note. The drum sound specified by that program change number will be
mapped to the key you pressed. You may keep assigning drum sounds to keys in the same fashion (program
then key). When you have assigned all the sounds that you want to, press any invalid program change number
(24 and above), you will then be automatically returned to normal play mode. On page 4 is a list of which program
numbers correspond to what drum sounds.
N.B. The red button can be pressed via MIDI - see last page.
INSTRUCTIONS FOR MIDI INTERFACE
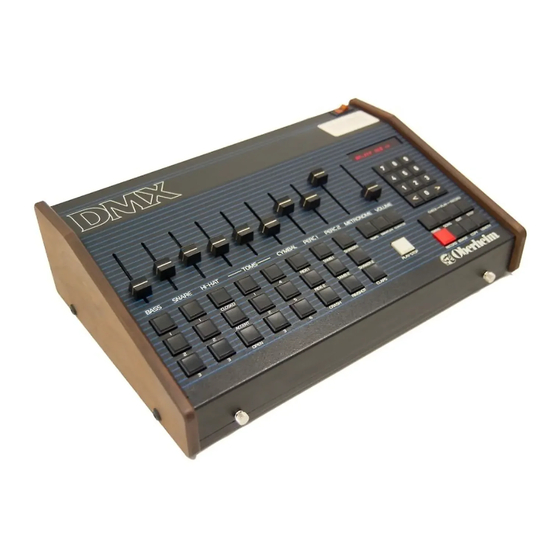
DMX
OBERHEIM
USING THE MIDI INTERFACE
RED PUSH BUTTON
DRUM MACHINE
Advertisement
Table of Contents

Related Manuals for Oberheim DMX


Summary of Contents for Oberheim DMX
- Page 1 MIDI to read information coming from the Tape sync / External clock inputs instead [clock mode #2]. The DMX will normally use its own internal clock for timing, unless it receives a MIDI start command - (assuming that MIDI clock is enabled).
- Page 2 You can also set channels etc. from a remote MIDI keyboard, using the table on the next page. [Press the red push button first] Note that selecting a receive channel from the remote keyboard will automatically set the DMX to omni-off, otherwise the effect of the setting up procedure is the same.
- Page 3 Clock mode 0 = MIDI and DMX internal clock (auto switching) Clock mode 1 = DMX internal clock only Clock mode 2 = DMX internal, external, and tape sync to MIDI clock Clock mode 3 = disable MIDI clock out...
- Page 4 OTHER INFORMATION - - - 6. If the DMX is already playing a pattern or song using its own internal clock - then any MIDI timing messages [clock/stop/start] will be ignored. To read MIDI timing information the DMX must be not playing.
- Page 5 MIDI CONTROL OF RED PUSH BUTTON The red push button can be "pressed" via MIDI as MIDI switch number 95 (5Fh) for regular program mode or 94 (5Eh) for transpose mode. The selection of the push button is enough, it doesn’t matter if it is being turned on or off.
Need help?
Do you have a question about the DMX and is the answer not in the manual?
Questions and answers