
Related Manuals for Furniture To Go Scandi 4+2 Drawer Chest 1020201


Summary of Contents for Furniture To Go Scandi 4+2 Drawer Chest 1020201
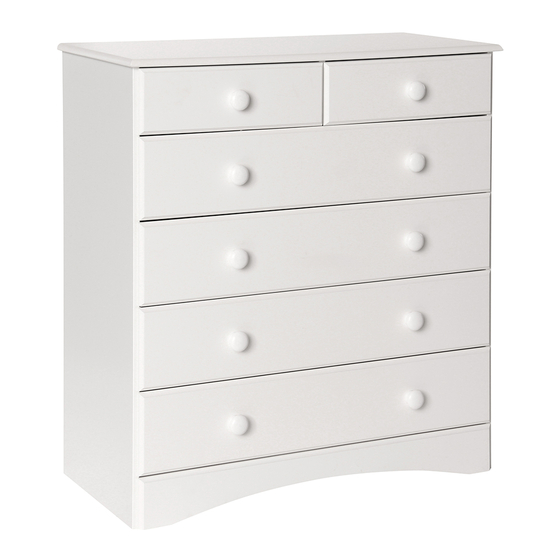
- Page 1 Scandi - 4+2 Drawer Chest Assembly Instructions - 1020201 Please keep for future reference Dimensions Width 83.5 cm Depth 39.7 cm Height 88.3 cm Assembly Instructions - Please keep for future reference Issue 2 - 21-02-2013 350216 MDF...
- Page 2 ! Safety and Care Advice Important - Please read these instructions fully before starting assembly • Check you have all the • Do not stand or put weight on components and tools listed on the product, this could cause pages 2 and 3. damage.
- Page 3 Components - Panels Please check you have all the panels listed below Plinth, back (78,1 cm x 6 cm) (83,5 cm x 39,7 cm) Plinth, front (79,3 cm x 9,6 cm) Side, right (86,8 cm x 37,9 cm) Side, left (86,8 cm x 37,9 cm) Back (78,4 cm x 39,7 cm)
- Page 4 Components - Fittings Please check you have all the panels listed below Note: The quantities below are the correct amount to complete the assembly. In some cases more fittings may be supplied than are required. ø7.8 x 40mm Wooden dowel x ø6 x 30mm Wooden dowel x 24 ø4 x 16mm Screw x ø3 x 35mm Screw x...
- Page 5 Assembly Instructions Step 1 Fix the drawer sides to the drawer backs as shown, using screws Step 2 Knock the dowels into the holes indicated on the drawer sides using a smal hammer. Step 3 Slide the drawer bottoms into the drawer sides Step 4 Screw the bolts...
- Page 6 Assembly Instructions Step 5 Push the drawer fronts onto the drawer sides shown. Push cams into the holes indicated. Arrow pointing towards the front. Turn the cams to the right to fix the fronts Step 6 Important! Make sure the angle between the 90°...
- Page 7 Assembly Instructions Step 8 Screw the bolts into the holes indicated on the top Step 9 Fix the drawer runner supports to the top using screws into the holes indicated. Step 10 Slide the top of the drawer runners backwards. Fix the front end of the drawer runners to the...
- Page 8 Assembly Instructions Step 11 Slide the top of the drawer runners forwards. Fix the the drawer runner to the drawer runner supports using screws into the holes indicated. See details. Step 12 Knock the dowels into the holes indicated on the sides Screw the bolts into...
- Page 9 Assembly Instructions Step 13 Slide the top of the drawer runners backwards. Fix the front end of the drawer runners to the sides using screws through the holes indicated. See details. Step 14 Slide the top of the draw- er runners forwards.
- Page 10 Assembly Instructions Step 15 Place the sides onto the back plinth Tighten using cams into the holes indicated on the back plinth Step 16 Press the top onto the sides Push cams into the holes indicated on the sides Arrow pointing towards the top Turn the cams to the...
- Page 11 Assembly Instructions Step 17 Turn around the chest. Place the front plinth as shown. Fix the front plinth the sides using screws into the angles Step 18 Place the backs into the rabbets in the sides and the and into the H-profile Important! Make sure the...
- Page 12 Assembly Instructions Step 19 Warning! The chest of drawers is heavy. Lift with care. Its recommended that the Wall strap and instruction chest is fixed to the wall. Use the fittings . Follow the instructions included with the fittings. Step 20 Pull out the drawer runners.
Need help?
Do you have a question about the Scandi 4+2 Drawer Chest 1020201 and is the answer not in the manual?
Questions and answers