Table of Contents
Advertisement
Advertisement
Table of Contents

Summary of Contents for Logik L08DPF13
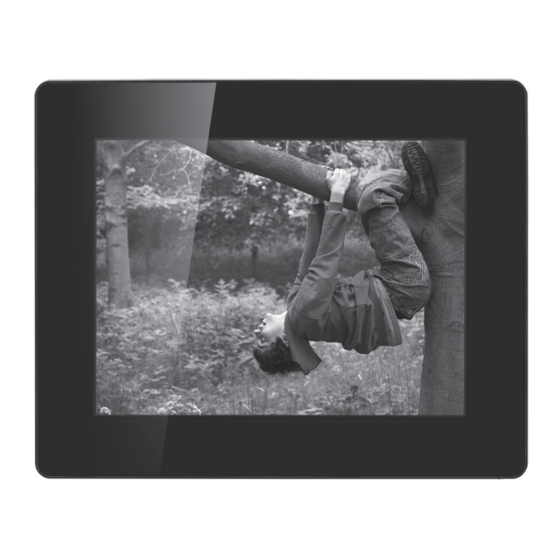
- Page 1 Instruction Manual 8” Digital Photo Frame L08DPF13...
-
Page 3: Table Of Contents
Contents Safety Warnings ..................4 Unpacking ....................5 Product Overview ..................6 Front & Side View......................6 Rear View ........................6 Preparations....................7 Attaching the Stand ....................7 Connecting to the Mains Power ................7 Inserting a Memory Card / USB Device ...............8 Selecting the Memory Device ................8 Viewing Photos ................... -
Page 4: Safety Warnings
Safety Warnings When using electrical appliances, basic • When the unit is not in use or precautions should always be followed, unattended for a long period of time, including the following: disconnect it from the mains socket. • Read all the instructions and retain •... -
Page 5: Unpacking
Thank you for purchasing your new Logik Digital Photo Frame. We recommend that you spend some time reading this instruction manual in order that you fully understand all the operational features it offers. You will also find some hints and tips to help you resolve any issues. -
Page 6: Product Overview
Product Overview Front & Side View 1. LCD Display 2. SD / MMC / MS Card Slot 3. USB Port 4. DC IN Socket Rear View MENU Button Button • Start/pause/resume Buttons slideshow. • Navigate left/right on the • Confirm selection. menu screen and adjust 3. -
Page 7: Preparations
Preparations Attaching the Stand 1. Screw the stand into the stand receptacle. 2. Once the stand is fixed, you can choose to display your unit in a landscape or portrait position. MENU Landscape Position Portrait Position 3. To take off the stand, unscrew it from the stand receptacle. Connecting to the Mains Power 1. -
Page 8: Inserting A Memory Card / Usb Device
Inserting a Memory Card / USB Device The unit can only display one memory device’s contents at a time. If more than one memory device is connected, press MENU to select the desired device to be displayed in the main menu. This frame can only play images (JPEG). -
Page 9: Viewing Photos
Viewing Photos Viewing Thumbnails In Photo screen, the photos on the selected memory device can be displayed on the screen as Photo thumbnails. Photo and press 1. Press to select confirm. The photos are displayed on the screen as thumbnails. 2. -
Page 10: Browsing Files
Browsing Files File and press 1. Press to select confirm. The file names are displayed on the File screen as playlist. 2. Press to select the desired file name, and the selected photo file will be previewed and file information displayed. 3. -
Page 11: Calendar View
Calendar View Calendar and press 1. Press to select confirm. Calendar 2. Display will show time/calendar with photo slideshow of the selected memory device. 3. Press to highlight selected date and to preview next/previous month calendar. 7/2013 18 : 13 : 25 4. -
Page 12: Maintenance
Slide Effect Select photo display effect. Photo Mode Select the aspect ratio of the viewing screen. Display Adjust the contrast, brightness, saturation and tint of the photo display. Set Time / Date Set the time and date. Set Time Format Select the time format. -
Page 13: Hints And Tips
Hints and Tips If a problem occurs, it may often be due to something very minor. The following table contains various tips: Problem Solution No power • Ensure the mains cable is connected securely at both ends. • Make sure that the ON mode is selected. The image is •... -
Page 14: Specifications
Specifications L08DPF13 Model Power Power Supply Input: AC 100-240V ~50/60Hz 0.2A Output: DC 5V 1.0A Power Consumption 3.5 W Feature Display Digital LCD, TFT Panel Size 7.9 inches Aspect Ratio Contrast 400-500:1 Brightness 200-300 cd/m Resolution 800 x 600 pixels Connectivity USB 2.0 x 1, SD Card Reader x 1... - Page 16 There are separate collection systems for recycling in the EU. For more information, please contact the local authority or your retailer where you purchased the product. DSG Retail Ltd. (co. no. 504877) Maylands Avenue, Hemel Hempstead, Herts., HP2 7TG, UK IB-L08DPF13-130826V1...

Need help?
Do you have a question about the L08DPF13 and is the answer not in the manual?
Questions and answers