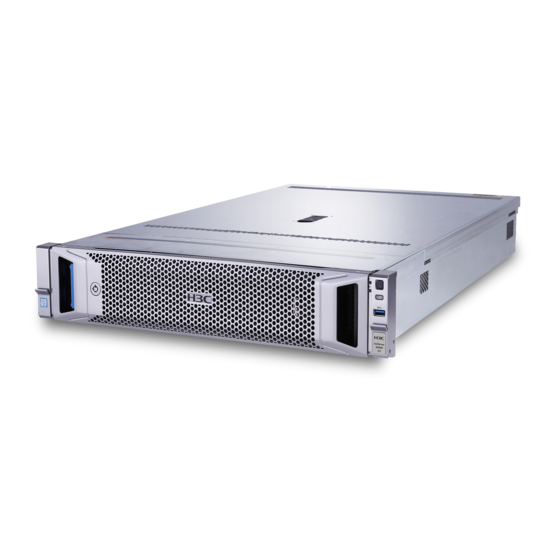
H3C UniServer R6900 G3 Installation, Quick Start
Processor installation
Hide thumbs
Also See for UniServer R6900 G3:
- User manual (214 pages) ,
- Operating system installation manual (105 pages) ,
- Quick start manual (24 pages)
Summary of Contents for H3C UniServer R6900 G3
- Page 1 H3C UniServer R6900 G3 Server Processor Installation Quick Start New H3C Technologies Co., Ltd. http://www.h3c.com Document version: 6W100-20181114...
- Page 2 The information in this document is subject to change without notice. All contents in this document, including statements, information, and recommendations, are believed to be accurate, but they are presented without warranty of any kind, express or implied. H3C shall not be liable for technical or editorial errors or omissions contained herein.
- Page 3 Preface This preface includes the following topics about the documentation: • Audience. • Conventions • Obtaining documentation • Technical support • Documentation feedback Audience This documentation is intended for: • Network planners. • Field technical support and servicing engineers. • Server administrators working with the R6900 G3 Server.
- Page 4 Symbols Convention Description An alert that calls attention to important information that if not understood or followed WARNING! can result in personal injury. An alert that calls attention to important information that if not understood or followed CAUTION: can result in data loss, data corruption, or damage to hardware or software. An alert that calls attention to essential information.
- Page 5 Documentation feedback You can e-mail your comments about product documentation to info@h3c.com. We appreciate your comments.
-
Page 6: Table Of Contents
Content Overview ·································································································································· 1 Processor kit ····························································································································· 1 Preparing for installation ·············································································································· 1 Installing the processor ··············································································································· 3 CMOD and processor numbering ···························································································· 3 Guidelines ························································································································· 4 Procedure ·························································································································· 5 Installing DIMMs ························································································································ 9 ... -
Page 7: Overview
Overview This guide provides a brief introduction to processor installation on an H3C UniServer R6900 G3 server. The preparations required before installing a processor might differ from your products. The figures in this document are for illustration only. Processor kit The processor kit for an H3C UniServer R6900 G3 server includes the following components: •... - Page 8 Figure 1 Releasing the CMOD b. As shown by callout 1 in Figure 2, press forward the locking levers to disengage the CMOD from the server. Then pull the CMOD out of the server, as shown by callout 2 in Figure Figure 2 Removing a CMOD Remove the CMOD access panel.
-
Page 9: Installing The Processor
Figure 3 Removing the CMOD access panel Lift the air baffles away from the CMOD, as shown in Figure The removal procedure is the same for air baffles. The following figure removes two air baffles. Figure 4 Removing the air baffles from the CMOD Installing the processor CMOD and processor numbering CMOD numbering... -
Page 10: Guidelines
Figure 5 CMOD numbering on an R6900 G3 server (1) CMOD 1 (2) CMOD 2 Processor numbering on CMODs A CMOD supports two processors. The two processors on each CMOD are numbered P2 and P1 from left to right. Figure 6 Processor numbering on a CMOD Guidelines Follow these guidelines to install processors on an R6900 server: •... -
Page 11: Procedure
Table 1 Processor installation positions Processor installation positions Processor Processors that start with 5 in the Processors that start with 6 or 8 quantity model name in the model name Processor 1 (P1) socket on CMOD 1 Processor 1 (P1) socket on CMOD 1 Processor 1 (P1) socket on CMOD 1 Processor 1 (P1) socket on CMOD 1 and and processor 2 socket (P2) on CMOD... - Page 12 Figure 7 Installing the processor onto the retaining bracket Install the retaining bracket onto the heatsink. CAUTION: When you remove the protective cover from a heatsink, be careful not to touch the thermal grease on the heatsink. a. Lift the cover straight up and away from the heatsink, as shown in Figure...
- Page 13 Figure 8 Removing the protective cover from the heatsink b. Install the retaining bracket onto the heatsink. As shown in Figure 9, align the alignment triangle on the retaining bracket with the cut-off corner of the heatsink. Place the bracket on top of the heatsink, with the four corners of the bracket clicked into the four corners of the heatsink.
- Page 14 CAUTION: • Take adequate ESD preventive measures when you remove the processor socket cover. • Be careful not to touch the pins on the processor socket, which are very fragile. Damage to pins will incur system board replacement. • Keep the pins on the processor socket clean. Make sure the socket is free from dust and any other debris.
-
Page 15: Installing Dimms
Installing DIMMs After you install a new processor, install DIMMs for it. See "DIMM configuration" on the label on the CMOD access panel. To install a DIMM: Open the retaining clips of the DIMM slot. Align the notch on the DIMM bottom edge with the key on the DIMM slot. Insert the DIMM into the slot and make sure the retaining clips lock the DIMM in place.


Need help?
Do you have a question about the UniServer R6900 G3 and is the answer not in the manual?
Questions and answers