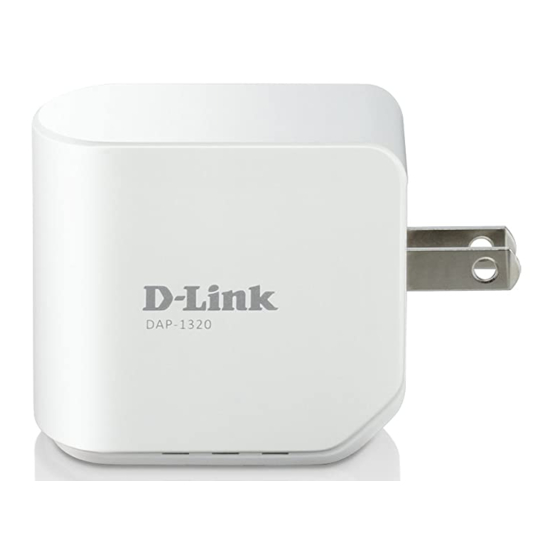
D-Link DAP-1320 Technical Support Setup Procedure
Hide thumbs
Also See for DAP-1320:
- User manual ,
- Quick installation manual (96 pages) ,
- Manual (17 pages)
Advertisement
Quick Links
-1-
Technical Support Setup Procedure
FAQ : How To connect Range Extender to existing router via
WPS Setup
Release date : 1/06/2015
Model Support : DAP-1320
H/W:A1 , B1
S/W:1.x , 2.x
How To Connect Range Extender to existing router via WPS setup
FAQ :
Version 1.00
Advertisement

Subscribe to Our Youtube Channel
Summary of Contents for D-Link DAP-1320
- Page 1 Technical Support Setup Procedure FAQ : How To connect Range Extender to existing router via WPS Setup Release date : 1/06/2015 Model Support : DAP-1320 H/W:A1 , B1 S/W:1.x , 2.x How To Connect Range Extender to existing router via WPS setup FAQ : Version 1.00...
- Page 2 DAP-1320 Push Button WPS Configuration Note : ถึ ง แม้ ว ่ า จะตั ้ ง ค่ า DAP-1320 โดยใช้ WPS คุ ณ จะต้ อ งมี อ ุ ป กรณ์ ข อง router/access point ที ่ ส ามารถร่ ว มกั น...
- Page 3 How To Connect Range Extender to existing router via WPS setup FAQ : Version 1.00...
- Page 4 ขั ้ น ตอนที ่ 2 : กดปุ่ ม WPS ของ router/AP (ประมาณ 5-7 วิ น าที ) ขั ้ น ตอนที ่ 3 : กดปุ่ ม WPS ของ DAP-1320 ค้ า งเอาไว้ ป ระมาณ 2 วิ น าที โดยไฟ LED ควรจะเริ ่ ม ต้ น กระพริ บ เป็ น...
- Page 5 Note: ต าแหน่ ง ที ่ ถ ู ก ต้ อ งของ DAP-1320 เป็ น สิ ่ ง ที ่ ส าคั ญ มาก โดยมั น ต้ อ งการต าแหน่ ง ที ่ ส ามารถรั บ สั ญ ญาณที ่ ด...
- Page 6 ขั ้ น ตอนที ่ 5 : เชื ่ อ มต่ อ เครื อ ข่ า ยไร้ ส ายไปยั ง DAP-1320 แล้ ว สแกนเครื อ ข่ า ยไร้ ส ายที ่ แ สดงในอุ ป กรณ์ เ ครื อ ข่ า ย...
- Page 7 *Firmware 1.10 and higher DAP-1320 Push Button WPS Configuration Note: In order to setup the DAP-1320 using WPS, you must have a WPS compatible router/access point Step 1: Plug in the DAP-1320 Note: The light should turn red and then start blinking orange...
- Page 8 Step 2: Press the WPS button on your router/AP (usually for about 5-7 seconds) Step 3: Press and hold the WPS button on the DAP-1320 for 2 seconds. The LED should start to blink green. Once it makes connection with your router the LED will stop flashing and turn solid GREEN.
- Page 9 Step 4: Unplug and place the DAP-1320 approx half way between the router and the desired connection area. Note: Correct placement of the DAP-1320 is very important. It needs to be positioned in an area that still receives good signal from your router. A good starting point is approx half way between the router and the area you want to get signal to.
- Page 10 -10- Setup is Complete. Back to Top How To Connect Range Extender to existing router via WPS setup FAQ : Version 1.00...
- Page 11 -11- ฝ่ ายสนั บ สนุ น ทางด้ า นเทคนิ ค Call Center หมายเลขโทรศั พ ท์ 02-6617997 ภาษาไทย : จั น ทร์ ถึ ง ศุ ก ร์ เวลา 9.00 น. – 18.00 น. Thai : Mon – Fri : Time 9.00 – 18.00. ภาษาอั...
- Page 12 -12- Nationwide D-Link Service Centres : How To Connect Range Extender to existing router via WPS setup FAQ : Version 1.00...


Need help?
Do you have a question about the DAP-1320 and is the answer not in the manual?
Questions and answers