
Subscribe to Our Youtube Channel
Related Manuals for Air Naturel air&me EVEL


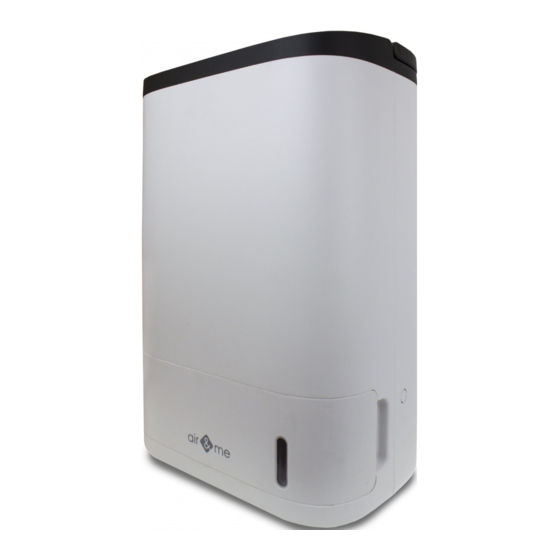
Summary of Contents for Air Naturel air&me EVEL
- Page 1 EVEL DÉSHUMIDIFICATEUR D'AIR PAR DESSICCATION DESICCANT AIR DEHUMIDIFIER LUFTENTFEUCHTER MIT ABSORPTIONSTROCKNUNGS-TECHNIK USER MANUAL – BEDIENUNGSANLEITUNG - MODE D' EMPLOI...
- Page 2 EVEL PANNEAU DE CONTRÔLE / CONTROL PANEL / BEDIENFELD / BEDIENINGSPANEEL / PANEL CYFROWY / OHJAUSPANEELI POWER HIGH FULL AUTO AUTO ON/OFF Speed Timer Humidity Clothes dryer Swing VIDANGE DU RÉSERVOIR / EMPTYING THE TANK / DEN TANK LEEREN / LEGEN VAN HET CONDENSRESERVOIR / DRAINAGE CONTINU / CONTINUOUS DRAINAGE / KONTINUIERLICHE ENTWÄSSERUNG /...
-
Page 3: Caractéristiques Techniques
FRANÇAIS INFORMATIONS IMPORTANTES DE SÉCURITÉ Evel, un produit air&me. Nous espérons 1. Lire attentivement les instructions avant 13. Ne jamais utiliser Evel s’il existe un risque qu’il vous donnera entière satisfaction et améliorera la qualité de votre air intérieur. d’utiliser Evel. de chute dans un liquide. - Page 4 COMPOSANTS (VOIR PAGE 2) FONCTIONS PRINCIPALES Poignée Réservoir d'eau BOUTON « VITESSE » : Panneau de contrôle Indicateur de remplissage du réservoir (flux d’air moyen) ou HIGH (flux d’air fort). Sortie d’air Entrée d’air BOUTON « TIMER » : Couvercle du réservoir d'eau Hygromètre intégré...
-
Page 5: Maintenance
DRAINAGE CONTINU (VOIR PAGE 3) Grâce au tuyau de drainage continu, l’appareil fonctionnera de façon autonome, sans avoir Problème Raison Solution en pente descendante afin que l’eau puisse s’évacuer facilement. Ne pas modifier ni rallonger > Le produit n’est pas >... -
Page 6: Technical Data
ENGLISH IMPORTANT SAFETY INSTRUCTIONS Thank you for having purchased the Evel air&me. 1. Please read all the instructions carefully 12. Do not use insecticide spray, perfume or before using Evel. indoor air quality. 2. Any use that is not recommended by the As with all electrical appliances, it is important to maintain the appliance properly 13. -
Page 7: Main Functions
COMPONENTS (SEE PAGE 2) MAIN FUNCTIONS Handle Water tank “SPEED” BUTTON: Digital display Filling the tank indicator flow) or HIGH (strong air flow). Air outlet Continuous drainage hole Air inlet “TIMER” BUTTON: Water tank lid Built-in hygrometer hours, 4 hours or 8 hours. By pressing it one more time, you can cancel the Timer function and choose to let the appliance work continuously. -
Page 8: Continuous Drainage
CONTINUOUS DRAINAGE (SEE PAGE 3) Thanks to the continuous drainage hose, the appliance will work independently without having Problem Reason Solution so that water can easily drain away. Do not modify or extend the drainage hose. Make sure that the tank is completely empty. >... -
Page 9: Wichtige Sicherheitshinweise
DEUTSCH WICHTIGE SICHERHEITSHINWEISE Wir danken Ihnen für den Kauf des Evel-Luftentfeuchters, ein air&me. -Produkt. 11. Um Stromschläge oder Brände zu ver- fältig durch, bevor Sie Evel benutzen. der Außen- oder Innenseite des Gerätes 2. Jede nicht vom Händler empfohlene kein Wasser, keine Reinigungsmittel oder kein brennbares Produkt. - Page 10 BESTANDTEILE (SIEHE SEITE 2) HAUPTFUNKTIONEN Griff GESCHWINDIGKEITS-TASTE: erzeugten Luftstrom einstellen, indem Sie einen der 3 Modi LOW (niedriger Luftstrom), MED Bedienfeld Luftauslass Lufteinlass TIMER-TASTE: Integriertes Hygrometer 2 Stunden, 4 Stunden oder 8 Stunden. Durch erneutes Drücken können Sie die Timerfunktion Schwimmer LUFTFEUCHTIGKEITS-TASTE: Durch mehrmaliges Drücken der Taste können Sie 3 Optionen ®...
-
Page 11: Wartung
KONTINUIERLICHE ENTWÄSSERUNG (SIEHE SEITE 3) Problem Ursache Lösung > Das Produkt ist nicht richtig angeschlossen oder korrekt an und stellen Sie es liegt ein elektrisches sicher, dass die Spannung korrekt ist, und dass das 2. Führen Sie den Schlauch durch die dafür vorgesehene Öffnung, dann in das Innere des funktioniert.
Need help?
Do you have a question about the air&me EVEL and is the answer not in the manual?
Questions and answers