Table of Contents
Advertisement
Quick Links
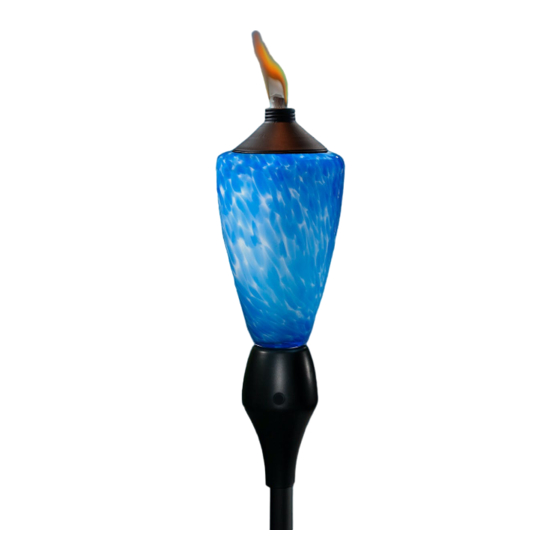
Glowing Torch
• Read and understand these instructions
before use!
• For outdoor use only!
• Keep out of reach of children and pets.
• Never leave a burning torch unattended.
• Hot while in use.
• To prevent burn injuries, snuff and allow to
cool for 30 minutes before handling, refilling
or cleaning.
• Failure to follow Instructions and Warnings may
result in serious injury or property damage.
CAUTION
• Keep clothing, hair and face away from flame.
• Do not place torch under covered shelter
or umbrella, near pedestrian traffic or
combustibles such as wood structures, fuel,
clothing or dry vegetation.
• Do not use Fuel Canister outside of Glowing
Torch.
• Insert Torch Pole into the ground a minimum
of 6" until secure.
Assembly and Torch Installation:
• Assemble the Pole Sections
together (see FIG 1).
• Insert the Torch Pole into the ground a
minimum of 6" until secured.
Note: The Pole Section with the angled
end is the Lower Pole Section.
• Assemble the Torch to the Pole Assembly (see FIG 2).
• Do not place Torch under covered shelter, near pedestrian
traffic or combustibles such as wood structures, fuel, clothing
or dry vegetation.
Instructions and Warnings
Product Box Contents:
A. 1 Glowing Torch (requires 2 AA
B. 1 Fuel Canister with Flame Guard
C. 4 Pole Sections
D. 1 Snuffer Cap
Save these instructions for future reference.
batteries - factory installed)
WARNING
• Use only TIKI
gasoline or other flammable fuel.
• Do not overfill.
• Never fill a burning torch.
• Before refilling, carefully place the Snuffer
over the flame to extinguish.
• Torch fuel is harmful or fatal if swallowed.
Contains petroleum hydrocarbons.
• Read Warnings on torch fuel container carefully.
Torch stability depends on many conditions. TIKI
products offer a variety of installation options for multiple
backyard environments. For best results, select one of
these recommended torch installation options.
1. Into Ground
FIG 1
1
A
D
/
Brand torch fuel - Do not use
®
2. Torch Stand
3 Torch Stake
FIG 2
C
B
Brand
®
Advertisement
Table of Contents

Related Manuals for tiki Glowing Torch


Summary of Contents for tiki Glowing Torch
- Page 1 Instructions and Warnings Product Box Contents: A. 1 Glowing Torch (requires 2 AA batteries - factory installed) B. 1 Fuel Canister with Flame Guard C. 4 Pole Sections D. 1 Snuffer Cap Glowing Torch Save these instructions for future reference. WARNING • Read and understand these instructions • Use only TIKI...
- Page 2 FIG 3 Filling and Lighting: • Remove the Fuel Canister from the Glowing Torch. Proper • Unscrew metal Flame Guard from the Fuel Wick Canister (see FIG 3). • Fill the Fuel Canister with 3 oz. of TIKI Position Brand Torch ® Fuel – Do NoT oveRFILL (see FIG 4).
- Page 3 Glowing Torch Activation: • Remove the Tab from the slot (See FIG 7) in the Glowing Torch Base and dispose of the Tab immediately. This allows the Control Switch in the Base (See FIG 6) to control the Glowing Torch color when activated.
- Page 4 • Carefully remove the Wick from the Flame Guard (see FIG 9). Properly dispose of the Wick in accordance with local laws and regulations. • Replace the Wick with a new TIKI Torch Wick and position ® the Wick with 1/2" exposed (see FIG 10).
Need help?
Do you have a question about the Glowing Torch and is the answer not in the manual?
Questions and answers