Advertisement
Quick Links
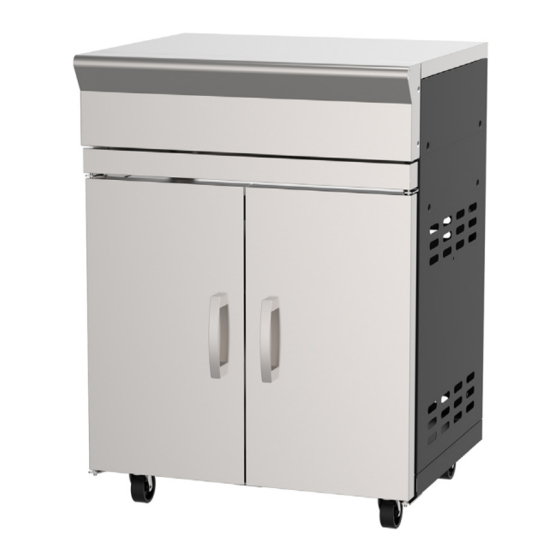
AVENIR
STORAGE MODULE
Model No. GM178-102
Create the ultimate outdoor kitchen by adding a
Gasmate Avenir Storage Module to your Avenir BBQ
(sold separately)
Gasmate® is a registered trademark of: Sitro Group Australia Pty Ltd www.gasmate.com.au
Important: Retain these instructions for future use.
304 grade stainless steel top, fascia and cabinet doors
with powder coated cabinet trolley and shelves
Assembled dimensions (mm): 655W x 910H x 575D
Aber Living - Hamilton, N.Z. www.gasmate.co.nz
5201-07/20
Advertisement

Related Manuals for Gasmate AVENIR

Summary of Contents for Gasmate AVENIR
- Page 1 (sold separately) Assembled dimensions (mm): 655W x 910H x 575D Important: Retain these instructions for future use. Gasmate® is a registered trademark of: Sitro Group Australia Pty Ltd www.gasmate.com.au Aber Living - Hamilton, N.Z. www.gasmate.co.nz 5201-07/20...
-
Page 2: Exploded Diagram
EXPLODED DIAGRAM No. Description No. Description No. Description Sink module top Back panel Screw M6x15 Bottom shelf Top panel Screw M6x12 Castor without brake Left door assembly Screw M5x12 Castor with brake Right door assembly Spring washer Ø6 Left side panel Door handle Wingnut M6 Right side panel... -
Page 3: General Information
GENERAL INFORMATION General Assembly Check Module for any Damage Remove the module from the packing carton. Check Inspect Module parts as you proceed. Contact your against parts list and lay components out within easy supplier for assistance regarding replacement of any reach. - Page 4 ASSEMBLY INSTRUCTIONS STEP 2 Using 4x M6x12mm screws (B) attach the left side panel (5) and right side panel (6) to the bottom shelf (2). STEP 3 Using 5x M6x12mm screws (B) attach the back panel (7) to the bottom shelf (2) and the left and right panels (5,6).
- Page 5 ASSEMBLY INSTRUCTIONS STEP 4 Using 4x M6x12mm screws (B) attach the top panel (8) to the left and right panels (5,6). STEP 5 Using 4x M6x12mm screws (B) attach the door handle (11) to left door (9) and right door (10).
- Page 6 ASSEMBLY INSTRUCTIONS STEP 6 Attach the doors (9,10) to assembled storage module cabinet. STEP 7 Using 4x M5x12mm screws (C) attach the top panel front fascia (12) to left and right panels (5,6).
- Page 7 ASSEMBLY INSTRUCTIONS STEP 8 Using 4x M6x12mm screws (B) attach the storage module top (1) to the assembled storage module cabinet.
- Page 8 KITCHEN/MODULE INSTALLATION Modules can only be installed to the right hand side of the BBQ. The side burner MUST NOT be removed. Modules must be a minimum of 200mm away from walls for ventilation. All units must be undercover. STEP 1 Unscrew the BBQ side shelf from the BBQ (if attached).
- Page 9 This page has been left intentionaly blank...
- Page 10 This page has been left intentionaly blank...
- Page 11 This page has been left intentionaly blank...
-
Page 12: Limited Warranty
2 YEAR LIMITED WARRANTY Aber Living warrants the purchaser of this product against defects in workmanship and material, for a period of up to 24 months from the date of purchase. The warranty is non-transferable and becomes void if used for commercial or rental purposes.
Need help?
Do you have a question about the AVENIR and is the answer not in the manual?
Questions and answers