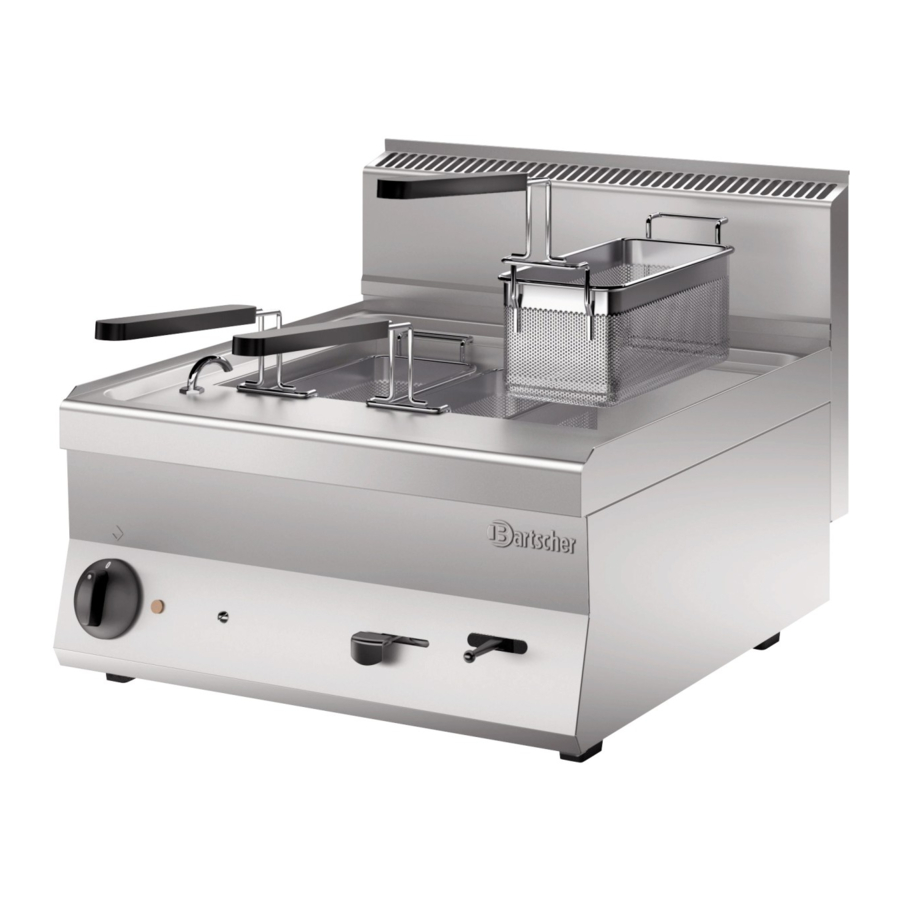
Bartscher 650 Snack Series Instructions For Installation, Operation And Maintenance
Hide thumbs
Also See for 650 Snack Series:
Advertisement
Quick Links
SERIE 650 SNACK
ISTRUZIONI PER L'INSTALLAZIONE, USO E MANUTENZIONE
ANWEISUNGEN FÜR INSTALLATION, GEBRAUCH UND WARTUNG
Die Hinweise sollen sofort gelesen werden!
INSTRUCTIONS FOR INSTALLATION, OPERATION AND MAINTENANCE
Read the general informations immediately!
INSTRUCIONS POUR INSTALLATION, EMPLOI ET ENTRETIEN
Lire tout de suite averissements!
INSTRUCCIONES PARA INSTAKKACION, USO Y MANTENINIENTO
¡En primer lugar leer las advertencias!
ISTRUCTIES VOOR INSTALLATIE, GEBRUIK EN ONDERHOUD
Lees de waarschuwingen onmiddellijk!
DOC.NO
EDITION
Advertisement

Summary of Contents for Bartscher 650 Snack Series
- Page 1 SERIE 650 SNACK ISTRUZIONI PER L’INSTALLAZIONE, USO E MANUTENZIONE ANWEISUNGEN FÜR INSTALLATION, GEBRAUCH UND WARTUNG Die Hinweise sollen sofort gelesen werden! INSTRUCTIONS FOR INSTALLATION, OPERATION AND MAINTENANCE Read the general informations immediately! INSTRUCIONS POUR INSTALLATION, EMPLOI ET ENTRETIEN Lire tout de suite averissements! INSTRUCCIONES PARA INSTAKKACION, USO Y MANTENINIENTO ¡En primer lugar leer las advertencias! ISTRUCTIES VOOR INSTALLATIE, GEBRUIK EN ONDERHOUD...
- Page 2 SCHEMA DI INSTALLAZIONE - INSTALLATION DIAGRAM - INSTALLATIONSPLAN - SCHÉMA D’INSTALLATION - ESQUEMA DE INSTALACION -INSTALLATIESCHEMA - IINSTALLATIONSRITNINGAR...
- Page 3 SCHEMA DI INSTALLAZIONE - INSTALLATION DIAGRAM - INSTALLATIONSPLAN - SCHÉMA D’INSTALLATION - ESQUEMA DE INSTALACION -INSTALLATIESCHEMA - IINSTALLATIONSRITNINGAR...
- Page 4 SCHEMA DI INSTALLAZIONE - INSTALLATION DIAGRAM - INSTALLATIONSPLAN - SCHÉMA D’INSTALLATION - ESQUEMA DE INSTALACION -INSTALLATIESCHEMA - IINSTALLATIONSRITNINGAR...
- Page 5 SCHEMA DI INSTALLAZIONE - INSTALLATION DIAGRAM - INSTALLATIONSPLAN - SCHÉMA D’INSTALLATION - ESQUEMA DE INSTALACION -INSTALLATIESCHEMA - IINSTALLATIONSRITNINGAR...
- Page 6 SCHEMA DI INSTALLAZIONE - INSTALLATION DIAGRAM - INSTALLATIONSPLAN - SCHÉMA D’INSTALLATION - ESQUEMA DE INSTALACION -INSTALLATIESCHEMA - IINSTALLATIONSRITNINGAR Mod. NDC64G MISURE IN cm –DIMENSION IN cm –ABMESSUNGEN IN cm – MESURES EN cm MEDIDAS EN cm – MATEN IN cm ATTENZIONE: Sul mobile di installazione vanno garantiti passaggi d’aria con una sezione almeno pari o...
- Page 7 SCHEMA DI INSTALLAZIONE - INSTALLATION DIAGRAM - INSTALLATIONSPLAN - SCHÉMA D’INSTALLATION - ESQUEMA DE INSTALACION -INSTALLATIESCHEMA - IINSTALLATIONSRITNINGAR Mod. NDC67G MISURE IN cm –DIMENSION IN cm –ABMESSUNGEN IN cm – MESURES EN cm MEDIDAS EN cm – MATEN IN cm ATTENZIONE: Sul mobile di installazione vanno garantiti passaggi d’aria con una sezione almeno pari o superiore a 50 cm...
- Page 8 FIGURE - ABB. - FIG.
- Page 9 DATI TECNICI - TECHNICAL DATA - TECHNISCHE DATEN - CARACTERISTIQUES TECHNIQUES - DATOS TECNI- COS - TECHNISCHE GEGEVENS...
- Page 10 DATI TECNICI - TECHNICAL DATA - TECHNISCHE DATEN - CARACTERISTIQUES TECHNIQUES - DATOS TECNI- COS - TECHNISCHE GEGEVENS...
- Page 11 DATI TECNICI - TECHNICAL DATA - TECHNISCHE DATEN - CARACTERISTIQUES TECHNIQUES - DATOS TECNI- COS - TECHNISCHE GEGEVENS...
- Page 12 DATI TECNICI - TECHNICAL DATA - TECHNISCHE DATEN - CARACTERISTIQUES TECHNIQUES - DATOS TECNI- COS - TECHNISCHE GEGEVENS...
- Page 13 DATI TECNICI - TECHNICAL DATA - TECHNISCHE DATEN - CARACTERISTIQUES TECHNIQUES - DATOS TECNI- COS - TECHNISCHE GEGEVENS...
- Page 14 APPLIANCE SPECIFICATIONS ..........................32 GENERAL PRESCRIPTIONS ............................ 32 REMINDERS FOR THE INSTALLER ............................32 REMINDERS FOR THE USER ..............................32 REMINDERS FOR THE MAINTENANCE TECHNICIAN ......................32 REMINDERS FOR CLEANING ..............................32 SAFETY AND CONTROL DEVICES .......................... 32 ELECTRIC OVEN ..............................32 DISPOSAL OF PACKING AND THE APPLIANCE .....................
-
Page 15: General Information
GENERAL INFORMATION pliance. This chapter contains general information which all users of the Do not tamper with appliance components. REMINDERS FOR THE MAINTENANCE TECHNICIAN 1 APPLIANCE SPECIFICATIONS 2 GENERAL PRESCRIPTIONS The manufacturer will not be liable for any damage or in- jury resulting from failure to observe the following rules pliance. - Page 16 8.1 APPLIANCE TYPE "A1" 8.2 APPLIANCE TYPE "B21" 8.3 APPLIANCE TYPE "B11" pliance. Do not tamper with appliance components. stant to 300°C. Appliances in the DROP-IN series 9 CONNECTIONS 9.1 ELECTRICAL CONNECTIONS 5 REFERENCE STANDARDS AND LAWS Install the appliance in compliance with the prescriptions of 6 UNPACKING panels 9.2 PROTECTIVE EARTH AND EARTH BONDING CON-...
- Page 17 hot water. table T1. Retighten nozzle UM. 10 CONVERSION TO A DIFFERENT TYPE OF GAS 11 COMMISSIONING INSTRUCTIONS FOR USE REMINDERS FOR THE USER The manufacturer will not be liable for any damage or in- jury resulting from failure to observe the following rules 10.1 GAS HOB 10.1.1...
- Page 18 USING THE ELECTRIC HOB REMINDERS FOR USE BURNER IGNITION AND EXTINCTION pans. Pilot ignition SWITCHING ON AND OFF Pilot ignition Minimum temperature Minimum temperatures Main burner ignition Switching on Switching off Switching off USING THE ELECTRIC OVEN REMINDERS FOR USE USING THE GAS OVEN REMINDERS FOR USE mostat that interrupts heating when the operating temperatu-...
-
Page 19: Instructions For Maintenance
Cleaning fan (mod.ventilated oven) the set temperature. Switching off INSTRUCTIONS FOR MAINTENANCE REMINDERS FOR THE MAINTENANCE TECHNICIAN 16 PROLONGED DISUSE The manufacturer will not be liable for any damage or in- jury resulting from failure to observe the following rules Allow electric appliances to operate at the lowest temperatu- re for at least 60 minutes. - Page 20 19 TROUBLESHOOTING 20 REPLACING COMPONENTS 19.1 GAS HOB REMINDERS FOR REPLACING COMPONENTS. The pilot burner does not light at connection points. 20.1 GAS HOB Pilot burner goes out during use Replacing the gas tap Replacing the pilot burner and thermocouple. The main burner does not light ( even though pilot is lit ) 20.2 GAS OVEN...
- Page 21 Replacing the hotplate. 22.4 ELECTRIC OVEN Heating element 20.4 ELECTRIC OVEN Door seal Replacing the heating element Replacing the fan (mod.ventilated oven) Replacing the fan motor (mod.ventilated oven) Replacing the temperature thermostat, the control knob, the indicator lamp and the safety thermostat Disconnect the component from the wiring.


Need help?
Do you have a question about the 650 Snack Series and is the answer not in the manual?
Questions and answers