Advertisement
Quick Links
Package Contents
Start the Installation
1
Adjust the Lens Focus Angle
3
Use the screwdriver to loosen
4
Focus Ring
Lens tool for adjusting focus.
Ceiling or Wall Mount Setting
5
RMIM-01G05044 Ver:01
Indoor
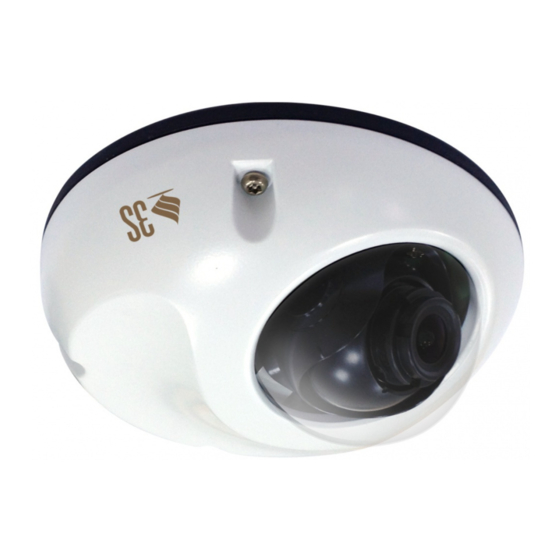
Mini Dome Network Camera
Remove the Cover
1-1
Panning coverage
+ 15 。
Lock
4-1
Recommend
Tightening
Force 4kg
Hardware Installa on
RJ45
Mounting
2
Mounting the camera in accordance with
mounting position sheet attached.
Tilting coverage
。
90
。
0
6
Insert the SD card
Lock the Screws
7
Holding the Cover
M12
Suggestion:
Hole size φ6mm, Depth 24mm
Attention
Beware electric shock or
damages with wet hands
Lock
Recommend
Tightening
Force 4kg
Advertisement

Summary of Contents for 3S Vision N9012
- Page 1 Indoor Mini Dome Network Camera Hardware Installa on Package Contents RJ45 Start the Installation Remove the Cover Mounting Mounting the camera in accordance with mounting position sheet attached. Suggestion: Hole size φ6mm, Depth 24mm Adjust the Lens Focus Angle Use the screwdriver to loosen Panning coverage Tilting coverage 。...
- Page 2 Indoor Mini Dome Network Camera Connec on Diagram RJ45 ● Audio ● Power ● High dB alarm ● Alarm ● ● Switch ● POE Switch DC+/DC-(White/Orange) DC+/DC-(White/Blue) TX - DC+/DC-(Orange) DC-/DC+(Green) DC-/DC+(White/Green) DC-/DC+(White/Brown) DC+/DC-(Blue) DC-/DC+(Brown) Connect the product to the switch hub and PC. Connect to the switch hub (as shown in the figure).

Need help?
Do you have a question about the N9012 and is the answer not in the manual?
Questions and answers