
Related Manuals for Dynalco MTH-103E

Summary of Contents for Dynalco MTH-103E
- Page 1 3211 Fruitland Ave Los Angeles, CA 90058 MTH-103E Tachometer/Hourmeter/Trip Installation and Operation Manual Rev. H P/N 145F-13048 PCO - 00011342 © Copyright 2014-2019, Barksdale® Inc. All Rights Reserved Published: March 18, 2014 Revised: May 06, 2019...
- Page 3 (Class C), or hours. The unit may be magnetic pickup or DC powered. The MTH-103E is CSA approved for Class I, Division 2, Groups A, B, C & D hazardous locations. When pickup powered the MTH103E is rated Class I, Division 1, Groups A, B, C &...
- Page 4 Installation: The MTH-103E is designed to be panel mounted. The dimensions are shown below. The MTH-103E includes a bracket for securing into the panel.
-
Page 5: Programming Overview
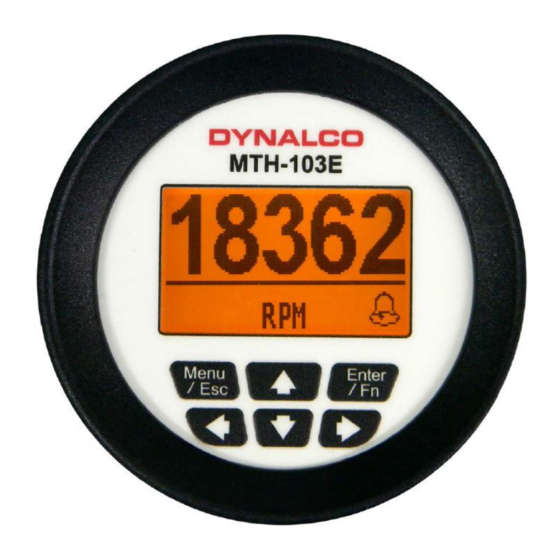
Terminal Connections All connections are made to terminals on the back of the unit. Terminal screws to be tightened to 8 inch-pounds torque. See pages 9 &10 for complete wiring information. Programming Overview... - Page 6 All programming is accomplished through the front keypad. Below is a brief description of each key. Press to enter or exit the configuration screens Press to enter or accept values or to reset the alarm Select up Select down Go back one screen Select and advance to next screen Initial configuration consists of the following steps: 1) Programming the # gear teeth...
- Page 7 Using the arrows on the keypad, select the “Gear Teeth Settings” icon and press enter. Here, you will need to set the number of gear teeth for proper RPM display. The MTH-103E will allow any number from 1 to 360 teeth.
- Page 8 Pressing at any time during configuration will prompt you to save the changes. Select “Yes” to save any changes made. Selecting “No” will not save changes. Configuration of “Hourmeter Settings” Using the arrows on the keypad, select the “Hourmeter Settings” icon. The first screen will allow you to configure the hourmeter to either count up or count down by pressing the up / down arrows to select, then pressing the right arrow to navigate to the...
Need help?
Do you have a question about the MTH-103E and is the answer not in the manual?
Questions and answers