Advertisement
Advertisement
Table of Contents

Related Manuals for Bebcare Hear


Summary of Contents for Bebcare Hear
- Page 1 BEBCARE HEAR A simple audio baby monitor that just works...
-
Page 2: Table Of Contents
INDEX Features of Bebcare Hear……………………………………………………………. Warning………………………………………………………………………………..P4 Power Supply……………………………………………………………………………...P4 Controls layout…………………………………………………………………….……… P7 Icon Screen….…………………………………………………………………….……… P8 Pairing the baby unit to parent unit and movement sensor mat……………………. P9 Operation Baby Unit ……….………………………………………………………………...……….P11 Movement Sensor Mat …….….………………………………………………...……….P13 Parent Unit…….….……………………………………………………………...………..P15 How to disable alarm sound ….…………………………………………………………P20 How to change colourful ring ….…………………………………………………………P21... - Page 3 Thank you for purchasing our Bebcare Hear digital baby monitor. Your unit has been manufactured and checked under the strictest possible quality control to ensure that each monitor leaves the factory in perfect condition. In the unlikely event you find any defects or have any problem, please contact our dealer or service center.
-
Page 4: Warning
WARNING The Bebcare Hear should not be regarded as a medical device. Premature babies or those considered to be at risk should be under the supervision of your doctor or health personnel. Direct supervision of your baby at a regular interval by a responsible adult is strongly recommended in addition to using the Bebcare Hear. - Page 5 2. Operation using AC adapter The unit can be operated on AC mains using the supplied 5V AC adapter. Connect the output plug of adapter to USB port 9 . The power supply from the battery will be cut off once the adapter’s output plug is inserted into USB port 9 .
- Page 6 Note : Before using the parent unit for the first time, charge up the Li polymer battery for at least four hours. It is recommended to switch off the unit during first charging. (C) Movement Sensor Mat (Optionally purchased) Set the lock lever to open position, slide open the battery door in direction as shown.
-
Page 7: Controls Layout
CONTROLS LAYOUT Baby Unit (BU) Parent Unit (PU) Movement Sensor Mat 1. Power ON/OFF switch 11. Talk back button 2. Up + button 12. Speaker 3. Down - button 13. Setting button 4. Feeding timer button 14. Music button 5. Power On / batter low indicator 15. - Page 8 ICON SCREEN Power Indicator Green - On Flashing Green - Battery low Red - Under Charging Feeding Timer Baby unit 2 Movement sensor Baby unit battery low mat battery low Night light on Temperature alert Night light VOX Ultra safe mode indicator Speaker mute Baby’s room Lullaby on...
- Page 9 PAIRING This process is to match the PU with BU and movement sensor mat so that they can communicate with each other while no other devices (even baby monitor of identical model) can interfere with you or receiving your signal. The PU and BU are already paired when they are shipped from factory.
- Page 10 13. Switch off both the BU and sensor mat, then switch on again for normal operation, probably you will hear the abnormal breathing alarm in PU after 20 sec in case nothing is placed on the movement sensor mat. Slight tap the mat few times and the alarm will stop, this shows the system is working properly.
- Page 11 OPERATION Baby Unit (BU) 1. Set the power ON/OFF switch 1 to ON position, the power on indicator 5 should light up steady green, if it starts flashing, the battery has run down. Either replace with new battery or use the AC adapter as power supply. The battery low alert of BU is also shown as on icon screen of PU, reminding the parents to replace the batteries in case they are running down.
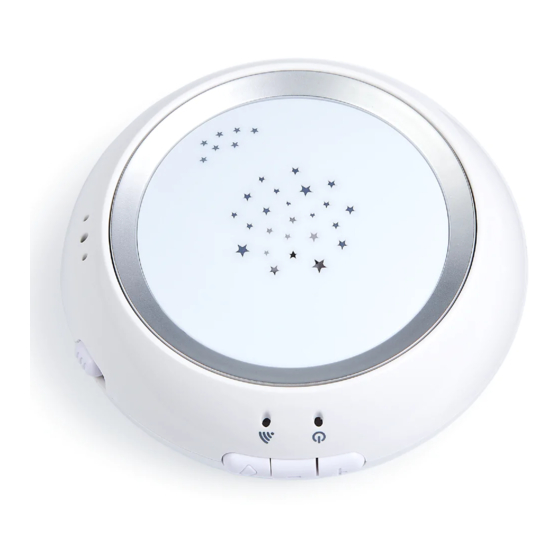
- Page 12 6. The starry night projector can be set to permanently ON or VOX (voice activated) remotely by the PU. Under VOX mode, the starry night projector is switched on once the microphone 7 detects a sound and goes off a few seconds after the microphone 7 stops picking up any sound.
- Page 13 Movement Sensor Mat 1. Place the movement sensor mat underneath the mattress, lengthwise direction and directly under where your baby sleeps. For optimum performance, there should be no bedclothes tucked between the sensor mat and the mattress. Besides, if the mattress support is too soft (such as box spring or underpadding), a hard board is required to be placed underneath the mat to provide a firm surface for it.
- Page 14 3. For environment with continuous vibration from the floor, the sensor mat may has false detection and delay or prevent the alarm from sounding. Under such circumstance, move the crib to the corner of the room or near a solid supporting wall.
- Page 15 Parent Unit (PU) 1. Rotate the side ring 10 clockwise or anti-clockwise to switch on the unit (Clockwise – unit on with vibration/Anti-clockwise – unit on only). 2. The icon screen will show up for around 20 sec and if there is no sound from baby, the icons (except the power indicator ) will go off to save battery power.
- Page 16 Ultra safe mode Use the buttons 15 16 to select between OFF or ON. Press button 13 to confirm. ON - There is zero radiation from BU during standby mode, will show up on icon screen. However, no alarm will be provided when PU exceeds the communicating range of BU.
- Page 17 Feeding timer This function acts like a timer and remind parents of the next feeding time. The period to next feeding time can be set from 1 hour to 8 hours in 0.5 hour step. Once the set period has elapsed, an alarm will be heard and flashing in icon screen.
- Page 18 5. Place the PU at a reasonable distance away from BU to avoid feedback. Too close a distance will create a screeching sound at the speaker 12. 6. Once the PU receives a signal, the icon screen will light up and depending the signal is coming from which BU, the corresponding baby unit no.
- Page 19 During music playing, if the Talk back button 11 is pessed, the music will be temporary stopped and BU will only hear the parent’s voice. N.B. Once the no. 1 – 6 changes back to temperature reading, pressing buttons 15 16 only adjust the PU speaker volume but not selecting the music.
-
Page 20: How To Disable Alarm Sound
15. It is possible for parent to talk back to baby to soothe his emotion. Press and hold the button 11, show up on icon screen. Speak towards the microphone 18. Release button 11 after finish speaking. It is worth noted that the parent can talk back anytime they prefer, even when the BU is transmitting. -
Page 21: How To Change Colourful Ring
How to change colorful ring A. Taking out the ring Set the unit in power off position Use both thumbs press the buttons firmly and turn anti-clockwise until a “ click ” sound is heard, The ring will pop up. B. -
Page 22: Precautions
PRECAUTIONS -Use only the supplied AC adapters, use of other adapters may cause damage to the baby monitor. -When not using the monitor for a long period of time, remove all batteries from the PU, BU and movement sensor mat to avoid damage due to battery leakage. -Disconnect the AC adapter from the wall outlet when the monitor is not to be operated. -
Page 23: Trouble Shooting Guide
TROUBLE SHOOTING GUIDE Problem Possible Causes Solution BU has no - Mic sensitivity is too low - Adjust mic sensitivity higher transmission by using + button 2 - Battery has run down or AC adapter improperly connected Replace with new battery or Check connection Always transmitting - Mic sensitivity is too high... -
Page 25: Specification
SPECIFICATION Operating frequency : 863-870MHz(EU) or 902-928MHz(US) FHSS digital transmission Communication range : 650m in open space Power supply : Baby unit - 3 x 1.5 V AAA (UM-4) alkaline battery or DC 5V 600mA Adapter Parent unit - 3.7V 750mAh Li rechargeable battery or DC 5V 600mA Adapter Battery life time : Baby unit –...
Need help?
Do you have a question about the Hear and is the answer not in the manual?
Questions and answers