Table of Contents
Advertisement
Quick Links
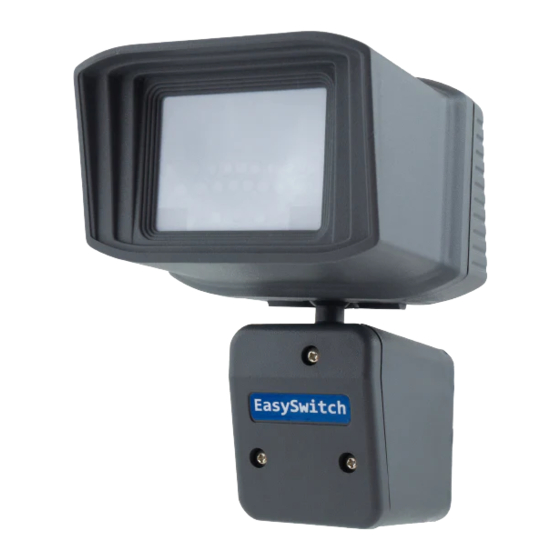
ESD-1,2&3 WIRELESS PIR DETECTOR
Installation & operating instructions
HOW THE ESD WORKS
The ESD is a battery operated PIR detector with a built in radio transmitter.
Each time the ESD detects movement it transmits a coded signal, which will operate easyswitch receivers.
The code also contains information, which tells the receiver if it is day or night and also how long to switch
the load on for.
TYPES OF RECEIVERS
ESR-1.
240 volt operated ON/OFF switching receiver with change over contacts.
ESR-2.
12 volt operated ON/OFF switching receiver with change over contacts.
ESA-1.
Mains powered plug in adaptor for switching table lamps remotely.
ESB-1.
Plug in bleeper.
BEGINNING THE INSTALLATION
There are two important considerations to remember when positioning the ESD.
Firstly there should be minimum obstruction between the ESD and the receiver.
trees and especially buildings will reduce the radio transmission range.
Secondly, the ESD should be positioned for best detection and minimum false activations. To achieve this,
fit the detector at the correct height (2.5 metres) and avoid reflective surfaces such as windows, water, cars
etc.
Fix the ESD to the wall using 4 x No6 x3/4" countersunk screws which should be inserted into the four screw
fixing tunnels in the corners of the battery compartment as shown.
Adjust the head so that it covers the required area by twisting it. The head can then be locked I position by
tightening the two screws at the rear of the detector.
DETECTOR HEAD
SCREW
TUNNEL
LIGHT
SENSOR
PP3
BATTERY
SCREW
TUNNEL
The TIMER adjuster will set the "lights on time" and is adjustable from 5 seconds MIN to 10 minutes MAX.
The LIGHT SENSOR adjuster can be set to DAY to make an ON/OFF receiver work during daylight. If it is
set to NIGHT, only an ESB-1 bleeper will work during daylight and all other receivers will work only at night.
Do not turn the adjuster more than ¾ of the way anti-clockwise.
NB: Light levels are taken as an average over the last two minutes and therefore you will not be able to
simulate darkness by putting your hand over the lens.
INTRODUCTION
SCREW
TUNNEL
TIMER
SCREW
TUNNEL
Any obstruction such as
BATTERY COMPARTMENT
The battery compartment is accessed by
unscrewing the three front cover screws
and removing the cover.
removed, the light sensor and timer controls
are accessible.
This is where the pp3 9
volt battery is housed and also where the
screw fixing tunnels are located.
With the cover
Advertisement
Table of Contents

Related Manuals for Luminite ESD-1


Summary of Contents for Luminite ESD-1
- Page 1 ESD-1,2&3 WIRELESS PIR DETECTOR Installation & operating instructions INTRODUCTION HOW THE ESD WORKS The ESD is a battery operated PIR detector with a built in radio transmitter. Each time the ESD detects movement it transmits a coded signal, which will operate easyswitch receivers.
- Page 2 Fully adjustable, left, right, up and down Temperature -10 to +40c Detection patterns: ESD-1 15 metre by 90 degrees ESD-2 40 metre by 1 degree ESD-3 12 metre Horizontal Curtain Luminite Electronics Ltd 2a Bellevue Road, Friern Barnet, London N11 3ER www.easyswitch.info info@easyswitch.info...
Need help?
Do you have a question about the ESD-1 and is the answer not in the manual?
Questions and answers