
Related Manuals for Futek LSB200

Summary of Contents for Futek LSB200
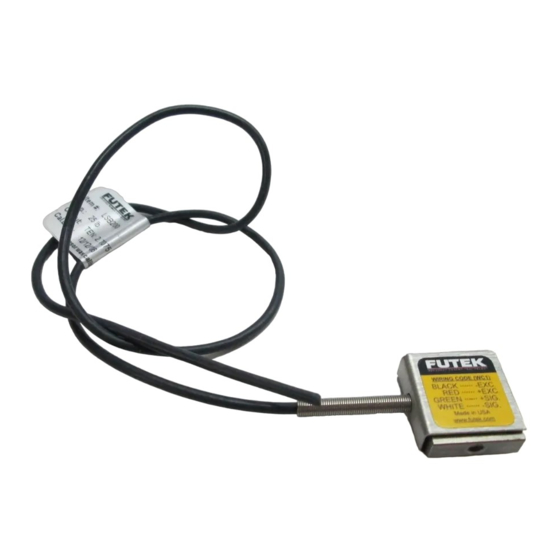
- Page 1 MINIATURE S-BEAM JR. LOAD CELL LSB200 MANUAL www.futek.com 10 Thomas, Irvine, CA 92618 USA · (949) 465-0900 A D V A N C E D S E N S O R T E C H N O L O G Y , I N C .
- Page 2 Remove the shunt before applying any load. Make sure the cover is not touching the measuring end of the load cell. Install the LSB200 in a dry, clean environment for optimum performance and to prevent short circuiting the sensor. MEASURING END The top of the sensor is the measuring end.
- Page 3 LSB200 MANUAL FUTEK ADVANCED SENSOR TECHNOLOGY, INC. INSTALLATION GUIDE When handling the sensor, do not pinch the ends where the load is applied. When installing the sensor, connect it to an instrument and monitor the output to prevent possible overload.
- Page 4 The zero balance calculator can be used to compensate for this high that a shunt is performed with no load on the sensor. You can find a zero by selecting a resistor to be used as a zero shunt. http://www. Shunt calculator online at http://www.futek.com/shuntcalc.aspx. futek.com/zerocalc.aspx www.futek.com 10 Thomas, Irvine, CA 92618 USA ·...
- Page 5 Is the sensor hot? The LSB200 has a temp. shift zero of ±0.01% of R.O./°F, and a An excessively high excitation voltage will heat up the sensor. This temp. shift span of ±0.02% of Load/°F. If the temperature in the may damage the sensor’s bridge.
- Page 6 LSB200 MANUAL FUTEK ADVANCED SENSOR TECHNOLOGY, INC. TROUBLESHOOTING GUIDE INCORRECT OUTPUT If the output of the sensor is incorrect when applying a known load, check the following points to troubleshoot the sensor. Has the wiring and power to the sensor been confirmed? Check to ensure the sensor wiring pattern from page 4 has been observed and that power is on to the sensor.
Need help?
Do you have a question about the LSB200 and is the answer not in the manual?
Questions and answers