Table of Contents
Advertisement
Quick Links
Contents
Product overview ·························································································································································· 1
Preparing for installation ············································································································································· 3
Safety recommendations ·················································································································································· 3
Temperature and humidity requirements ························································································································ 3
Accessories provided with the AP ··································································································································· 3
Installation tools and equipment ······································································································································ 4
Installing the AP ···························································································································································· 5
Checking before installation ············································································································································ 5
Determining the installation position ······························································································································· 5
Installing the AP ································································································································································· 6
Mounting the AP on a wall······································································································································ 6
Mounting the AP on a ceiling ································································································································· 9
Powering the AP ····························································································································································· 11
Connecting the AP to the local power supply ···································································································· 11
Connecting the AP to the network ································································································································ 12
Logging in to the AP··················································································································································· 13
i
Advertisement
Table of Contents

Related Manuals for H3C WA4320-ACN-PI


Summary of Contents for H3C WA4320-ACN-PI
-
Page 1: Table Of Contents
Contents Product overview ·························································································································································· 1 Preparing for installation ············································································································································· 3 Safety recommendations ·················································································································································· 3 Temperature and humidity requirements ························································································································ 3 Accessories provided with the AP ··································································································································· 3 Installation tools and equipment ······································································································································ 4 Installing the AP ···························································································································································· 5 ... -
Page 2: Product Overview
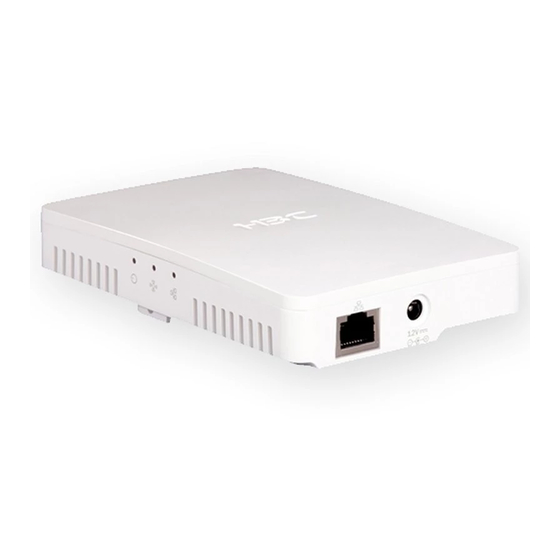
Product overview An H3C WA4320-ACN-PI access point (AP) can act as a fit AP to cooperate with wireless switches or access controllers to provide wireless access for WLAN users. The network settings are configured on the wireless switches or access controllers. The H3C WA4320-ACN-PI can also act as a fat AP to provide wireless access for WLAN users. - Page 3 Figure 2 Deployment of the WA4320-ACN-PI as a fat AP at hotspots WA4320-ACN-PI Meeting room Switch Core equipment room RADIUS Restaurant server WA4320-ACN-PI Switch or tea house Switch Wireless Parking lot WA4320-ACN-PI Switch Hall or WA4320-ACN-PI information desk Switch Table 1 H3C WA4320-ACN-PI AP specifications...
-
Page 4: Preparing For Installation
Preparing for installation Safety recommendations CAUTION: Install the AP under instruction of professional engineers. • • Read the following safety recommendations before installation. To avoid possible bodily injury and equipment damage, read the following safety recommendations before installing the AP. Note that the recommendations do not cover every possible hazardous condition. -
Page 5: Installation Tools And Equipment
Installation tools and equipment When installing the AP, you may need the following tools and equipment. Prepare these tools and equipment yourself. Phillips screwdriver T10 Torx screwdriver Rubber hammer Percussion drill (with drills) Marker Ladder... -
Page 6: Installing The Ap
Installing the AP Figure 3 Installation flowchart Checking before installation Before installing an AP, perform the following tasks: Power the AP and connect the AP to the network. Examine the LEDs to verify that the AP can operate • correctly. For more information about the LEDs, see "Appendix LEDs and ports." •... -
Page 7: Installing The Ap
Installing the AP You can only install the AP indoors. Mounting the AP on a wall Mark two installation points on the wall, as shown in Figure 4. Drill holes at the marked points on the wall. Figure 4 Marking two installation points on the wall Attach the wall anchor kit to the wall: Insert an expansion anchor into each hole, and use a rubber hammer to tap the expansion anchor until the anchor is all flush with the wall surface. - Page 8 Figure 5 Attaching the wall anchor kit to the wall (1) Expansion anchor (2) Screw Attach the AP to the wall: Align the mounting holes in the AP with the screws, as shown by callout 1 in Figure Slide the AP down to secure the AP in place by using the screws, as shown by callout 2 Figure...
- Page 9 Figure 6 Attaching the AP to the wall Align the T6 security Torx screw with the screw hole in the AP right. Use the T10 Torx screwdriver to fasten the T6 Torx screw. See Figure...
-
Page 10: Mounting The Ap On A Ceiling
The ceiling for installing the AP must be less than 18 mm (0.71 in) in thickness, and can bear a load of 5 kg (11.02 lb). H3C recommends that you reinforce the ceiling by using boards if the ceiling is not strong enough. - Page 11 Figure 8 Drilling holes in the ceiling Insert a pan head screw through each hole in the ceiling and fasten the washer and nut to the screw, as shown in Figure 9. Do not fasten the pan head screws tightly to the ceiling and leave 2.5 mm (0.10 in) to 4.5 mm (0.18 in) for hanging the AP.
-
Page 12: Powering The Ap
Figure 10 Attaching the AP to the ceiling Verify that the AP is securely installed to prevent it from falling off. Powering the AP You can power the AP by using local power. Before you connect the AP to the local power supply, make sure the local power supply is stable. -
Page 13: Connecting The Ap To The Network
State Model Serial-ID -------------------------------------------------------- WA4320-ACN-PI 219801A0T59157G00010 -------------------------------------------------------- When the AP operates as a fit AP, execute the ping command on the fat AP to ping the uplink network device. If the ping operation succeeds, the AP is connected to the network successfully. -
Page 14: Logging In To The Ap
Logging in to the AP IMPORTANT: The AP is typically installed on a high position. H3C recommends that you log in to and configure the AP before installation. When the AP acts as a fat AP, you can log in to the AP through Telnet or Web. Before you log in to the fat AP through Telnet or Web, obtain the IP address of the AP first.
Need help?
Do you have a question about the WA4320-ACN-PI and is the answer not in the manual?
Questions and answers