Advertisement
Quick Links
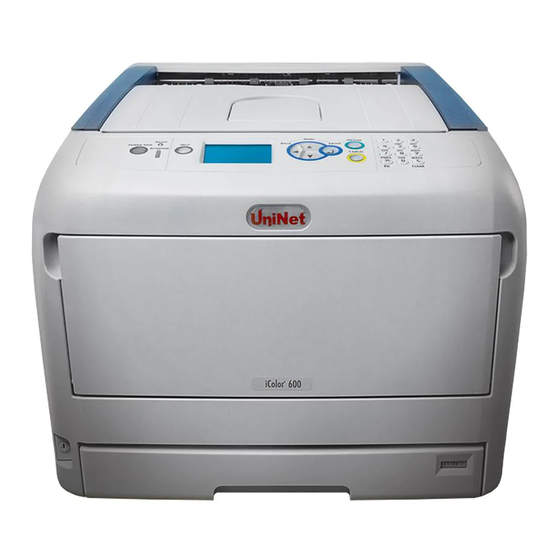
Digital Color + White Transfer Printer
Digital Color + White Transfer Printer
1. Remove the packing materials
and check the components.
3. Remove orange security tape, protective sheet and packing material from around the printer.
A. Remove the toner and drum cartridges and remove the protective orange tape and protective sheeting from each.
B. Lock the blue lever forward.
C. Reinstall the cartridges.
* Please note the blue handle on the white cartridge is already in the locked position *
4. Install the Uninet IColor Printer Driver
Insert the provided USB Flash drive, and select "Uninet IColor Software"
•
NOTE: Only connect the Printer to the PC when prompted to by the software.
5. Connect the power cord and USB cable to the printer.
Power on the printer.
6. Install the Uninet IColor TransferRIP software
A. Insert the dongle into an available USB port.
– The TranferRIP software is located on still the inserted
Uninet IColor Software USB Drive.
B. When prompted, enter the Update Code.
– Your code is in a text file on the UniNet iColor Software USB Drive.
– Please copy and paste the entire string of code.
C. The date below will automatically populate.
D. Then select "Close".
For detailed instructions please refer to the Uninet IColor 600 Printer User Manual
2. Open the front door and top lid of the printer.
.
Quick Start Guide
and the Uninet IColor TransferRIP User Manual
• Do Not Remove After Installation
Advertisement

Related Manuals for iColor 600


Summary of Contents for iColor 600
- Page 1 Uninet IColor Software USB Drive. B. When prompted, enter the Update Code. – Your code is in a text file on the UniNet iColor Software USB Drive. – Please copy and paste the entire string of code. C. The date below will automatically populate.
- Page 2 7. Install the Uninet IColor TransferRIP software 9. Load Files Step 2 Step 4 A. Select your paper size C. Select preview graphic Import the two profiles for white under print or • white/clear over printing B. Select load file –...
Need help?
Do you have a question about the 600 and is the answer not in the manual?
Questions and answers