Advertisement
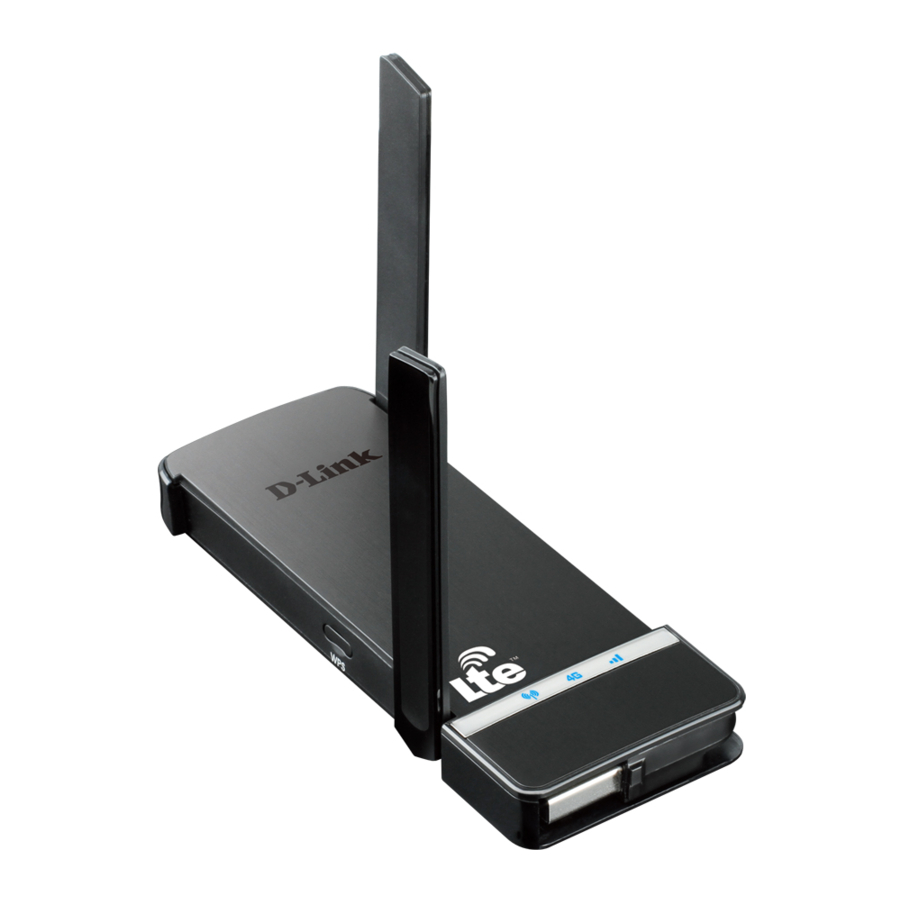
How to perform firmware upgrade of DWR-910?
Note: By default, the network name(SSID) of the DWR-910 will be in the format
dlink_DWR_910_xxxx where "xxxx" represents the last 4 characters of the
DWR-910's MAC Address. Please find the default SSID and password on the
product label pasted on the device.
Step 1 Ensure that the device is turned on and the desired SSID is found in the list
of Wireless Networks on your Wireless Computer.
Step 2 Select the DWR-910's Wireless Network Name. Click on Connect as shown.
Step 3 Please key in the corresponding WiFi Key as found on the label. Click OK to
proceed.
Technical Support Setup Procedure
Page 1 of 3
Advertisement
Table of Contents

Related Manuals for D-Link DWR-910


Summary of Contents for D-Link DWR-910
- Page 1 Technical Support Setup Procedure How to perform firmware upgrade of DWR-910? Note: By default, the network name(SSID) of the DWR-910 will be in the format dlink_DWR_910_xxxx where “xxxx” represents the last 4 characters of the DWR-910’s MAC Address. Please find the default SSID and password on the product label pasted on the device.
- Page 2 Technical Support Setup Procedure Step 4 Launch Internet Browser and enter http://192.168.0.1 into the address field. Please enter default admin and leave password blank to access the menu interface. Step 5 Click System Tab followed by Firmware Upgrade on the left-hand side as shown. Step 6 Click on Browse.
- Page 3 Technical Support Setup Procedure Step 7 Put a Tick in the box beside After upgrading the new firmware, restore configuration to factory default. Click on Apply. Step 8 Wait for it to upload. Step 9 Wait for it to Reboot. Step 10 Click on OK.
Need help?
Do you have a question about the DWR-910 and is the answer not in the manual?
Questions and answers
please i have dlink 910 but the security key and the bar codes has faded. please how can i get my security key back device name is dlink-DWR-910M-053C