Table of Contents
Advertisement
Quick Links
You can save yourself some time, major effort, and perhaps some expense if you will follow the tips we have compiled
for you.
Planning Your Installation – As a rule, all trampolines should be placed in an area where there are no vertical
obstructions. For safety reasons, you should allow at least three or more feet around the trampoline preferably a soft,
grassy area.
Your Avyna In-Ground Trampoline requires soil removal down to a minimum depth of at least 26-inches, so you should
be aware and plan around existing buried sprinkler systems. If they are encountered during the excavation, be careful
not to cut through the tubing. If the tubing is likely to be struck by the depressed trampoline mat during jumping, you
should have your sprinkler service reroute it for you.
The unique design of the Avyna In-Ground Trampoline greatly reduces the amount of soil that must be removed to
approximately three cubic yards compared to other in-ground designs. But three cubic yards is still a lot of soil to be
dispersed, so you should plan where to deposit it. One option is to mound it in a convenient out of the way spot. A
second is to build a "landscape mound" in another area of your lawn using the grass sod from the trampoline excavation
to cover the new mound of soil.
Typical Excavation Labor Required: Approximately 12-16 man hours, depending on soil conditions
Soil Removal: Approximately 20 wheelbarrow loads at 4-cubic feet per load
Tools Required: Shovel, wheelbarrow, and rubber mallet to drive stakes
Trampoline Assembly: One-half hour with two persons –a little longer with only one person
Installing your Avyna Trampoline – Rule one, BE SURE TO WATCH THE AVYNA IN-GROUND INSTALLATION VIDEO at
least twice or more prior to beginning your installation to remember the exact sequence of actions that promise a
successful, uneventful installation.. It can be found on our home page at
take from this video A detailed installation manual is located at:
https://www.dropbox.com/sh/fq06ivikkej01sa/AADQZxA4yA2sLov8aCXLTOQZa?dl=0 Subtitle "2. Avyna...Rou..i-14i" then
"3 Avyna Tram ...PDF"
After your initial planning and establishing where the trampoline will be located and reviewing the instructions, these
are the recommended sequent of events for installation.
Step 1 – Open the carton and assemble the 12-piece Avyna frame (which carries a Lifetime Guarantee).
Step 2 – With two persons carrying it, place the frame in the exact spot you want it to be installed. Take a rubber mallet
and drive the eight ends of the frame down into the ground sufficient to make an identifiable depression in the grass or
soil.
Step 3 – Take the eight pointed tubing stakes from the carton and place them around the perimeter of the trampoline
and place them pointing to the indentions being made by the eight frame stubs.
Step 4 – Move the trampoline off the excavation spot. Take a rubber mallet and drive the stakes into the marked
depression circles. BE CAREFUL TO DRIVE THE STAKES PERPENDICULAR TO THE GROUND AND IN THE CENTER OF THE
DEPRESSED CIRCLES MADE BY THE FRAME STUBS.
Note, you may want to carry the trampoline back and place it onto the stakes to be sure the stakes were
properly aligned.
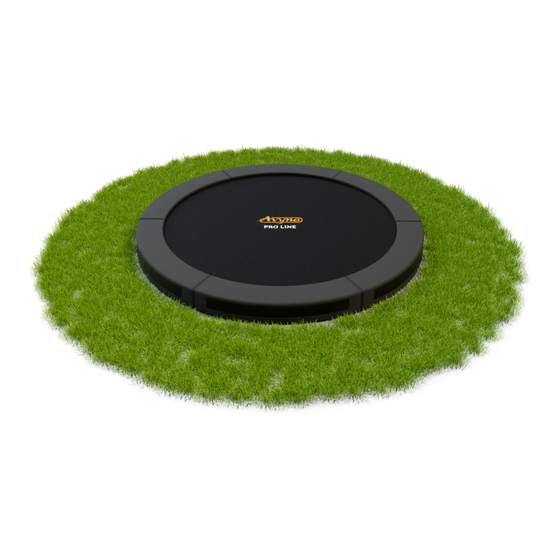
AVYNA Pro-Line 12 & 14-foot In-Ground Trampoline
Tips For Installing Your New Avyna In-Ground Trampoline
www.trampolinesinground.com
. You should
Advertisement
Table of Contents

Subscribe to Our Youtube Channel
Related Manuals for Avyna Pro-Line


Summary of Contents for Avyna Pro-Line
- Page 1 For safety reasons, you should allow at least three or more feet around the trampoline preferably a soft, grassy area. Your Avyna In-Ground Trampoline requires soil removal down to a minimum depth of at least 26-inches, so you should be aware and plan around existing buried sprinkler systems. If they are encountered during the excavation, be careful not to cut through the tubing.
- Page 2 Step 8 – Install the trampoline bed and springs. The bed with the Avyna logo on top should be placed to where the four spring loops attached with BLUE straps match the four black circles on the frame – at the 90, 180, 270, and 360 degree points.
- Page 3 For Installation assistance or questions call: 214 696 2157...
Need help?
Do you have a question about the Pro-Line and is the answer not in the manual?
Questions and answers