Advertisement
Quick Links
Digi-Code Garage Door Opener and Gate Operator Remote
Control Transmitter Programming Instructions
These instructions apply to the following Digi-Code Garage Door Opener
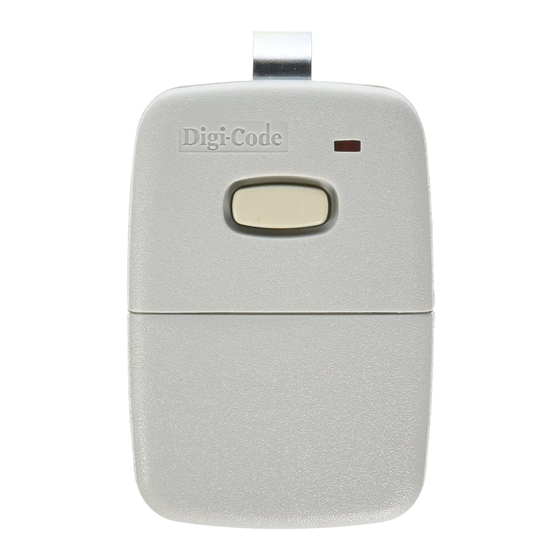
Model 5010/5011 (300MHz) 5012/5013 (310MHz) Single Button Mini
•
Transmitters
Model 5060/5030 (300MHz) 5062/5032 (310MHz) Multi Button Mini
•
Transmitters
Model 5100 (300 MHz) / 5102 (310 MHz) Receivers
•
CAUTION:
Always be sure to disconnect garage door or gate operator
power supply before beginning any installation or repair
Digi-Code radio controls are specifically designed to remotely control garage door
and gate operators from a distance and will to give years of trouble-free service
without needing further adjustment. Since all radio controls are pre-set at the
factory with the even numbered switches in the "ON" position, Star Door
Parts recommends that you select a different code at the time of
installation. Please refer to the Setting the Code Switch section below for detailed
instructions. Note: The radio frequency (RF) portion of the controls, are tuned to
standard frequencies and are thoroughly tested at the factory. This permits the
addition of or replacement of either the transmitter or the receiver by specifying the
model/part number and the RF frequency designated on the identification label. RF
adjustments are not needed and should not be attempted.
RECEIVER INSTALLATION
The receiver is designed to mount directly to the garage door or gate operator. It
can be remotely installed if the operator terminal strip is not assessable or if the
power for the receiver can not be obtained from the operator. To direct mount the
receiver, start by loosening the terminal screws on the operator and inserting the
two-way lugs from the receiver under the screws along the wall button wires. Then
tighten the screws.
Place the antenna (a10 in black wire) in a vertical position as far from any metal as
possible.
Operator Terminals:
1 – Common - to wall button
2 – Relay - to wall button
3 – 24 Radio Power
For remote installation, the receiver can be mounted near the operator head (such as
on a joist or the ceiling by using the mounting tab). Note: Model 5192-06 Adapter
allows for the connection between the operator terminal and the two-way lugs on the
receiver.
Radio Controls:
Advertisement

Related Manuals for Digi-Code 5010


Summary of Contents for Digi-Code 5010
- Page 1 Always be sure to disconnect garage door or gate operator power supply before beginning any installation or repair Digi-Code radio controls are specifically designed to remotely control garage door and gate operators from a distance and will to give years of trouble-free service without needing further adjustment.
- Page 2 4 – Connect push button wires to terminal “1” and “2” SETTING THE (“RECEIVER”) CODE SWITCHES – TO WORK WITH MODEL 5010/5011 AND MODEL 5012/5013 SINGLE BUTTON MINI TRANSMITTERS To change the code switches, use your finger to slide the “code switch hatch” from the receiver for access to the code switch.
- Page 3 environment and location or both the transmitter and receiver will impact the range. Try different mounting locations and positions in the vehicle. If operation is still undesirable, the problem may be tested by: Checking the door operator. If the door will not open when the wall button •...