Advertisement
Garage Door Opener Radio Controls
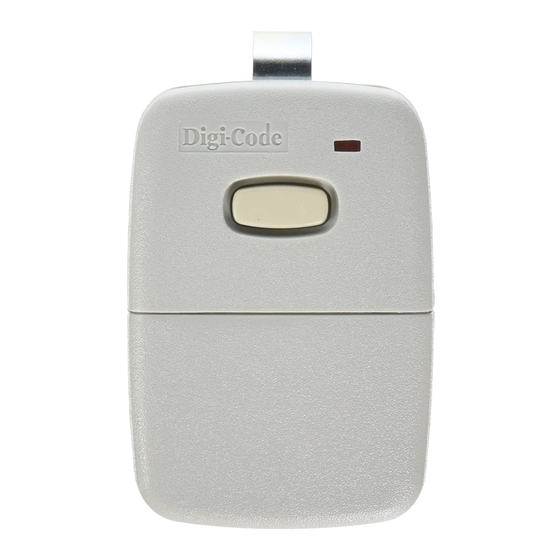
Model 5010 (300 mHz) \ 5012 (310 mHz) Single Button Transmitters
Model 5020 (300 mHz) \ 5022 (310 mHz) Dual Button Transmitters
Model 5190-01 (300 mHz) \ 5190-02 (310 mHz) Receivers
• • Disconnect operator power before any installation or repair
• • Always wear safety glasses
Your Digi-Code radio controls are designed specifically to remotely control a garage
door opener from within an automobile and to give years of trouble free service without
adjustment. Because all radio controls are set with the even numbered switches in the
"ON" position when they leave the factory, it is recommended that a different code
be selected and set at the time of installation. Please refer to the "Setting the Code
Switch" section for instructions. The radio frequency (RF) portion of the controls,
however, are tuned to standard frequencies and are thoroughly tested at the factory. This
permits the addition or replacement of either the transmitter or the receiver by specifying
the Model number and the RF frequency designated on the identification label. RF
adjustments are not needed nor should any be attempted.
RECEIVER INSTALLATION
The receiver is designed to mount directly to the operator. It can be remotely installed if
the operator terminal strip is not accessible, or if the power for the receiver is not
obtainable from the operator. To direct mount the receiver, simply loosen the terminal
screws on the operator and insert the two-way lugs from the receiver under the screw
heads along the wall button wires, and tighten the screws ( See Figure #1)
Place the antenna (a 10 inch black wire ) in a vertical position as far from any metal as
possible.
Installation Instructions
WARNING:
Advertisement
Table of Contents

Subscribe to Our Youtube Channel
Related Manuals for Digi-Code 5010

Summary of Contents for Digi-Code 5010
-
Page 1: Installation Instructions
Installation Instructions Garage Door Opener Radio Controls Model 5010 (300 mHz) \ 5012 (310 mHz) Single Button Transmitters Model 5020 (300 mHz) \ 5022 (310 mHz) Dual Button Transmitters Model 5190-01 (300 mHz) \ 5190-02 (310 mHz) Receivers WARNING: • • Disconnect operator power before any installation or repair •... - Page 2 For remote installation the receiver may be mounted near the operator head on a joist or the ceiling by using the mounting tab. Order Model 5192-06 adapter, which permits connection between the operator terminal and the two-way lugs on the receiver. Slip on connectors at one end of the adapter connect to the flat side of each spade lug on the receiver, and the spade connectors at the other end connect to the operator terminal.
- Page 3 SETTING THE ( “RECEIVER” ) CODE SWITCH - TO WORK WITH MODEL 5010 AND MODEL 5012 SINGLE BUTTON TRANSMITTERS Use your finger to slide the “code switch hatch” from the receiver for access to the code switch. On the transmitter the entire front lower half of the case ( “ the battery hatch” ) is removeable.
- Page 4 Set both code switches to the code of your choice, being sure both are set the same since a different setting of just one switch will prevent operation. The digital code is determined by the position of the 10 small switches numbered 1 through 10 located in the receiver and the transmitter.
- Page 5 CAUTION: Any changes or modifications in intentional or unintentional radiators which are not expressly approved by Digi-Code Inc. could void the users authority to operate this equipment. This applies to intentional and intentional radiators certified per part 15 of the FCC rules and regulations.
Need help?
Do you have a question about the 5010 and is the answer not in the manual?
Questions and answers