Table of Contents
Advertisement
Quick Links
Advertisement
Table of Contents

Related Manuals for Titan TT-ACP10C02

Summary of Contents for Titan TT-ACP10C02
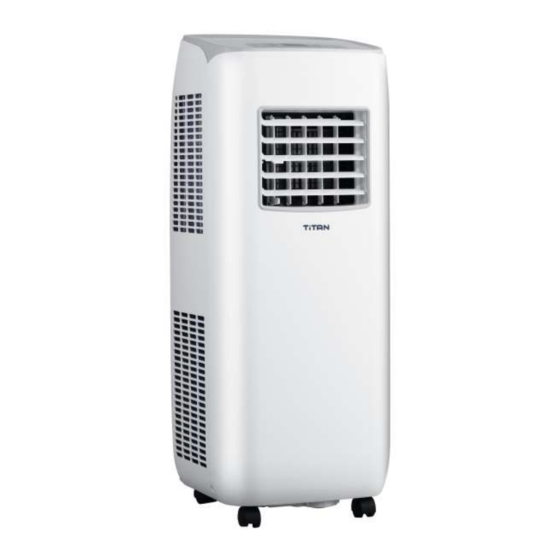
- Page 1 INSTALLATION & ASSEMBLY PORTABLE AIR CONDITIONER TT-ACP10C02...
-
Page 2: Installation Safety
Installation Safety WARNING ● Observe all applicable state and local codes and ordinances. ● Do not use a damaged or non-standard power cord. ● Use caution during installation and maintenance. Incorrect operation can cause electric shock, resulting in injury or death. Selecting an installation location Basic requirement Installing the unit in the following areas may cause it to malfunction:... -
Page 3: Requirements For Electrical Connection
Installation Safety Requirements for electrical connection WARNING: Safety precaution 1. Follow all applicable state and local safety regulations when installing and grounding this appliance. 2. Ensure the safety of the power supply circuit prior to installation. 3. Be sure to properly connect the live wire, neutral wire and grounding wire of the power socket. -
Page 4: Before You Install
Before You Install Note: Check to ensure that all of the accessories listed here are included with this air conditioning unit. Accessory list Window Window Joint Adapter heat discharge pipe adapter(top) adapter(bottom) battery (AAA 1.5V) wire hook screw remote controll user's manual Optional Note: The following accessories are not included with all models. - Page 5 Installing Wire Hook ● Assemble the wire hook at the back of the unit with screws (orient the wire hook as shown in the following figure). direction of wire hook is upward wire hook screw direction of wire hook is downward ●...
-
Page 6: Removing Collected Water
Removing Collected Water There are 2 ways to remove collected water: Use the continuous drainage option from the bottom hole. ■ Drains as follows. During cooling or drying operations, condensed water will drain to the chassis and be spattered as it strikes the motor. As the condenser is hot, most of this condensation will evaporate and drain to the outdoors on its own. - Page 7 Removing Collected Water Use the continuous drainage option from the middle hole Note: Water can be automatically emptied into a floor drain by attaching a 14mm inner diameter hose (not included). Remove the continuous drain cap (1) by turning it counterclockwise, then remove the rubber stopper (2) from the spout.
-
Page 8: Installation In A Double-Hung Sash Window(Optional)
Installation in A Double-hung Sash Window(Optional) 1. Connect the rain guards to the insect guard net. Insert all three projections on each rain guard into the holes in the insect guard net. Side “A” will now be at the top, as indicated in the diagram. Hole Insect guard net Rain guard... - Page 9 Installation in A Double-hung Sash Window(Optional) The window panel cannot be installed in windows less than 20.5" (520mm) wide,as you will be unable to shut the exhaust cover. (1) Open the window sash and place the window panel on the window sill. (2) Secure the window panel to the window stool with screws.
- Page 10 Installation in a Double-hung Sash Window(Optional) 5. Close the window sash securely against the window panel. 6. Stuff the Foam seal A between the glass and the window to prevent air and insects from getting into the room.
-
Page 11: Installation In A Sliding Sash Window(Optional)
Installation in A Sliding Sash Window(Optional) 1. Connect the rain guards to the insect guard net. Insert all three projections on each rain guard into the holes in the insect guard net. Side “A” will now be at the top, as indicated in the diagram. "A"... - Page 12 Installation in A Sliding Sash Window(Optional) The window panel cannot be installed in windows less than 20.5" (520mm) high, as you will be unable to shut the exhaust cover. (1) Open the window sash and place the window panel on the window frame. (2) Secure the window panel to the window frame with screws.
- Page 13 Installation in A Sliding Sash Window(Optional) 4. Close the window sash securely against the Window panel. 5. Stuff the Foam seal A between the glass and the window to prevent air and insects from getting into the room.
- Page 14 Installation and Disassembly of Heat Discharge Pipe Install heat discharge pipe 1. Install the window adapter— aim the window adapter(top) at the window Adapter (bottom) and affix them together by pressing the clasp forcibly into the groove. Window adapter(top) Window adapter(bottom) 2.
-
Page 15: Installation And Disassembly Of Heat Discharge Pipe
Installation and Disassembly of Heat Discharge Pipe Installing the heat discharge pipe In order to improve cooling efficiency, the heat discharge pipe should be as short and straight as possible to ensure smooth heat discharge. Install the discharge pipe according to the manufacturer’s specifications (shown below): correct under 51 inchs about 24 inchs... - Page 16 Installation and Disassembly of Heat Discharge Pipe Disassembling the heat discharge pipe 1. Remove joint: Press the clasp and lift joint upwards to remove it. clasp upwards disassemble joint 2.Remove window adapter from outdoors. window adapter 3.Remove the window adapter. Pull out and remove the window adapter by pushing down two “PUSH”...
Need help?
Do you have a question about the TT-ACP10C02 and is the answer not in the manual?
Questions and answers