Advertisement
Prism Sound MDIO-Dante Module
Prism Sound MDIO-Dante Fitting Guide
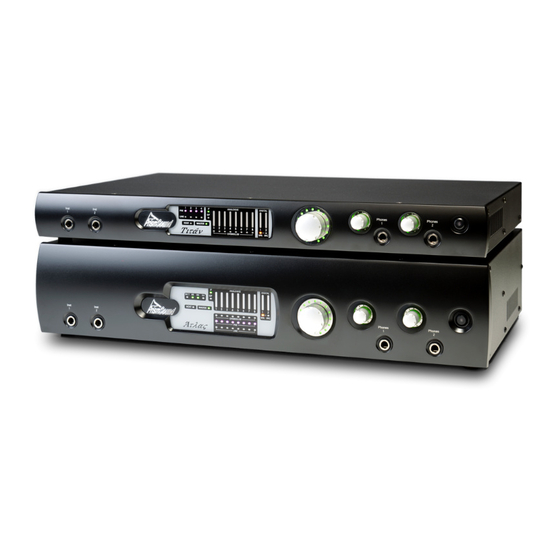
A Guide to fitting your Atlas or Titan with an MDIO-Dante Module..
1. If this is an existing Atlas or Titan unit, it's VERY important that BEFORE you fit the MDIO-Dante
module you should update the unit in preparation.
Both software and firmware updates are required (a firmware update is a special process, and
involves more than just running an installer) and it must be done in the correct order – software first,
firmware second. If the software is not updated first, it will not be possible to update the firmware.
a) Update the computer software (Driver and Control Panel) to the latest version – this is available
from our website download pages.
http://www.prismsound.com/music_recording/products_subs/titan/titan_downloads.php
or
http://www.prismsound.com/music_recording/products_subs/atlas/atlas_downloads.php
b) Connect your Atlas or Titan to the computer via USB (if you have several units, you must connect
them and update them one unit at a time).
c) Update the firmware in your Atlas or Titan.
i)
A firmware update resets all settings, so you may wish to save them and reload them
afterwards. If you use the Volume control, headphone bus, and any special routings, take
care that it's set up before playing any audio after the update..
ii) Pull the power cable at the rear, leave the USB connected.
iii) Run the Prism Sound Control Panel (it will appear but 'blank').
iv) On the Atlas unit itself, press and hold the Volume knob and the Standby button (front panel
right side).
v)
Now put the power cable back in (there will be no lit LEDs on the front panel of the unit –
this is normal).
vi) The 'X-Bootloader' window will now appear.
vii) Press the 'Browse' button and point to the new firmware file.
viii) Press Load, then watch the progress bar increase until it reaches 100% and the Launch
button appears again.
Press Launch and the Atlas unit will restart.
d) Power down the unit. Only now should you follow the instructions for fitting the MDIO module
below.
Fitting Guide
Revision 1.00
Advertisement
Table of Contents

Subscribe to Our Youtube Channel
Related Manuals for Prism Sound MDIO-Dante


Summary of Contents for Prism Sound MDIO-Dante
- Page 1 Prism Sound MDIO-Dante Fitting Guide A Guide to fitting your Atlas or Titan with an MDIO-Dante Module.. 1. If this is an existing Atlas or Titan unit, it’s VERY important that BEFORE you fit the MDIO-Dante module you should update the unit in preparation.
- Page 2 Hardware Installation 1. Remove the lid of the unit. Prism Sound Atlas has six hex-head screws on each side; Titan has five on each side; both units have another three screws along the top front edge and three along the lip of the lid at the rear.
- Page 3 5. Taking anti-static precautions, remove the MDIO-Dante module from its anti-static bag. 6. Offer up the MDIO-Dante module to its connector. If this is an Atlas rather than Titan, be careful of the wires connecting the MIDI ports on the rear – you’ll need to avoid pulling these as you place the Dante module.
- Page 4 MDIO modules on a regular basis – this will reduce the life of the Atlas or Titan unit and the MDIO modules. Please now follow the MDIO Dante Quick Start Guide and proceed to connect the Prism Sound Atlas or Titan units to your Dante network and set up their connections.
Need help?
Do you have a question about the MDIO-Dante and is the answer not in the manual?
Questions and answers