Advertisement
Quick Links
GreenLine-Laser 2 P
Bedienungsanleitung
D
Operating instructions
GB
Gebruiksaanwijzing
NL
Betjeningsvejledning
DK
Mode d´emploi
F
Instrucciones para su uso
E
Istruzioni d'uso
I
Instrukcja Obsługi
PL
Käyttöohje
FIN
Instruções de uso
P
3-8
9-14
15-20
21-26
27-32
33-38
39-44
45-50
51-56
57-62
Advertisement

Related Manuals for LaserLiner GreenLine-Laser 2 P


Summary of Contents for LaserLiner GreenLine-Laser 2 P
- Page 1 GreenLine-Laser 2 P Bedienungsanleitung Operating instructions 9-14 Gebruiksaanwijzing 15-20 Betjeningsvejledning 21-26 Mode d´emploi 27-32 Instrucciones para su uso 33-38 Istruzioni d'uso 39-44 Instrukcja Obsługi 45-50 Käyttöohje 51-56 Instruções de uso 57-62...
- Page 2 GreenLine-Laser 2 P...
-
Page 3: Warranty
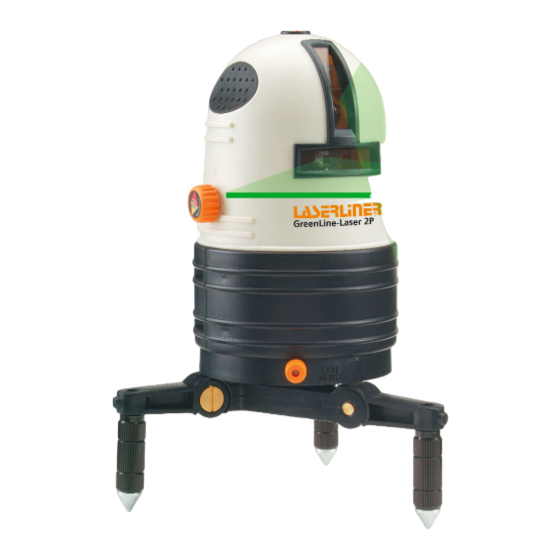
Any tampering by unauthorised persons will render this warranty void. In the event that you need to claim warranty, please take the complete device together with all information and the invoice to one of our dealers or send it in to Umarex-Laserliner. ENGLISH... - Page 4 GreenLine-Laser 2 P 1 Window for vertical laser line 2 Window for horizontal laser line 3 On / Off switch Transport securing device 4 Knob for precision adjustment 5 Base 6 Adjustable feet 7 Window for plumb lasers 8 Round vial for rough...
- Page 5 GreenLine-Laser 2 P Charging the batteries: • Fully charge the batteries before use. • Plug the charger/mains adapter into the power socket and into socket (9). • When LED (13) starts to blink, recharge the batteries. Switching on: Turn the On/Off switch (3) to the right, thereby releasing the transport securing device.
- Page 6 GreenLine-Laser 2 P Alignment For approximate alignment, the upper part of the device can be turned on the base. Exact positioning can be done with the adjusting knob (4). Because of the adjustable feet (6), the device can also be placed on surfaces which are not level.
- Page 7 GreenLine-Laser 2 P Note: Regularly check the calibration before use, after transport and after extended periods of storage. Technical data Self-levelling range + 3° Precision line lasers + 2 mm / 10 m Precision plumb laser + 4 mm / 10 m Working range (depending on ambient brightness) ca.
- Page 8 GreenLine-Laser 2 P Preparing the calibration check: It is possible for you to check the calibration of the laser. To do this, position the device midway between 2 walls, which must be at least 5 metres apart. Switch the device on (Laser cross ON). The best calibration results are achieved if the device is mounted on a tripod.
- Page 9 GreenLine-Laser 2 P Zubehör (optional) Accesorios (opcional) Accessories (optional) Accessori (optional) Akcesoria (opcja) Accessoires (optioneel) Tilbehør (flere typer) Lisämahdollisuuksia valinnaisvarusteilla Accessoires (en option) Acessórios (opcional) Art.-Nr: 080.70 Art.-Nr: 090.120 Art.-Nr: 080.30 75° www.laserliner.com...
- Page 10 GreenLine-Laser 2 P LASERSTRAHLUNG NICHT IN DEN STRAHL BLICKEN! LASER KLASSE 2 M EN 60825-1:2001 Service- und Versand-Anschrift: Dirección de envío y de servicio Service-Telefon +49 2932 638-486 post-venta: +49 2932 638-489 Telefon: +49 2932 638-300 +49 2932 638-333 Service- and Shipping Address:...
Need help?
Do you have a question about the GreenLine-Laser 2 P and is the answer not in the manual?
Questions and answers