Table of Contents
Advertisement
Quick Links
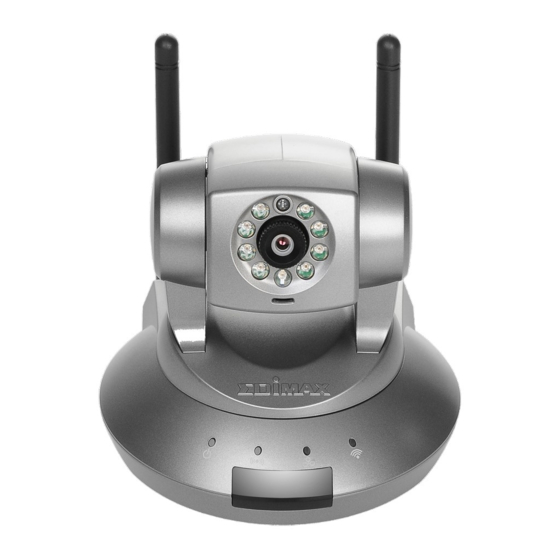
How to setup wireless function of Edimax IP Camera
The wireless function of Edimax IP Camera is disabled by default. You need to hardwired the camera by Ethernet
cable to connect the camera to your network first.
Introduction
For any new wi-fi devices (wireless computers, Edimax wireless camera, iPhone, Android) to join a Wi-Fi network, you need to know
two things about your Wi-Fi network.
1. The SSID is the name of the wireless network.
2. The wireless encryption password of the wireless network.
If you have no idea above the above two, you need to check your wireless router's setting and find them out.
Procedures
Step 1. We recommend you assign a static IP address to IP camera, therefore, you'd better
know the IP addresses used in your network.
1. Go to a computer which connects to your network as usual. Hardwired computer is
preferred.
2. For Windows XP, click on Start, click on Run. Enter "cmd" hit OK.
For Windows 7/Windows Vista, click on Start, go to "Search programs & files", enter "cmd"
hit OK.
3. In the command prompt window, enter "ipconfig" hit Enter. Locate the IP v4 address,
subnet mask, and default gateway.
4. You can minimize the command prompt. The command prompt will be used later.
In above example, the computer has IP 192.168.0.100 while the wireless router is 192.168.0.1.
Step 2. Install the IP Camera software from CD disk.
Step 3. We are going to change the IP address to Edimax camera to fit with our network.
Open the IPCam Admin utility. The default IP address of camera is 192.168.2.3. We are going
to change it to 192.168.0.10.
Advertisement
Table of Contents

Related Manuals for Edimax IC-7010PTn


Summary of Contents for Edimax IC-7010PTn
- Page 1 Introduction For any new wi-fi devices (wireless computers, Edimax wireless camera, iPhone, Android) to join a Wi-Fi network, you need to know two things about your Wi-Fi network. 1. The SSID is the name of the wireless network.
- Page 2 The default IP is 192.168.2.3. We enter the a new IP 192.168.0.10, Gateway 192.168.0.1, and DNS server 192.168.0.1. Step 4. Open Internet Explorer or other browser. Enter the IP address of Edimax Camera. Login with username admin and password 1234.
- Page 3 Step 5. Go to Network, go to WLAN. Click on the circle for Enable Wireless Connection. It shows all the available wireless networks near the camera. You should see the SSID of your wireless network. You may want to pay attention about the Signal and Encryption for your wireless network. Click on the circle in front of the SSID of your wireless network to connect.
- Page 4 If your wireless network uses WEP encryption, enter your WEP password repeatedly in WEP Key1, WEP Key2, WEP Key3, WEP Key4. Then press “Apply” button. Step 6. Get to the command prompt. Use a command called “ping” to ping the IP address of the camera.
- Page 5 Step 7. Unplug the Ethernet cable from the wireless camera. The wireless LED on the front of the camera turns on and flashes. If you see replies from the camera, Congratulations, the camera is attached to your wireless network successfully. Press Ctrl + C to stop the PING command.
Need help?
Do you have a question about the IC-7010PTn and is the answer not in the manual?
Questions and answers