Table of Contents
Advertisement
Innovative Products For Living
WindChaser Products, Inc.
4130 Del Rey Avenue, Marina del Rey, CA 90292
Phone: 310-827-8615 Fax: 310-827-8566
Toll Free: 1-800-405-2943
www.windchaserproducts.com
12,000 BTU Dual Hose Portable
A A i i r r C C o o n n d d i i t t i i o o n n e e r r
H H e e a a t t e e r r & & D D e e h h u u m m i i d d i i f f i i e e r r
INSTRUCTION MANUAL
MODEL PACRWC
©2006 WindChaser Products, Inc.
PLEASE READ BEFORE USE AND SAVE
Advertisement
Table of Contents

Summary of Contents for Windchaser PACRWC
- Page 1 H H e e a a t t e e r r & & D D e e h h u u m m i i d d i i f f i i e e r r INSTRUCTION MANUAL MODEL PACRWC ©2006 WindChaser Products, Inc. PLEASE READ BEFORE USE AND SAVE...
-
Page 2: Table Of Contents
CONTENTS PLEASE CAREFULLY READ AND KEEP THESE INSTRUCTIONS FOR FUTURE REFERENCE Before Intial Use Safety Instructions Learn intelligent air conditioning Important instructions Energy Saving tips Technical specifications Parts Exhaust Kit Installation Operating instructions and functions Adjustable Oscillating Louvers Remote Control Operations Protection Cleaning the unit Troubleshooting guide... - Page 3 PRODUCT LIMITED WARRANTY This Warranty applies to new Product only and excludes optional accessories and attachments. Extended Compressor Warranty applies only to Product with manufacturing dates beginning January 1, 1998. During the first year from date of original purchase this WINDCHASER Product is warranted to be free from defects in materials or workmanship under normal use, service and maintenance.
-
Page 4: Safety Instructions
2) Push the Power button to turn the unit on and deactivate the “timer on” feature. Room temperature sensor is damaged Need to change the temperature sensor (contact WindChaser Products customer service) Room coil sensor is damaged Need to change the room coil sensor... -
Page 5: Energy Saving Tips
Product Net Weight: Net Weight: 83lbs. / 37.6kgs. To obtain a new replacement power supply cord contact WindChaser Products Customer Service at: 1. All wiring must comply with local and national (800) 405-2943 or e-mail at: electrical codes and be installed by a qualified custserv@windchaserproducts.com. -
Page 6: Parts
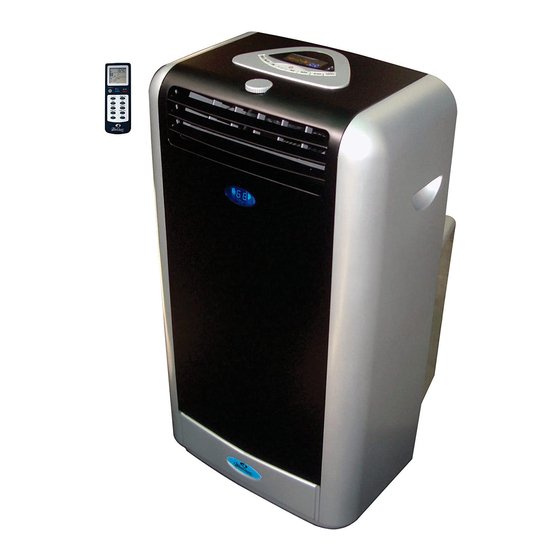
PARTS Front View 1. Control Panel with LED Display 2. Adjustable Dial: Thermostat and Timer 3. Adjustable Vertical/Horizontal Louvers 4. LED Display 5. Handle 6. Remote Control Rear View 7. Air Outlet Hose 8. Evaporator Air Intake 9. Air Intake Hose 10. -
Page 7: Exhaust Kit Installation
OPERATION USING ADJUSTABLE DIAL SWITCH NOTE: 1. Do not abuse the remote control. 2. Do not place the remote control in a location that is To adjust desired temperature and program the timer. exposed to direct sunlight or next to a heating unit or Select the desired temperature by turning Adjustable Dial other heat source. -
Page 8: Operating Instructions And Functions
6) The air conditioner can now be plugged into a 110- Control Panel 120V/60Hz dedicated 15amp or greater circuit. You are 1) Power On/Off advised not to use an extension cord, however, if this is Starts or Stops the Unit 2) Time On Button unavoidable, the extension cord must be 14 gauge, To program the timer, press Timer On button until the Main...


Need help?
Do you have a question about the PACRWC and is the answer not in the manual?
Questions and answers