Advertisement
Quick Links
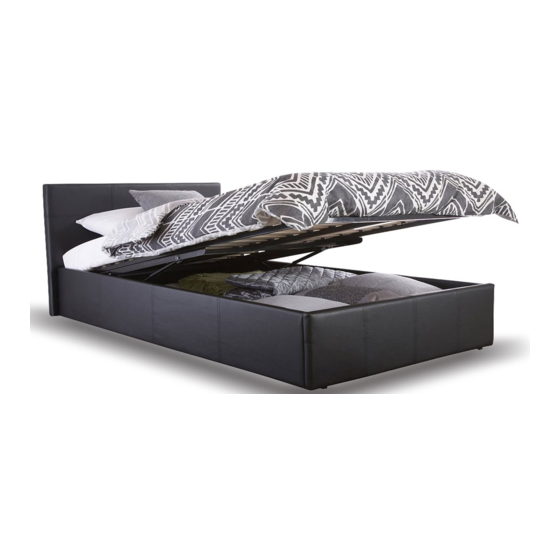
JASMINE GAS LIFT BED
ASSEMBLY INSTRUCTION
The Assembly guide explains carefully how to assemble the bed.
Please follow it step by step as you assemble the parts.
Check that you are using the correct parts.
If for any reason you need return this item, you must
return it in its original packing.
Assembled items cannot be returned.
In the first instance, contact your service centre.
HELPFUL ADVICE PRIOR TO ASSEMBLING THE BED
1) Owing to the size and weight of the bed, we recommend that it is assembled by
two
adults, on a clean flat surface, in the room in which it will be used.
3) Please do not discard any packing until you have checked that you have all the
parts and fittings eep all fittings out of children s reach, to avoid choking hazard.
Do not throw away any of the packing until you have assembled the bed completely.
We recommend that you keep the assembly guide for future use.
From time to time, tighten the uts and olts with llen key and spanner provided.
IMPORTANT
,
Page 1 of 9
Advertisement

Related Manuals for GFW JASMINE GAS LIFT BED


Summary of Contents for GFW JASMINE GAS LIFT BED
- Page 1 JASMINE GAS LIFT BED ASSEMBLY INSTRUCTION IMPORTANT The Assembly guide explains carefully how to assemble the bed. Please follow it step by step as you assemble the parts. Check that you are using the correct parts. If for any reason you need return this item, you must return it in its original packing.
- Page 2 Components BOX 1 OF 2 Footboard Front / Back frame rail x 2 Headboard Horizontal frame rail x 2 Cross bar plastic bracket sets x 4 Adjustable legs x 4 Corner brackets x 4 Bracket x 2 Bracket x 2 Frame support block x1 Side slat caps Centre slat caps...
- Page 3 Components BOX 2 OF 2 Headboard end Left side rail Headboard end Right side rail Centre Support x 1 Page 3 of 9...
- Page 4 Step 1: Fix brackets (11&12) to side rails (3&4) making sure they are aligned as shown in the picture. Use bolt (A),spring washer (B) & flat washer (C), tighten carefully with allen key supplied - Do not Over-tighten. Fit the bolts (A), spring washers (B), and flat washers (C) to the holes in the headboard (1) &...
- Page 5 , Spring and Flat washers Step 4: Fi rame upport lock Fi rame support block (13) allen key. Page 5 of 9...
- Page 6 Secure GAS-LIFT S , ensure Before connecting the stem the lifting mechanism is functioning correctly - it should lift up and down freely with adequate clearance on all sides. Secure the stem onto the mechanism - fix into place by using flange nuts (M) as shown.
- Page 7 Sleeve Attach the horizontal frame rails left / right frame Page 7 of 9...
- Page 8 Turn bed upright and attach fabric base (18) to bottom of bed. lightly Page 8 of 9...
- Page 9 Use only the belt (19) to lift and lower the frame to avoid trapping your fingers. Page 9 of 9...
- Page 10 PROMPT After assembly of complete bedstead, you find there is some friction with bed side when frame is down. Make certain bed is assembled square - see step 2 on assembly instruction. Loosen A, B, C, D on relevant side of bed and side slat frame forward until slat frame is equal both sides, Then tighten securely.
Need help?
Do you have a question about the JASMINE GAS LIFT BED and is the answer not in the manual?
Questions and answers