
Related Manuals for Plastica SOLAR POD PLUS

Summary of Contents for Plastica SOLAR POD PLUS
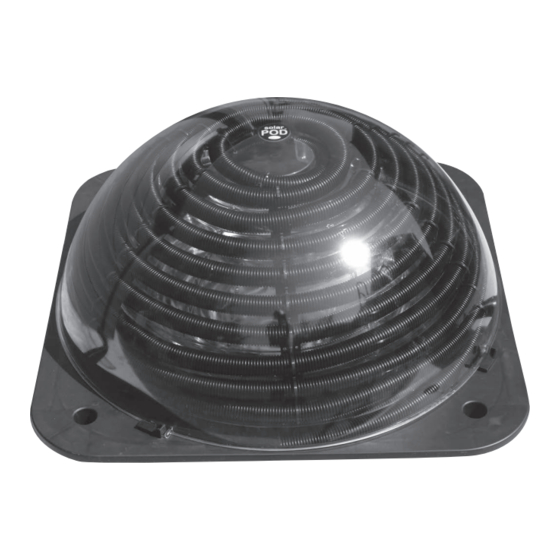
- Page 1 SOLAR POD PLUS POOL HEATER OWNER’S MANUAL IMPORTANT SAFETY RULES Read all instructions BEFORE assembling and using this product. KEEP THIS MANUAL.
-
Page 2: Table Of Contents
Your Solar Pod Plus Heater has been engineered and manufactured to our highest standard for dependability, ease of operation and safety. With proper care, it will give you years of durable, trouble-free performance. TABLE OF CONTENTS Safety Warnings ........................General Information ......................3 How It Works ........................3... -
Page 3: General Information
Solar Pod Plus to your pool via the pool’s return inlet. As cold water is fed into the Solar Pod Plus, it travels through the solar coils where it is heated by the sun before it is delivered back into your swimming pool. -
Page 4: Know Your Pool
What location will position the heater for maximum sun exposure? Solar Pod Plus Heater Location Your Solar Pod Plus needs to be located on a hard level surface. The unit(s) may be angled toward the sun using the legs provided. Do not exceed the angle the legs produces, or 30 degrees from horizontal in any direction. -
Page 5: Installation Instructions
NOTE: Some parts may be pre-installed at the factory. Parts are not shown to scale. 4. INSTALLATION INSTRUCTIONS Solar Pod Plus – Filter – Pool Layout The system layouts below will help you install the Solar Pod Plus to your above ground pool. BEFORE INSTALLING SOLAR POD PLUS AFTER INSTALLING SOLAR POD PLUS... -
Page 6: Solar Pod Plus - Pool Connections
(the port where the pool return hose was previously connected) and the inlet connector (located at corner of the Solar Pod Plus) using the included hose clamps (See Figure 2). NOTE: Insert the reducer inside of the long filter hose and attach using hose clamp. -
Page 7: Initial Operation
Bubbles will shoot out of the return inlet into the pool initially while air is pushed out of the Solar Pod Plus. If this persists for longer than 2 or 3 minutes, check for and repair any leaks in the hoses or connections. -
Page 8: Troubleshooting
• Put your pool cover on at night to prevent heat loss. • Additional heaters may be necessary. • Ensure that the Solar Pod Plus is operating solely between 10am and 6pm 2) There is no initial bubbling after heater is •...
Need help?
Do you have a question about the SOLAR POD PLUS and is the answer not in the manual?
Questions and answers