
Subscribe to Our Youtube Channel
Related Manuals for iSMA iSMA-D-PA10C-B1


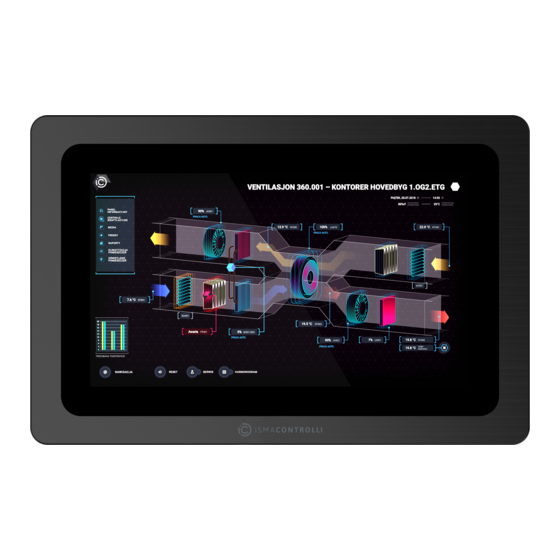
Summary of Contents for iSMA iSMA-D-PA10C-B1
- Page 1 User Manual Android Panel PC Global Control 5 S.A. Warsaw, Poland www.globalcontrol5.com...
-
Page 2: Table Of Contents
Table of Contents Introduction ..............................3 Revision History ..........................3 Safety Rules ............................3 Standards and Norms ........................4 EN 55022:2010+AC:2011 ......................4 EN 61000-3-2:2014 ........................4 EN 61000-3-3:2013 ........................4 EN 55024:2010 + A1:2015 ......................4 EN 60950-1:2006 + A11:2002 + A1:2010 + A12:2011 + A2:2013 ........4 Technical Specification ........................ -
Page 3: Introduction
Android Panel PC Manual 1 Introduction Revision History Date Description 18.07.2019 First edition 27.03.2020 Company data updated Table 1. Revision history Safety Rules Note: Incorrect wiring of this product can damage it and lead to other hazards. Make sure the product has been correctly wired before turning the power ON. -
Page 4: Standards And Norms
Android Panel PC Manual Before powering the device, make sure the power voltage meets the device • requirements. Standards and Norms EN 55022:2010+AC:2011 Electromagnetic compatibility of multimedia equipment. Emission Requirements. EN 61000-3-2:2014 Electromagnetic compatibility (EMC). Limits for harmonic current emissions for equipment input current ≤... -
Page 5: Dimensions
Android Panel PC Manual Active Area 222.7x125.2 mm/344.2x193.6 mm Display Color 16.7 M View Angle 80/80/80/80 / 89/89/89/89 Response Time 5 ms Installation Compatible with VESA, For embedding, Wall Mount Menu Languages English, French, German, Spanish, Chinese, Italian, Russian, Portuguese, Arabic... - Page 6 Android Panel PC Manual Figure 1. Dimensions of 10.1” Figure 2. Dimensions of 15.6” version 1.1 www.globalcontrol5.com Page 6 /14...
-
Page 7: Interface Details
Android Panel PC Manual Interface Details The Monitor will recognize and select the signal automatically. An exception is the USB in the OTG Mode: the USB port needs to be manually set to the OTG Mode. For full instruction see the point 1.7 Setting USB Port to OTG Mode. -
Page 8: Setting Usb Port To Otg Mode
Android Panel PC Manual Setting USB Port to OTG Mode 1. Go to the main menu of the Android Panel PC – a round, white icon with dots at the bottom center of the screen: Figure 6. Main menu 2. - Page 9 Android Panel PC Manual Set the USB Mode to the OTG Mode and turn on USB debugging: Figure 9. USB Mode and USB debugging 5. Set the USB Configuration to MTP: Figure 10. Select USB configuration version 1.1 www.globalcontrol5.com...
-
Page 10: Operation Guide
Android Panel PC Manual 2 Operation Guide Rear Navigation Buttons The rear navigation buttons are used to turn the device on and off. Brightness +/- buttons are prepared for future development: Figure 11. Rear navigation buttons Symbol Name Using instruction... -
Page 11: Setting Static Ip Address
Android Panel PC Manual Setting Static IP Address Follow the instruction to set a static IP address: 1. Follow steps 1 and 2 from the point 1.7 (go to the Settings of the Adroid Panel PC). 2. Go to the More option: Figure 12. -
Page 12: Installation
Android Panel PC Manual 5. Choose the “static” option: Figure 15. Setting Ethernet IP mode 6. Insert the IP address and other information and click CONNECT: Figure 16. Inserting Ethernet information 3 Installation • Do not place the monitor next to the radiator or heat source. -
Page 13: Embed With Snap Joint Installation
Android Panel PC Manual Embed with Snap Joint Installation Follow the below steps to install the monitor with four snap joints buckle hole: Figure 17. Embed with snap joint installation Wall-mount Installation Figure 18. Wall mount installation version 1.1 www.globalcontrol5.com...
Need help?
Do you have a question about the iSMA-D-PA10C-B1 and is the answer not in the manual?
Questions and answers