Advertisement
Quick Links
Advertisement

Summary of Contents for Sharkoon Swift Case Pro Combo
- Page 1 Swift Case PRO COMBO...
-
Page 2: Package Contents
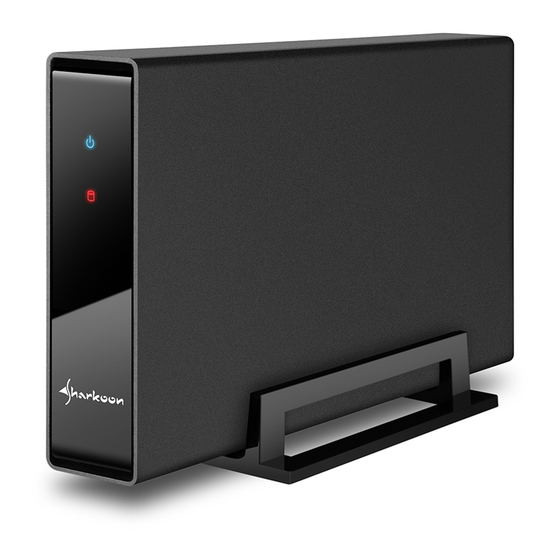
Package contents A) 1x Standfuß A) 1x Desktop stand B) 1x Aluminium-Gehäuse B) 1x Aluminum case C) 1x Netzteil C) 1x Power adapter D) 4x HDD-Montageschrauben D) 4x HDD assembly screws E) 1x Schraubendreher E) 1x Screwdriver F) 1x IDE-Datenkabel F) 1x IDE data cable G) 1x IDE-Stromkabel G) 1x IDE power cable... - Page 3 Opening the 3.5" case Lösen Sie die beiden Gehäuse-Montageschrauben an der Unterseite und ziehen Sie den Einschub heraus. Loosen both assembly screws located on the bottom of the case and pull out the tray.
- Page 4 3.5" HDD installation (IDE) Verbinden Sie das IDE-Datenkabel sowie das IDE-Stromkabel mit Ihrer IDE-Festplatte und dem Gehäuse. Legen Sie danach Ihre IDE-Festplatte in den Einschub. Connect the IDE data cable as well as the IDE power cable with your IDE hard drive and the case. Place your IDE hard drive in the tray.
- Page 5 Verschrauben Sie Ihre IDE-Festplatte mit den HDD-Montageschrauben. Secure your IDE hard drive with the HDD assembly screws. Schieben Sie den Einschub zurück in das Gehäuse. Slide the tray back into the case.
- Page 6 Verschrauben Sie den Einschub wieder mit den Gehäuse-Montageschrauben. Secure the tray back into the case using the assembly screws. SHARKOON Technologies GmbH Siemensstraße 38 | D-35440 Linden / Germany info@sharkoon.com...
- Page 7 3.5" HDD installation (SATA) Verbinden Sie das SATA-Datenkabel sowie das SATA-Stromkabel mit Ihrer SATA-Festplatte und dem Gehäuse. Legen Sie danach Ihre SATA-Festplatte in den Einschub. Connect the SATA data cable as well as the SATA power cable with your SATA hard drive and the case. Place your SATA hard drive in the tray.
- Page 8 Verschrauben Sie Ihre SATA-Festplatte mit den HDD-Montageschrauben. Secure your SATA hard drive with the HDD assembly screws. Schieben Sie den Einschub zurück in das Gehäuse. Slide the tray back into the case.
- Page 9 Verschrauben Sie den Einschub wieder mit den Gehäuse-Montageschrauben. Secure the tray back into the case using the assembly screws.
- Page 10 Sie das USB-2.0-Kabel mit dem Swift Case PRO COMBO und Ihrem PC. Connect the power adapter to the Swift Case PRO COMBO and an electrical outlet. Then connect the USB 2.0 cable to the Swift Case PRO COMBO and your PC.


Need help?
Do you have a question about the Swift Case Pro Combo and is the answer not in the manual?
Questions and answers