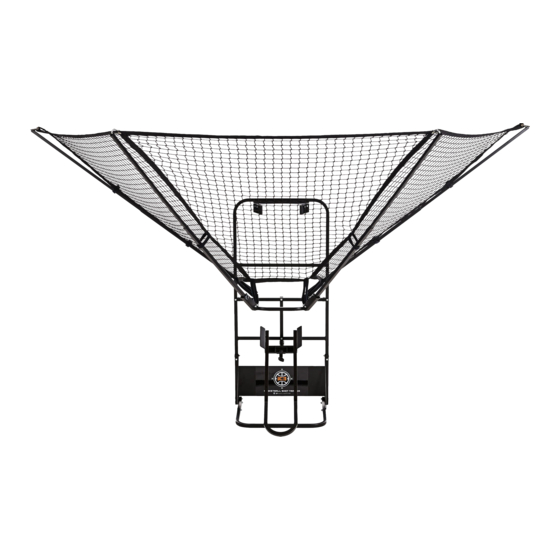
Summary of Contents for Airborne Athletics DR.DISH iC3
- Page 1 Visit drdishbasketball.com/support/ic3 for video To assemble, two 10mm wrenches set up and online assembly instructions. required. (not included)
-
Page 2: Limited Warranty
Athletics sumes no These terms shall be jury or LIMITED WARRANTY with laws of the Airborne Athletics, Inc. (Airborne) U.S.A., without giving use of this rants this to be free from effect to any of conflicts of law, and Playing... - Page 3 Part # Description Qty. Horizontal frame Short pole brace Medium pole brace Long pole brace Net* Rubber washer Female T handle Male T handle Ball detent pin M6x1 Lock nut* M6x35mm bolt* Vertical frame Lower brace L Bracket M6x25mm bolt* M6x45mm bolt* M6x30mm bolt* Outside net poles...
- Page 4 A: Fasten the Vertical frame (10) to the lower frame (26) using two M6x35 bolts (9). Secure with lock nuts (8). B: Fasten the Lower brace (11) to the lower frame (26). Using two M6x45 bolts (14). Secure with lock nuts (8). C: Fasten the Gussets (25) to inside of the vertical frame (10) and the ouside of the lower brace (11) using four M6x30 bolts (15).
- Page 5 A: Fasten the lower hole on the L-bracket (12) to the vertical frame (10) using a M6x45 bolt (14). Fasten the upper hole on the L-bracket (12) to the Horizontal frame (1) using a M6x45 bolt (14). Secure both with lock nuts (8). Fig.
- Page 6 A: Install Ball ramp (22) through hole in L-bracket (12) using rubber washer (4) between them. Tighten down using female T-handle (5). Fig . 9 Note: Velcro placement is adjustable. A: Lay out net (3) on a flat surface with the black ribbon facing down. Velcro straps can be moved if neces- B: Loop Long Velcro (28) to the bottom four corners.
- Page 7 A: Slide Inside net pole (17) out of Outside net pole (16) until Note: Install Carabineer (18) with latch facing up. the silver button on the pop pin (20) securely pops out of the hole in the outside net pole (16). Repeat on the other three poles.
- Page 8 A: Measure distance between the front of your backboard and your pole to determine which pole brace fits your needs. B: If distance is greater than 18” go to step 9. C: If Distance is 0” to 10.5”, install short pole brace (2A) into pole support brace (24). Fasten using M6x25 bolt (13). Secure with lock nut (8).
- Page 9 A: Slide Main pole support (23) be- tween tabs on L-bracket (12) until hole lines up. See figure 18. B: Fasten Main pole support (23) to L- bracket (12) using M6x35 bolt (9). Secure with Lock nut (8). See figure C: Thread Male T-handle (6) into Main pole support (23).
-
Page 10: Troubleshooting
Storage: A: Slide all four Inside net poles (17) down by Specifications: pressing on the Pop Pins (20) (not shown) Weight: 35lbs B: Remove ball detent pins (7) from horizontal (15.8kg) frame (1). Storage Dimensions: C: Fold net poles in. Length 22”... - Page 11 A: Lift the unit high enough so that the top of the Vertical frame (10) goes up and over the top of the basketball hoop. Set the unit down so that the Rim Rests (21) rest against the rim. See figure 28. B: Using the pole brace/support decided upon in steps 8 and 9, level the unit on the rim and extend the pole brace against the basketball pole.
- Page 12 Please register your iC3 Basketball Shot Trainer with Dr. Dish Basketball before a warranty claim can be processed. See page 2 for full warranty information. To complete your registration and activate your warranty coverage, go to drdishbasketball.com/register and fill out the registration form online.


Need help?
Do you have a question about the DR.DISH iC3 and is the answer not in the manual?
Questions and answers