Table of Contents
Advertisement
Available languages
Available languages
Quick Links
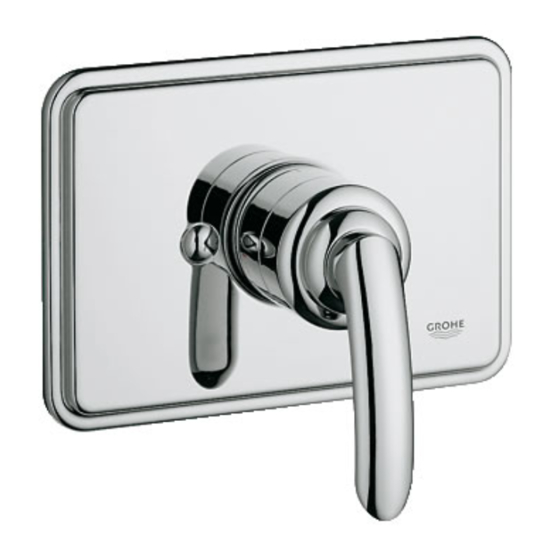
TALIA
DESIGN + ENGINEERING
GROHE GERMANY
94.846.031/ÄM 225244/03.15
www.grohe.com
19 264
.....1
.....1
.....6
.....2
D
D
.....1
.....1
.....2
.....3
.....7
GB
GB
S
S
Français
.....2
.....3
.....1
.....3
DK .....8
DK .....3
F
F
.....2
.....4
.....3
.....9
E
E
N
N
.....5
.....2
.....4
...10
I
I
.....4
.....11
P
P
.....6
.....16
PL
PL
.....4
.....12
.....6
.....17
TR
TR
UAE
UAE
.....5
.....13
.....18
.....6
GR
GR
SK
SK
.....5
.....14
.....7
.....19
CZ
CZ
SLO
SLO
.....15
.....5
.....7
.....20
H
H
HR
HR
.....21
.....7
.....26
.....9
BG
BG
CN
CN
.....22
.....8
UA
UA
.....9
.....27
.....23
.....8
LV
LV
...10
.....28
LT
LT
.....24
.....8
.....25
.....9
RO
RO
Advertisement
Table of Contents

Subscribe to Our Youtube Channel
Related Manuals for Grohe TALIA 19 264


Summary of Contents for Grohe TALIA 19 264
- Page 1 TALIA DESIGN + ENGINEERING GROHE GERMANY 94.846.031/ÄM 225244/03.15 www.grohe.com 19 264 ..1 ..1 ..6 ..2 ..11 ..4 ..16 ..6 ..21 ..7 ..26 ..9 English ..1 ..2 ..1 ..7 ..3 ..12 ..4 ..17 ..6 ..22 ..8 ..27 ..9 Français ..2 Español ..3...
- Page 2 Please pass these instructions on to the end user of the fitting. S.v.p remettre cette instruction à l'utilisateur de la robinetterie! Entregue estas instrucciones al usario final de la grifería!
- Page 3 35 015 19 264...
- Page 4 English Installation Note: The preset maximum temperature will change if the inlet 1. Remove the two screws (A1) from the fitting template (A), temperatures change or the setting of the water heater then remove the template, see fold-out page I, Fig. [1]. thermostat is altered.
- Page 5 Français Installation 6. Aligner la marque blanche (D1) sur le limiteur sur le numéro (1 à 10, voir fig. [5]) sélectionné sur le cadran 1. Enlever les deux vis (A1) du gabarit de montage (A), puis et replacer le limiteur, voir fig. [8]. retirer celui-ci, voir volet I, fig.
- Page 6 Español Instalación 5. Coloque el volante (E) y cierre la válvula, girando para ello el volante en el sentido de los punteros del reloj. Saque a 1. Saque los dos tornillos (A1) del patrón de montaje (A) continuación nuevamente el volante. y extraiga a continuación el patrón, ver la página 6.
- Page 8 +49 571 3989 333 +372 6616354 +372 6616354 +420 277 004 190 impressum@grohe.de grohe@grohe.ee grohe@grohe.ee grohe-cz@grohe.com +43 1 68060 +33 1 49972900 +1 800 80 6570 +66 2610 3685 info-at@grohe.com marketing-fr@grohe.com info-singapore@grohe.com info-singapore@grohe.com Argent Sydney +358 10 8201100 +47 22 072070...
Need help?
Do you have a question about the TALIA 19 264 and is the answer not in the manual?
Questions and answers