
Related Manuals for Essilor Neptune

Summary of Contents for Essilor Neptune
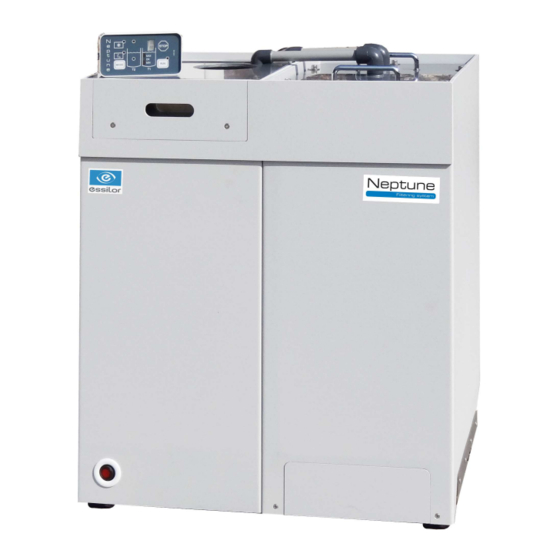
- Page 1 Water Filtering System User Manual V5.1 - 13-06-2014 Essilor Instruments USA 8600 W. Catalpa Avenue, Suite 703 Chicago, IL 60656 Phone: 855.393.4647 Email: info@essilorinstrumentsusa.com www.essilorinstrumentsusa.com...
- Page 2 User Manual - Neptune Filtering System _____________________________________________________________________________ V 5.1 - 2 -...
-
Page 3: Safety Instructions
User Manual - Neptune Filtering System Safety instructions Intended application • This device has been developed for the filtration of the water used to edge ophthalmic lenses. Do not use it for any other reason. General Safety • Before putting the device into operation please read the safety instructions and the operation manual carefully. -
Page 4: Operating Principle
The operating principle of the system is simple. The edger cooling water is contained in the right tank of the Neptune filtration. These 50 litres of polluted water during the day by edging residues are pumped into the left tank of the system when starting the filtration cycle. - Page 5 User Manual - Neptune Filtering System Installation of Neptune filtering system Unpack Neptune and remove all the polystyrene packaging. 2. Lift the filtration cover using the two handles ( right side). 3. Verify that the return pump is in position and that the filtering bag support is in place.
- Page 6 If you put too much water, the upper red light lit up. It is imperative to pull water out from the tank to return to the OK position Set up the return drain (100mm diameter) between the edger and Neptune Neptune is ready to be used _____________________________________________________________________________ V 5.1...
-
Page 7: Control Unit
User Manual - Neptune Filtering System Description Control Unit 1. DAY mode switch and green LED indicator 2. NIGHT mode switch and red LED indicator 3. Inverter switch DAY/NIGHT 4. Filtering tank water presence green LED indicator (T2) 5. Water level LED indicator in working tank (T1) MIN - OK - MAX 6. - Page 8 User Manual - Neptune Filtering System Filtration Cycle start • Press the MODE switch every evening when closing the lab. The NIGHT mode LED lights. • Press the RUN mode switch until the corresponding LED lights up. It confirms the starting of the filtering cycle (the pump should start at this same moment).
- Page 9 Important: Empty and clean the filtering drawer every day, particularly if edging polycarbonate or milling (Essilor M. Blue, etc…). In case of important operation, empty and clean as much as needed. Delayed start of the filtration cycle 1.
-
Page 10: Maintenance
User Manual - Neptune Filtering System Maintenance Changing the filtering bag The bag has to be changed every 1500 lenses on average. Do not clean it ! When the cycle counter indicates 3 or less, the filtering bag has to be changed within a few days, i.e. - Page 11 In DAY mode, hold down RUN to start a cycle. As soon as the RUN LED is lit, press STOP. Neptune is in test mode and the 2 LEDs NIGHT and DAY blink. Press RUN to start the main pump and start to transfer the water into the bucket.
- Page 12 User Manual - Neptune Filtering System Lift the hydraulic circuit and check the nozzles if necessary, unscrew the the large nut on the main pump and remove the screw flocking the circuit. Remove th circuit and dislocate the pipes (each pipe is glued at one end to an elbow to facilitate reassembly of the circuit).
- Page 13 Pumps and sensors tests All components of Neptune can be individually tested to diagnose a possible breakdown • Filtration tank bottom sensor – Sensor N°1 This sensor indicates the presence of water in the filtering tank. Its signal triggers the start of the return pump.
- Page 14 User Manual - Neptune Filtering System Their correct operation is verified by moving them manually up and down and checking the lighting and extinction of the three diodes (MIN, MAX and OK) on the control box. Warning: this signal is delayed and reacts slowly to the moving of the sensors.
- Page 15 User Manual - Neptune Filtering System Answers to frequently asked questions (FAQ) Filtration (night) cycle does not start The starting of the night cycle is controlled by the RUN button and the signal "presence of water" in the work tank emitted by the water level sensor N°3 located at the bottom of the tank. With water, it must be set in the high position.
- Page 16 User Manual - Neptune Filtering System Accessing to the electrical box and fuses Unplug the electrical plug from the socket. Unscrew the 2 screws holding the front face. Remove the electrical box. Remove the 4 screw maintaining the plastic cover and get access to the fuse (2A/250V or 5A/110V) is located.
- Page 17 User Manual - Neptune Filtering System Main Board Version 3 Control panel V3 (Filtering cycle counter) Anti-smell electric board This product is compliant with marking. PRISME 3, sente à l'ane 27600 Saint Pierre la Garenne - FRANCE _____________________________________________________________________________ V 5.1...
Need help?
Do you have a question about the Neptune and is the answer not in the manual?
Questions and answers