Advertisement
IMPORTANT: Do not plug cable into computer until after RaceWorks has been installed.
1)
Place the RaceWORKS CDROM in PC's drive.
2)
Software should Auto Install. If not, Load CD Rom and run SETUP.EXE. Follow instructions on the screen to install
RaceWORKS software.
3)
To start RaceWORKS program, click on your START button, go to PROGRAMS, go to RaceWORKS or click on icon
on the Desktop.
4)
Detailed instructions, as well as videos on using software are available by selecting the
"Help" menu icon once program has started.
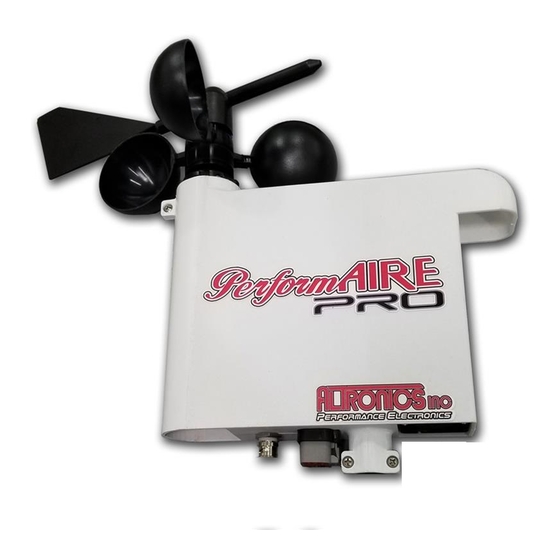
1) PerformAIRE PRO housing features a standard extension pole mount. If you did not purchase an extension pole
with your system, you can use any typical extension pole found at a local hardware or home store. You can supply
your own mounting method to securely affix pole to trailer or use Altronics Part #ALT-PAPRO-CLAMP.
2) It is recommended to keep antenna on bottom of housing at least 3' from top of trailer.
3) Plug system cable into housing and run cable into trailer. Cable can be ran through trailer access port, door, or
window etc... or use optional bulk head fitting supplied by Altronics Part #ALT-PAPRO-CONNECTOR.
4) Plug cable into USB port on computer.
5) Connect supplied power cable to 12v DC Source (Trailer battery or equivalent), fuse(3 amp fuse).
If a generator is connected to the battery note: Most high end generators provide clean power, if you are unsure we
recommend high voltage transient suppression equipment (noise suppressor) connected in line to avoid "spiking"
transmitter. If you have a 110AC power outlet, an adapter is available to connect to system an eliminate concern for
noisy 12 volt power: Part #ALT-PAPRO-PGPWR
Connect 12 volt power to jack in cable connector.
PerformAIRE PRO's optional remote Display Module Part #ALT-PAPRO-DISPLAY allows for viewing weather
parameters without requiring system to be connected to a computer. Mount Display Module under cabinet or to
trailer wall. Connect 9 pin connector on system cable to connector on back of Display Module housing. Plug 12 volt
power cable into power jack on back of module. You can also connect Display Module to a computer, plug in USB
cable into USB port on back of Display Module and then into USB port of computer.
1411 S. Roselle Rd. Schaumburg, IL 60193
Phone (847) 923-0002 Fax (847) 923-0004
www.AltronicsInc.com
PerformAIRE PRO
Face Direction decal on housing towards
finish line (Parallel to track).
Mark on wind body
Installing RaceWORKS Software
Mounting System to Trailer
INSTALLATION
Top View
Mark on wind body
Track
With mark aligned properly and wind
vane facing as shown will indicate a
Head Wind.
(Do not use non-specified 110 Power adapter it WILL damage unit!)
Remote Display
Advertisement
Table of Contents

Summary of Contents for Altronics PerformAIRE PRO
- Page 1 Mounting System to Trailer 1) PerformAIRE PRO housing features a standard extension pole mount. If you did not purchase an extension pole with your system, you can use any typical extension pole found at a local hardware or home store. You can supply your own mounting method to securely affix pole to trailer or use Altronics Part #ALT-PAPRO-CLAMP.
- Page 2 Wind Sensor Installation Make sure wind vane is 3.5” snapped all the way down on assembly. If not all the way down wind direction reading may not function. Overall height of assembly is 3.5”. NOTE: If you install cups in the wrong direction you can remove them by first removing retaining clip and then by pulling firmly and quickly STRAIGHT away from mounting tabs.
- Page 3 PAGING Systems Detailed instructions on using and setting up the paging feature is available by selecting the “Help” menu icon once program has started. 1) Start program RaceWORKS 2) Select Paging Setup from the pull down Setup menu item. 3) Click in the Enable Paging check box. 4) Enter 7 Digit Cap Code from back of pager.


Need help?
Do you have a question about the PerformAIRE PRO and is the answer not in the manual?
Questions and answers