Advertisement
Advertisement
Table of Contents

Related Manuals for Pix-link LV-WR07


Summary of Contents for Pix-link LV-WR07
-
Page 2: Chapter 1. Introduction
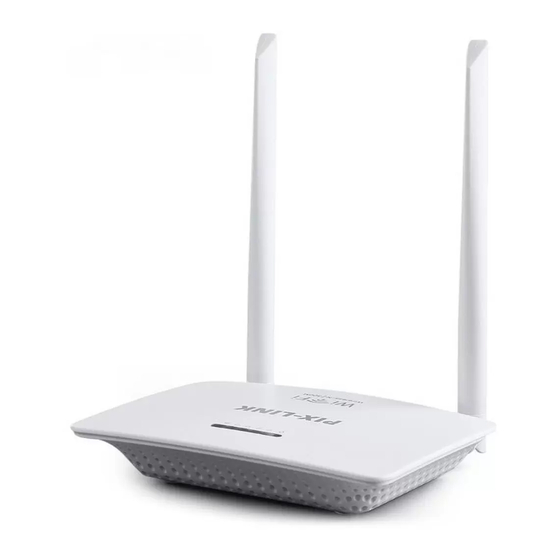
Chapter 1. Introduction 1.1 Overview of the Router The Wireless-N Router is a combined wired and wireless network connection device designed specifically for small business and home office networking requirements. The Wireless-N Router is a high speed solution that is compatible with IEEE 802.11b/g/n. - Page 3 1.4 Panel Layout 1.4.1 The Front Panel The router’s LEDs are located on the front panel (View from left to right). Indication Name Status Power is off or the Wireless function is disabled. The router is booting or upgrading. Status The router has finished booting or the Wireless function is enabled.
- Page 4 1.4.2 The Rear Panel The following parts are located on the rear panel (View from left to right). POWER: The Power socket is where you will connect the power adapter. Please use the power adapter provided with this Wireless N Router. WAN: This WAN port is where you will connect the DSL/cable Modem, or Ethernet.
-
Page 5: Chapter 2. Connecting The Router
Chapter 2. Connecting the Router 2.1 System Requirements Broadband Internet Access Service (DSL/Cable/Ethernet) One DSL/Cable Modem that has an RJ45 connector (which is not necessary if the router is connected directly to the Ethernet.) PCs with a working Ethernet Adapter and an Ethernet cable with RJ45 connectors ... - Page 6 5. Verify that the hardware connection is correct by checking these LEDs.
-
Page 7: Chapter 3. Quick Installation Guide
Chapter 3. Quick Installation Guide This chapter will show you how to configure the basic functions of your Wireless-N Router using Quick Setup Wizard within minutes. 3.1 Connect your computer to the router (Wired or Wireless) Wired Turn off Wi-Fi on your computer and connect the devices as shown below. Wireless Connect wirelessly by using the SSID (Network Name) and Wireless Password/PIN printed on the product label at the bottom of the router. - Page 8 2) Configure the network parameters. The IP address is 192.168.1.xxx ("xxx" is any number from 2 to 254), Subnet Mask is 255.255.255.0, and Gateway is 192.168.1.1 (The router's default IP address) Obtain an IP address automatically 1) Set up the TCP/IP Protocol in "Obtain an IP address automatically" mode on your PC. If you need instructions as to how to do this, please refer to Appendix A: Configuring the 2) Then the built-in DHCP server will assign IP address for the PC.
- Page 9 2. After successful login, you can click the Wizard to quickly configure your router. 3. Click drop-down menu of WAN Mode, and then WAN Connection Type will appear. Note: A. The router supports five popular ways Dynamic IP, Static IP, PPPoE, L2TP and PPTP to connect to the Internet. But here only provides three Modes Dynamic IP, Static IP, PPPoE, If your ISP provides connection type is L2TP or PPTP, Please go to Advance-Internet-Wan Settings page to configuring.
- Page 10 2) If the connection type is Static IP Address, the next screen will appear as shown below. Configure the following parameters and then click Next to continue. IP Address - This is the WAN IP address as seen by external users on the Internet (including your ISP).
-
Page 11: Chapter 4. Advance Setting
5. The Wireless settings page will appear as shown below. Enter SSID and Security,then click Apply to complete setup. SSID - Enter a value of up to 32 characters. The same name of SSID (Service Set Identification) must be assigned to all wireless devices in your network. The default SSID is set to be Wireless-n. - Page 12 4.1 WAN Settings Step 1: Choose menu “Internet→WAN Settings”, you can configure the type of the WAN on the screen below. Step 2: Click drop-down menu of WAN Mode,Select the very type go on configuring. Step 3: Enter the information like the screen shown below. Step 4: Click the Apply button to save your settings.
- Page 13 BandWidth - Select the bandwidth from the drop-down list. The default setting is auto, which can adjust the bandwidth for your clients automatically. Note: If 11n only, 11gn mixed, or 11bgn mixed is selected in the Mode field, the Channel Width selecting field will turn grey and the value will become 20M, which is unable to be changed.
- Page 14 4.4 Load default Choose menu “System→Load default”, and you can restore the configurations of the router to factory defaults on the following screen. Click the Load default button to reset all configuration settings to their default values. • The default Password: admin •...
-
Page 15: Appendix A: Configuring The Pc
4.4.5 Reboot Device Choose menu “System→Reboot Device”, you can click the Reboot button to reboot the router via the next screen. Some settings of the router will take effect only after rebooting, which include Appendix A: Configuring the PC In this section, we’ll introduce how to install and configure the TCP/IP correctly in Windows 7. First make sure your Ethernet Adapter is working, refer to the adapter’s manual if needed. - Page 16 5) The following TCP/IP Properties window will display and the IP Address tab is open on this window by default. Now you have two ways to configure the TCP/IP protocol below: Setting IP address automatically Select Obtain an IP address automatically, Choose Obtain DNS server automatically, as shown in the Figure below: ...
Need help?
Do you have a question about the LV-WR07 and is the answer not in the manual?
Questions and answers