Table of Contents
Advertisement
Available languages
Available languages
Quick Links
Style Selections is a trademark
of LF, LLC. All Rights Reserved.
Serial Number
Questions, problems, missing parts? Before returning to your retailer, call our customer
service department at 1-877-888-8225, 8 a.m. - 8 p.m., EST, Monday - Sunday.
BM19444
IS08865-I
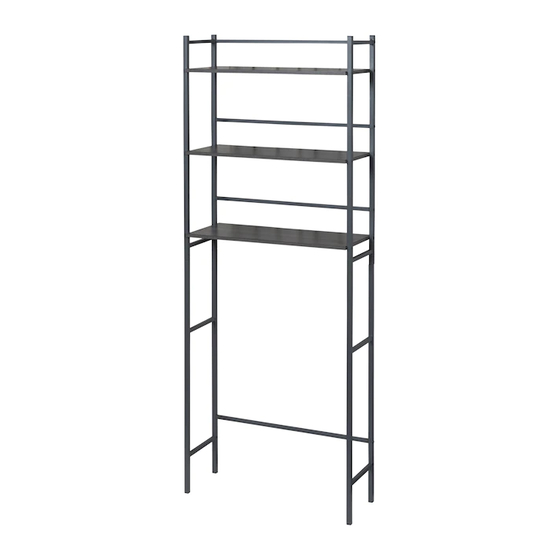
3-TIER OVER-THE-TOILET
Purchase Date
1
ITEM #1599742
SHELF TOWER
MODEL #8865GYMV
Español p. 8
ATTACH YOUR RECEIPT HERE
ADJUNTE SU RECIBO AQUÍ
Advertisement
Chapters
Table of Contents

Related Manuals for LF Style Selections 8865GYMV


Summary of Contents for LF Style Selections 8865GYMV
- Page 1 ITEM #1599742 3-TIER OVER-THE-TOILET SHELF TOWER Style Selections is a trademark of LF, LLC. All Rights Reserved. MODEL #8865GYMV Español p. 8 ATTACH YOUR RECEIPT HERE ADJUNTE SU RECIBO AQUÍ Serial Number Purchase Date Questions, problems, missing parts? Before returning to your retailer, call our customer service department at 1-877-888-8225, 8 a.m.
-
Page 2: Table Of Contents
TABLE OF CONTENTS Package Contents .......................... 2 Hardware Contents ........................3 Safety Information ........................... 3 Preparation ............................3 Assembly or Installation Instructions ....................4 Care and Maintenance ........................7 Replacement Parts List ........................7 PACKAGE CONTENTS wall mounting hole wall mounting hole PART DESCRIPTION QUANTITY... -
Page 3: Hardware Contents
HARDWARE CONTENTS (shown actual size) Tube Cap Qty. 8 Allen Wrench Screw Wood Screw Qty. 1 Qty. 8 Qty. 12 Spacer Small Screw Qty. 2 Qty. 4 Wall Anchor Qty. 2 Mounting Screw Qty. 2 SAFETY INFORMATION Please read and understand this entire manual before attempting to assemble, operate or install the product. -
Page 4: Assembly Or Installation Instructions
ASSEMBLY INSTRUCTIONS 1. Insert the tube caps (AA) into the top side panels (A), as shown. Hardware Used Tube Cap 2. Fasten the straight tubes (C) to a side panel (A) with screws (BB), as shown. Hardware Used Screw bottom screw hole wall mounting hole faces in 3. - Page 5 ASSEMBLY INSTRUCTIONS 4. Fasten the other side panel (A) with screws (BB) and wood screws (CC), as shown. Hardware Used Screw Wood Screw Allen Wrench bottom screw hole wall mounting hole faces in 5. Insert the tube caps (AA) into the bottom side panels (D), as shown.
- Page 6 ASSEMBLY INSTRUCTIONS 7. Place the assembly in the desired location and mark the mounting points on wall through the holes in the back tubes of the unit. NOTE: Wall anchors (GG) should be oriented with the flat side horizontal. Hammer the wall anchors (GG) into wall, unless mounting screws (EE) will go directly into a stud.
-
Page 7: Care And Maintenance
CARE AND MAINTENANCE Cleaning with a dry cloth may be sufficient, but for other stains or marks wipe gently with a damp cloth. DO NOT use strong detergents or abrasive cleaners; they may damage the surface of the product. REPLACEMENT PARTS LIST For replacement parts, call our customer service department at 1-877-888-8225, 8 a.m. - Page 8 ARTÍCULO #1599742 REPISA VERTICAL PARA COLOCAR SOBRE EL INODORO DE 3 NIVELES Style Selections es una marca registrada de LF, LLC. Todos los derechos reservados. MODELO #8865GYMV Fecha de compra Número de serie ¿Preguntas, problemas, piezas faltantes? Antes de volver a la tienda, llame a nuestro Departamento de Servicio al Cliente al 1-877-888-8225, de lunes a domingo de 8 a.m.
-
Page 9: Contenido Del Paquete
ÍNDICE Contenido del paquete ........................9 Aditamentos ..........................10 Información de seguridad ......................10 Preparación ............................ 10 Instrucciones de ensamblaje o instalación ..................11 Cuidado y mantenimiento ......................14 Lista de piezas de repuesto ......................14 CONTENIDO DEL PAQUETE orificio para montaje orificio para montaje en la pared en la pared... -
Page 10: Aditamentos
ADITAMENTOS (se muestran en tamaño real) Tapa de tubo Cant. 8 Llave Allen Tornillo Tornillo para madera Cant. 1 Cant. 8 Cant. 12 Espaciador Tornillo pequeño Cant. 2 Cant. 4 Ancla de expansión de pared Tornillo de montaje Cant. 2 Cant. -
Page 11: Instrucciones De Ensamblaje O Instalación
INSTRUCCIONES DE ENSAMBLAJE 1. Inserte las tapas de tubo (AA) en los paneles laterales superiores (A), como se muestra. Aditamentos utilizados Tapa de tubo 2. Fije los tubos rectos (C) a un panel lateral (A) con tornillos (BB), como se muestra. Aditamentos utilizados Tornillo orificio inferior... - Page 12 INSTRUCCIONES DE ENSAMBLAJE 4. Fije el otro panel lateral (A) con tornillos (BB) y tornillos para madera (CC), como se muestra. Aditamentos utilizados Tornillo Tornillo para madera Llave Allen orificio inferior orificio para montaje para tornillo orientación interior en la pared 5.
- Page 13 INSTRUCCIONES DE ENSAMBLAJE 7. Coloque el ensamble en el lugar deseado y marque los puntos de montaje en la pared a través de los orificios en los tubos posteriores de la unidad. NOTA: las anclas de expansión de pared (GG) deben estar orientadas con el lado plano en posición horizontal.
-
Page 14: Cuidado Y Mantenimiento
CUIDADO Y MANTENIMIENTO La limpieza con un paño seco puede ser suficiente. Sin embargo, para otras manchas o marcas limpie suavemente con un paño húmedo. NO utilice detergentes fuertes ni limpiadores abrasivos, ya que pueden dañar la superficie del producto. LISTA DE PIEZAS DE REPUESTO Para obtener piezas de repuesto, llame a nuestro Departamento de Servicio al Cliente al 1-877-888-8225, de lunes a domingo de 8 a.m.
Need help?
Do you have a question about the Style Selections 8865GYMV and is the answer not in the manual?
Questions and answers