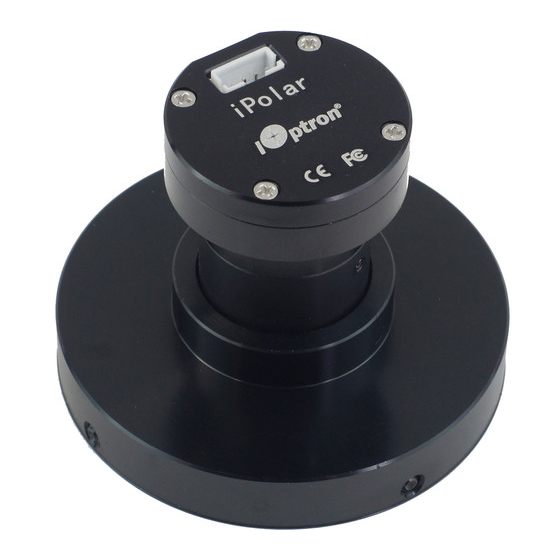
iOptron iPolar CEM120 Installation
Internal
Hide thumbs
Also See for iPolar CEM120:
- Instruction manual (46 pages) ,
- Assembly instructions (2 pages)
Advertisement
Table of Contents
iPolar Installation –CEM120 Internal (#3339A‐120)
1. Remove two screws that hold the Cable
Management System (CMS) panel using a
2.5mm hex wrench.
2. Pull the panel open. The CMS_D board
should look like the following.
If your CMS_D has an USB plug for the
iPolar, please contact iOptron for a modified
one.
3. Unthread CEM120 polar scope front cover.
4. Remove counterweight shaft house by
unscrewing three screws (one socket screw
on top and two set screws on the side).
Advertisement
Table of Contents

Subscribe to Our Youtube Channel
Summary of Contents for iOptron iPolar CEM120
- Page 1 If your CMS_D has an USB plug for the iPolar, please contact iOptron for a modified one. 1. Remove two screws that hold the Cable Management System (CMS) panel using a 2.5mm hex wrench. 3. Unthread CEM120 polar scope front cover.
- Page 2 6. Back out two set screw to make sure they do not stick out of the outside ring. Psuh the iPolar into the RA axle. Tighten two set screws on iPolar CEM120 adapter to secure the iPolar inside the RA axle. Do not over tighten the screws.


Need help?
Do you have a question about the iPolar CEM120 and is the answer not in the manual?
Questions and answers