Table of Contents
Advertisement
Customer Quality Management
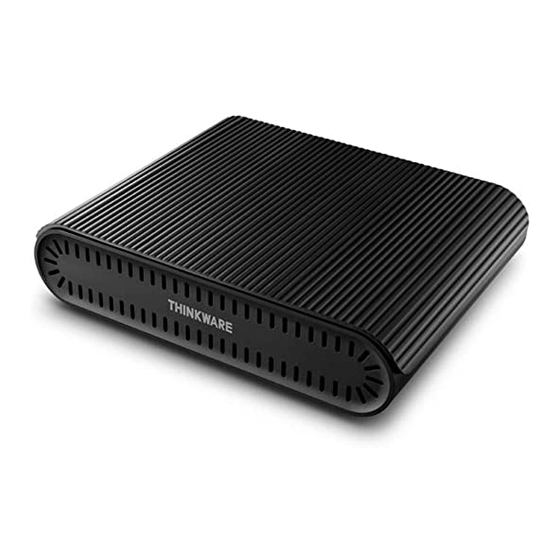
iVolt Dash Cam External Battery
Installation Guide
Models: BAB-50 & BAB-100 (overseas models)
Apr 3, 2018
CS Department
Customer Quality Management Department
1
© 2018 THINKWARE. All rights reserved.
Advertisement
Table of Contents


Need help?
Do you have a question about the BAB-50 and is the answer not in the manual?
Questions and answers