Table of Contents
Advertisement
Quick Links
Advertisement
Table of Contents

Related Manuals for Rockwell RG8259.9


Summary of Contents for Rockwell RG8259.9
- Page 1 RG8259.9 18V POLE HEDGE TRIMMER...
- Page 4 RG8259.9 Green Light Light...
- Page 5 RG8259.9 Green Light Light -30° 0° 30° 60° 90°...
- Page 6 90° RG8259.9...
-
Page 7: Pole Hedge Trimmer
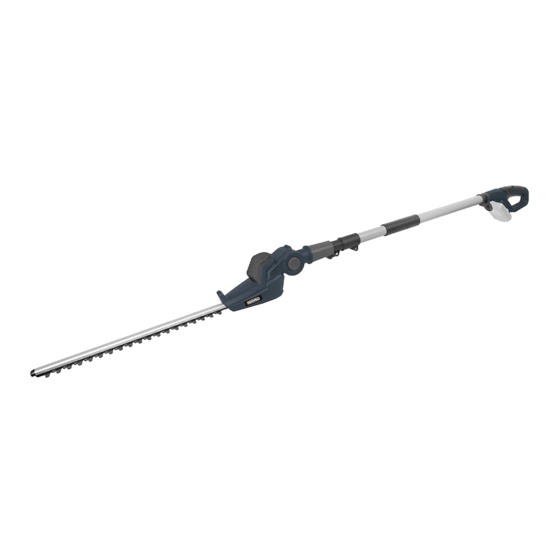
18V POLE HEDGE TRIMMER COMPONENT LIST Blade Machine head Lock button Blade sheath Clamp knob Battery pack* Battery pack release button* On/off switch Lock-off switch Battery charger (See Fig. B) Shoulder strap * Not all the accessories illustrated or described are included in standard delivery. ACCESSORIES PRODUCT SAFETY GENERAL POWER TOOL SAFETY... - Page 8 18V POLE HEDGE TRIMMER a power tool. Distractions can cause you to lose to a rotating part of the power tool may result in personal injury. control. e) Do not overreach. Keep proper footing and balance at all times. This enables better control of the power 2) Electrical safety a) Power tool plugs must match the outlet.
-
Page 9: Hedge Trimmer Safety
18V POLE HEDGE TRIMMER be performed. Use of the power tool for operations different from those intended could result in a HEDGE TRIMMER SAFETY hazardous situation. WARNINGS: h) Keep handles and grasping surfaces dry, clean and free from oil and grease. Slippery handles and a) Keep all parts of the body away from the blade. -
Page 10: General Safety Warnings
18V POLE HEDGE TRIMMER POLE HEDGE TRIMMER SAFETY k) After extended periods of storage, it may be necessary to charge and discharge the WARNINGS: battery pack several times to obtain maximum a) To reduce the risk of electrocution, never use the performance. - Page 11 18V POLE HEDGE TRIMMER ADDITIONAL SAFETY INSTRUCTIONS Wear eye protection FOR YOUR BATTERY CHARGER 1. Before charging, read the instructions. 2. For charging a Li-ion battery pack only. Wear dust mask 3. Do not charge a leaking battery. 4. Do not use chargers for works other than those for which they are designed.
-
Page 12: Operation
The accessories of battery charger RW9897 and required while assembling the pole hedge trimmer. battery pack RW9894 RW9906 illustrated or described are not included in RG8259.9 delivery. TO ASSEMBLE THE POLE (See Fig. A1-A6) ACCESSORIES 1. Loosen the clamp knob (5) by turning anti- clockwise. -
Page 13: Before Operation
RW9894 RW9906 illustrated or The shoulder strap is supplied with a quick release described are not included in RG8259.9 delivery. hook. Connect the hook to the bracket of machine body 1. TO REMOVE OR INSTALL BATTERY PACK (See FIG.D1, D2) located before the handle. -
Page 14: Maintenance And Store
18V POLE HEDGE TRIMMER ADJUSTING THE MACHINE HEAD TO THE REQUIRED ANGLE (See Fig H1-H6) Push the lock button (3) of the machine head and then rotate the machine head (2) to the desired position. Release the lock button (3) again and check whether the button is locked in place. -
Page 15: Troubleshooting
18V POLE HEDGE TRIMMER TROUBLESHOOTING The following chart lists problem symptoms, possible causes and corrective action, if your pole hedge trimmer does not operate properly. If these do not identify and correct the problem, contact your service agent. WARNING! Always switch the product off, disconnect it from power supply and let the product cool down before performing inspection, maintenance and cleaning work! Problem Possible Cause... - Page 16 POSITEC AUSTRALIA PTY LTD ABN 14 101 682 357 MADE IN PRC...
Need help?
Do you have a question about the RG8259.9 and is the answer not in the manual?
Questions and answers