
Related Manuals for Hogtunes WILD BOAR AUDIO WBA ULTRA KIT RG

Summary of Contents for Hogtunes WILD BOAR AUDIO WBA ULTRA KIT RG
- Page 1 WBA ultRA Kit RG i nst Al lA t i o n m Anu Al IMPORTANT! A Radio “Re-Flash” May be Required. Please Read Manual For More Information...
- Page 2 2015+ Road Glide Ultras. We want your new kit to work as well as it was designed to, so if you have any questions or concerns, please email: tech@hogtunes.com or call us during regular business hours at 705-719-6361 (EST). If you still need help, please consider a professional installation by your dealer.
-
Page 3: Before Getting Started
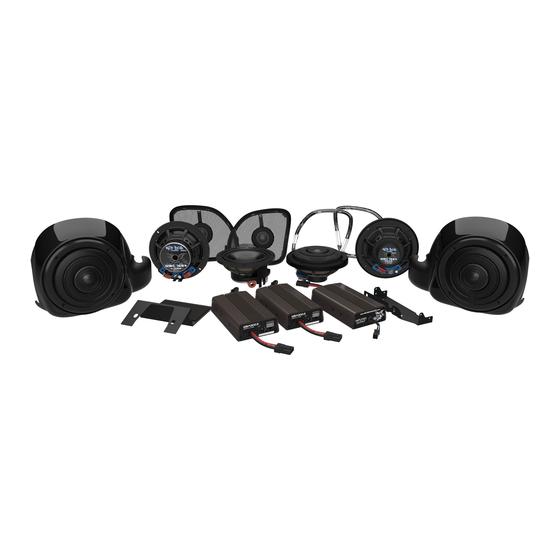
beFORe geTTINg sTARTed The amp in this kit (WBA 600.4) is rated to produce 150 watts x 4 using the supplied 4 ohm Wild Boar speakers. The WBA 600.4 should be used with 4 Ω (ohm) speakers only! The WBA 600.4 amplifier is a Class D design. It should be understood that ALL Class D amplifiers, regArDLess of BrAnD, cause a reduction in fM reception. - Page 4 se ct io n 1 fR ont s peA KeR ins t A ll At io n Step #1: Grill trim ring selection: In the box, you will see that the metal mesh grill with tweeter in it is sitting in the black trim ring. If you turn this over, you will see “tabs” in the metal mesh used to secure the mesh to the black trim ring have not been folded over.
- Page 5 speaker install properly, the speaker wires must be oriented so they are closest to the top of the inner fairing (12 o’clock position). When installed correctly, the 2 small wires that go from the back of the speaker and “through” the speakers ring will also be in the 12 o’clock position.
- Page 6 sec tio n 3 A m pli fi e R i n s t A llA t i on As the amplifiers come in the box, they are “stuck” to a mounting plate for use in FLH (Batwing) model bikes. “Peel” the amps off the plate and put that plate aside as it’s not required for FLTR (Road Glide) installations.
- Page 7 Step #1: Locate the “splitter” power harness included in this kit. You will see one end that has “ring terminals”, and the other end that “splits” and has 2 power connectors on it. Using Fig 1.1 on page 5 for reference, run the “ring terminal end”...
- Page 8 Important In this install we refer to one amp as the “Master” and the other amp as the “Slave”. The Master always has the main input harness go into it, and is always the amp that powers the front fairing speakers. When installed, the amp on the BACK SIDE of the plate is the MASTEr AMPlIfIEr.
- Page 9 Step #8: Using Fig 1.1 on page 5 for reference, you will see 2 large factory harnesses between “A” and “B”. Wiggle the amp/plate into place around these harnesses so that the holes on the “legs” at the bottom of the plate line up with the holes where the factory bolts around “B” were.
- Page 10 Step #11: Turn the stereo on and, at low volume, test to make sure all four speakers are working. Step #12 Re-install the seat making sure the amplifier’s “+” and “-” connectors are positioned in such away so they will not bend or break when the rider’s weight is on the seat.
- Page 11 Please contact Hogtunes head office for all warranty claims. Products found to be defective during the warranty period will be repaired or replaced (with a product deemed to be equivalent) at Hogtunes sole discretion. Hogtunes/Wild Boar Audio’s complete warranty policy is available on our website at www.wildboaraudio.com...
- Page 12 You are a valued customer so please: Ride Alert Arrive Alive! www.wildboaraudio.com www.hogtunes.com...
Need help?
Do you have a question about the WILD BOAR AUDIO WBA ULTRA KIT RG and is the answer not in the manual?
Questions and answers