
Subscribe to Our Youtube Channel
Related Manuals for Big Air HVLS 108


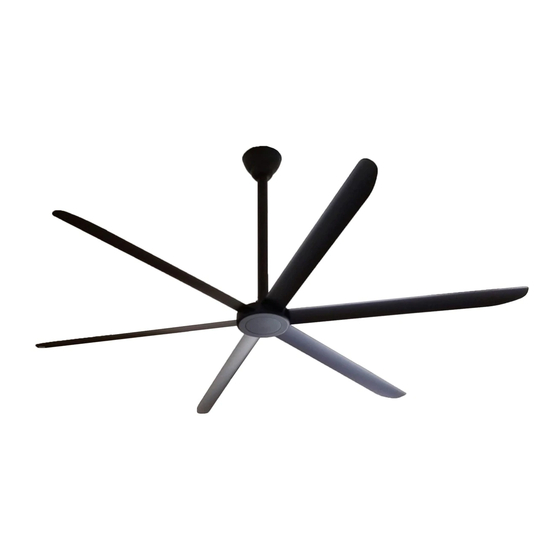
Summary of Contents for Big Air HVLS 108
- Page 1 HVLS 108 BLDC HVLS CEILING FAN Installation Guide v.1.0 (US) | Jan 2019 v.1.1 (US) | Aug 2019 For help, call 1-800-433-1626 or visit www.bvc.com...
- Page 2 READ THE ENTIRE MANUAL AND SAVE THE INSTRUCTIONS THE FAN IS TO BE INSTALLED SO THAT THE BLADES ARE MORE THAN 10 FEET ABOVE THE FLOOR THE MINIMUM CLEARANCE OF THE TIP OF BLADES FROM ANY OBSTRUCTIONS INCLUDING LIGHTS, WALLS OR STRUCTURES SHALL BE A MINIMUM OF 20 INCHES. WARNING - TO REDUCE THE RISK OF FIRE, ELECTRIC SHOCK, OR PERSONAL INJURY, MOUNT DIRECTLY TO A STRUCTURAL FRAMING MEMBER.
- Page 3 UNGROUNDED CONDUCTOR TO BE CONNECTED TO AN UNGROUNDED CONDUCTOR OF POWER SUPPLY, CONDUCTOR OF FAN IDENTIFIED FOR EQUIPMENT GROUNDING TO BE CONNECTED TO AN EQUIPMENT-GROUNDING CONDUCTOR. SUITABLE FOR USE WITH SOLID-STATE SPEED CONTROLS FAN MODEL NO.: HVLS 108 WEIGHT OF FAN: 60 LBS Model Diameter...
- Page 4 Mount the Ceiling Bracket 1B. Do Recommended Tools 1A. Mounted on Wood Framed Ceiling 9/16”, 10mm, Level 13mm Sockets & Torque Wrench 5/16” Drill Mount the ceiling bracket using (4) 3/8” or equivalent lag 3, 5, 8mm Wire Electrical Test screws .
- Page 5 2. Connecting the Hanger Tube to Motor 1B. Do mount only to a fan junction box. The (4) outer holes must be used to secure the bracket to the ceiling. With the hanger tube aligned to the motor shaft, tighten the 2 bolts and 2 screws to secure the assembly. Install and expand the cotter pins.
-
Page 6: Wiring Diagram
FAN REMOTE CONTROLLER WARN WARN UNPL INSTA Light Switch Timer WARN GENE Fan ON Fan OFF ALL S INSTA Speed Increase AFTER Speed Decrease GROU THE O Rotation Winter/ OUTL Summer Mode THE S INTO COND GROU UNGR POWE WIRING DIAGRAM CONN SUITA Wires installed by the factory... -
Page 7: Parts List
Parts List Safety Cable Hardware Ceiling Bracket Hardware (1) 3/8” EYE LAG SCREW (4) 3/8” LAG SCREW (1) 3/8” FLAT WASHER (4) 3/8” FLAT WASHER (1) SAFETY CABLE SHACKLE Tube Bracket Hardware Motor Mount Hardware (2) M6-1 X 85MM (2) M6-1 X 75MM (2) M6 SPLIT WASHER (2) M6 SPLIT WASHER (4) M6 FENDER WASHER... -
Page 8: Warranty
WARRANTY Ventamatic, Ltd . extends this warranty to the original retail purchase of this model or, if this unit is purchased and installed by a building contractor, then to the original owner of the home. No subsequent purchaser of the unit or of a home in which it is installed is entitled to any of the benefits of this warranty.
Need help?
Do you have a question about the HVLS 108 and is the answer not in the manual?
Questions and answers