Do you have a question about the ICF72 and is the answer not in the manual?
Questions and answers
Mike Thompson
April 5, 2025
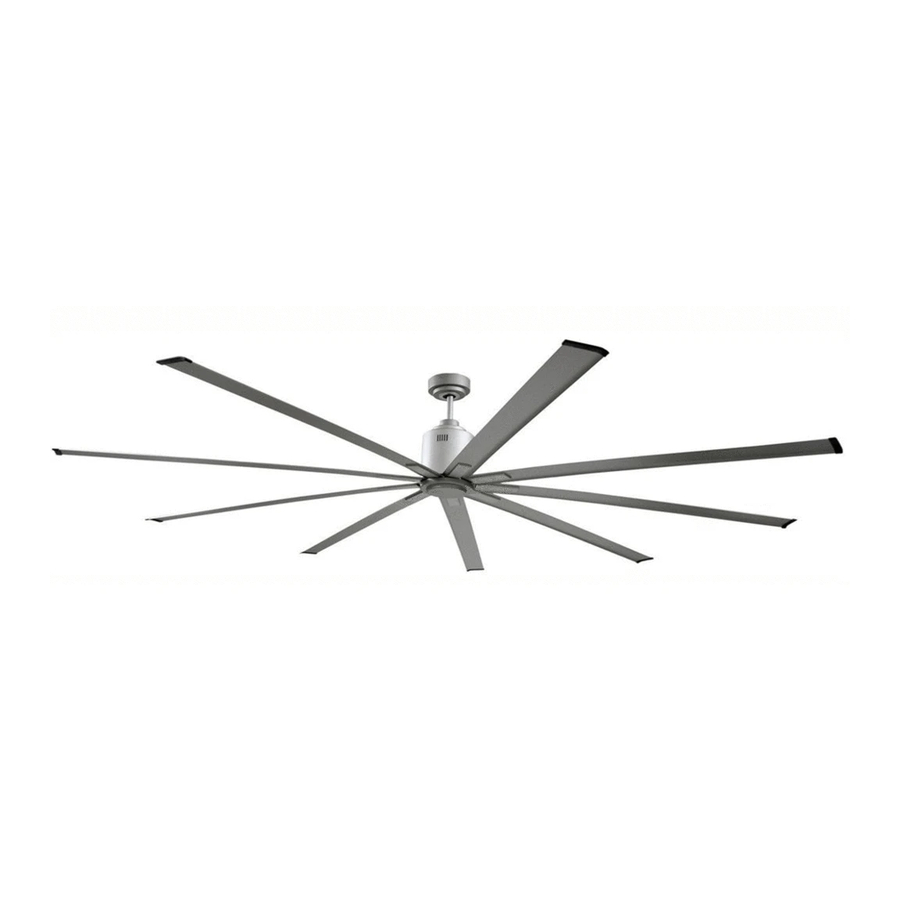
The fans reverse is not working?
3 comments:
Mr. Anderson
April 5, 2025
The reverse function on the Big Air ICF72 fan may not be working because the fan must be operating for the reverse function to activate. If the fan is off, the reverse function will not work.
This answer is automatically generated
Mike Thompson
April 5, 2025
When I press the reverse and forward function on the fan, it will not work.
Mike Thompson
April 5, 2025
@Mr. Anderson i’ve tried both powering down the fan and powering down the transmitter, and it still doesn’t work


Need help?
Do you have a question about the ICF72 and is the answer not in the manual?
Questions and answers
The fans reverse is not working?
The reverse function on the Big Air ICF72 fan may not be working because the fan must be operating for the reverse function to activate. If the fan is off, the reverse function will not work.
This answer is automatically generated
When I press the reverse and forward function on the fan, it will not work.
@Mr. Anderson i’ve tried both powering down the fan and powering down the transmitter, and it still doesn’t work