
Related Manuals for I2SE Powerline Bundle for Internet of Things

Summary of Contents for I2SE Powerline Bundle for Internet of Things
- Page 1 Powerline Bundle for Internet of Things Quickstart Guide I2SE GmbH March 22, 2016 1/10...
-
Page 2: Table Of Contents
CONTENTS CONTENTS Contents 1 Revisions 2 Introduction 3 Connect the bundle ... 3.1 ... for home automation systems ........3.2 ... -
Page 3: Revisions
2 INTRODUCTION 1 Revisions Revision Release Date Changes March 22, 2016 adopt to Duckbill 2 SPI, add diagnostic jumper, add important notes, add LED behavior December 10, 2015 updated section ,,Contact”, changed document title, swapped connec- tion order for Duckbill SPI, added note about Duckbill image Januar 14, 2014 changed connection order for the Evaluation Kit December 9, 2013... -
Page 4: Connect The Bundle
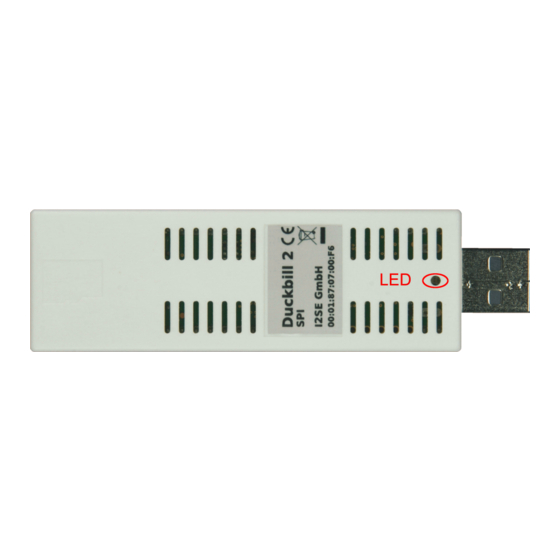
3 CONNECT THE BUNDLE ... 3 Connect the bundle ... 3.1 ... for home automation systems Follow the following steps for both parts of the bundle. 1. Connect Duckbill 2 SPI via Ethernet with your computer 2. Set the jumper on PLC Stamp micro EVB 3. - Page 5 3.1 ... for home automation systems 3 CONNECT THE BUNDLE ... 5/10...
-
Page 6: For Electric Vehicle Charging Systems
3.2 ... for electric vehicle charging systems 3 CONNECT THE BUNDLE ... 3.2 ... for electric vehicle charging systems Follow the following steps for both parts of the bundle. 1. Connect Duckbill 2 SPI via Ethernet with your computer 2. Set the jumper on PLC Stamp micro EVB 3. - Page 7 3.2 ... for electric vehicle charging systems 3 CONNECT THE BUNDLE ... 7/10...
-
Page 8: Start The Bundle
5 PUSH BUTTON SIMPLE CONNECT 4 Start the bundle After powering the PLC Stamp micro EVB via USB they will boot up. This takes less than 5 seconds. The two PLC Stamp micro EVBs are configurated to be in the same power LAN. After powering Duckbill SPI via USB they will boot up. - Page 9 5 PUSH BUTTON SIMPLE CONNECT Figure 2: Reset QCA7000 Figure 3: Pull down GPIO 3 Set the jumper for GPIO 3 in pull down position ( see Figure 3 ) for just 6 seconds and then quickly back ( see Figure 1 ) Now the network membership key of the PLC Stamp micro EVB should be random Trigger the pairing by pressing the simple connect button on the powerline adapter...
-
Page 10: Contact
6 CONTACT 6 Contact Website: http://www.i2se.com I2SE GmbH Friedrich-Ebert-Str. 61 04109 Leipzig Germany 10/10...
Need help?
Do you have a question about the Powerline Bundle for Internet of Things and is the answer not in the manual?
Questions and answers