Advertisement
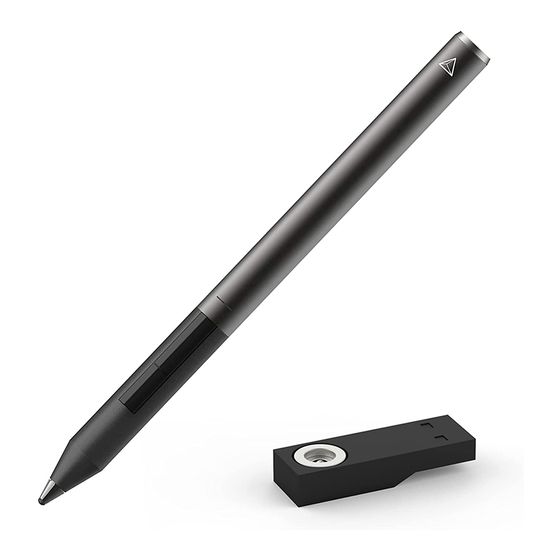
Pixel itself- There appears to be some damage to the Pixel. The button section of the
Pixel appears to have been twisted. Twisting the button section can cause damage to
the wiring.
The Adonit Triangle logo is supposed to line up with the buttons, like the picture on the
left. The picture on the right shows the button section twisted all the way to the
opposite side.
Advertisement
Table of Contents

Summary of Contents for Adonit PIXEL
- Page 1 Pixel itself- There appears to be some damage to the Pixel. The button section of the Pixel appears to have been twisted. Twisting the button section can cause damage to the wiring. The Adonit Triangle logo is supposed to line up with the buttons, like the picture on the left.
- Page 2 Cannot pair with iPad- I'm sorry for the customer confusion, but, from what customer described, it sounds like customer may have thought that they needed to pair Pixel directly with the Pixel-compatible device. But actually Pixel doesn't require being listed...
- Page 3 Also, remember that there will still be a small natural gap between the top of the Pixel tip and the barrel after a tip is screwed back on.
- Page 4 2) Place the back of Pixel on to the USB charger (the light may show red at first to show charging is needed, and then it will turn green to show it is fully charged) 3) If the green light shows, then it is fully charged and can be removed from the charger and used.
- Page 5 5) TAP "Adonit Jot Series" 6) PICK UP Pixel stylus; PRESS and HOLD the bottom black button nearest the tip until you see a green light get brighter in three steps.
- Page 6 7) SLIDE either arrows to adjust how much pressure difference you want to see 8) FIND "Enable Pressure" 9) TAP on the "X" in the small box to remove pressure-sensitive writing; TAP again to add it back in ("X" in the box means that you can use pressure-sensitivity)


Need help?
Do you have a question about the PIXEL and is the answer not in the manual?
Questions and answers