Advertisement
Assembly AND CARE INSTRUCTIONS
VERSION: 8920033 (Revised 10/17)
Canada and International
135 Forestview Road, Oro-Medonte
Ontario, Canada L3V 0R4
Toll-Free:
Telephone: (705) 325-2274
Fax:
service.ca@spiethamerica.com
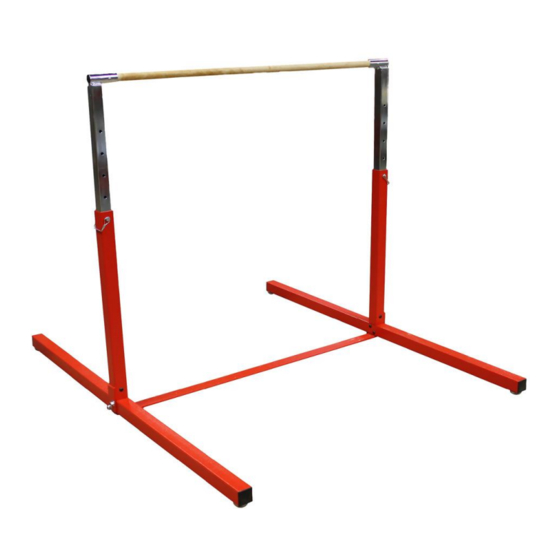
JUNIOR TRAINING BAR
SALES AND SERVICE
spiethamerica.com
(800) 563-6479
(705) 325-1485
366
3327 Ranger Road
Lansing, MI 48906
Toll-Free:
Telephone: (517) 999-8230
Fax:
service.usa@spiethamerica.com
USA
(800) 331-8068
(517) 999-8245
Advertisement
Table of Contents

Related Manuals for SPIETH America 366


Summary of Contents for SPIETH America 366
- Page 1 ASSEMBLY AND CARE INSTRUCTIONS JUNIOR TRAINING BAR VERSION: 8920033 (Revised 10/17) SALES AND SERVICE spiethamerica.com Canada and International 135 Forestview Road, Oro-Medonte 3327 Ranger Road Ontario, Canada L3V 0R4 Lansing, MI 48906 Toll-Free: (800) 563-6479 Toll-Free: (800) 331-8068 Telephone: (705) 325-2274 Telephone: (517) 999-8230 Fax: (705) 325-1485...
- Page 2 366 JUNIOR TRAINING BAR Assembly Instructions Thank you for purchasing a 366 Junior Training Bar from our Just For Kids line. We appreciate your business and value you as a customer. This Junior Training Bar is manufactured of the finest materials and has been thoroughly inspected before leaving our plant.
- Page 3 366 JUNIOR TRAINING BAR Assembly Instructions 1. Assembly 1.1. Tools required One Allen key (supplied) One (1) 3/8” Open end wrench or one (1) adjustable wrench One (1) Phillips-head screwdriver 1.2. Assembly instructions 1. Assemble one base with one upright, using two (2) supplied 2-3/4” long bolts, four (4) washers and two (2) nylon nuts, according to Figure 1 below.
- Page 4 366 JUNIOR TRAINING BAR Assembly Instructions 4. Turn both base and upright assemblies upside down. Assemble each end of the cross bar to the bottom of each base, by threading the two (2) supplied flat head bolts (see Figure 3 below).
- Page 5 366 JUNIOR TRAINING BAR Assembly Instructions 7. Insert the adjusting tubes and rail assembly into the uprights. Lock into the desired position using the two (2) supplied lock pins. Before attempting to use the apparatus, make sure the pins are locked properly.
- Page 6 366 JUNIOR TRAINING BAR Assembly Instructions 3. SAFETY WARNING Any activity involving motion or height creates the possibility of serious injury including permanent paralysis and even death, from landing or falling on the neck, head, or other parts of the body.
Need help?
Do you have a question about the 366 and is the answer not in the manual?
Questions and answers